
This month’s #BostikBlogger craft theme is flying. We’ve done a few crafts before which fit this theme. We’ve made clothes-peg aeroplanes as part of our Up in the Sky themed crafts and last year we made craft stick parrots. This time, we thought we’d try making a papier-mâché hot air balloon. Here’s how you can make your own:

You will need:
- Thin coloured paper or tissue paper.
- PVA glue (we used Bostik White Glu)
- Water
- A balloon
- A cardboard cup or yogurt pot
- Paint
- 4 wooden sticks
- Scissors
- Hot glue
- Clothes pegs (optional)
- Blu tack (optional)
1) Blow up the balloon and place it into a cup to hold it still.
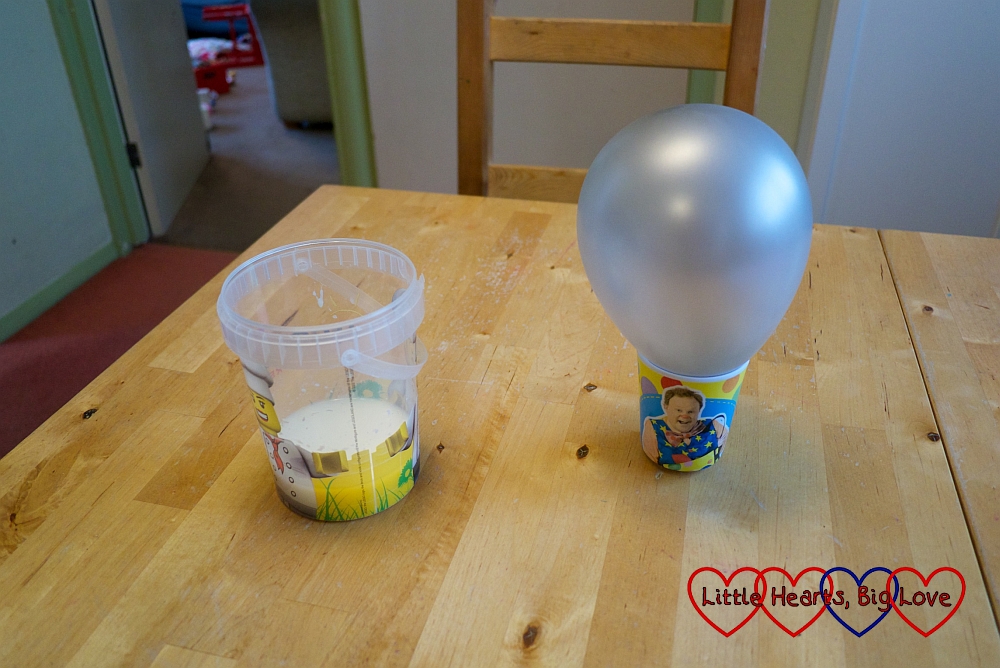
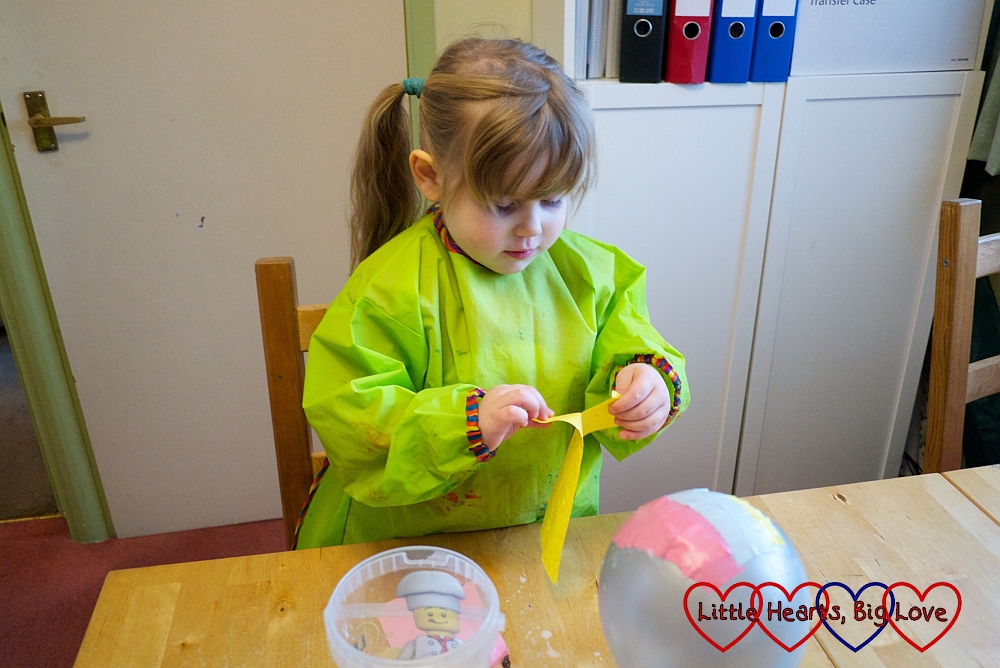
2) Mix the glue with water and dip strips of thin coloured paper or tissue paper in the glue mixture. Place around the blown-up balloon until the balloon is covered. Leave to dry and repeat with a second layer of paper.
3) Pop the inflated balloon and remove from the coloured papier-mâché balloon shell. Trim around the bottom of the balloon using scissors to neaten the edges.
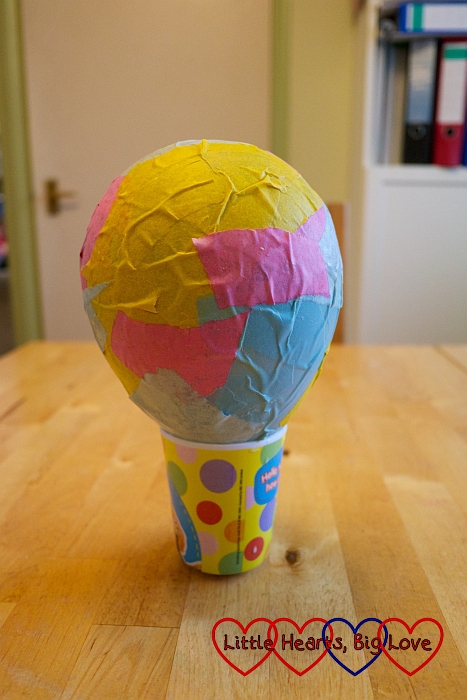
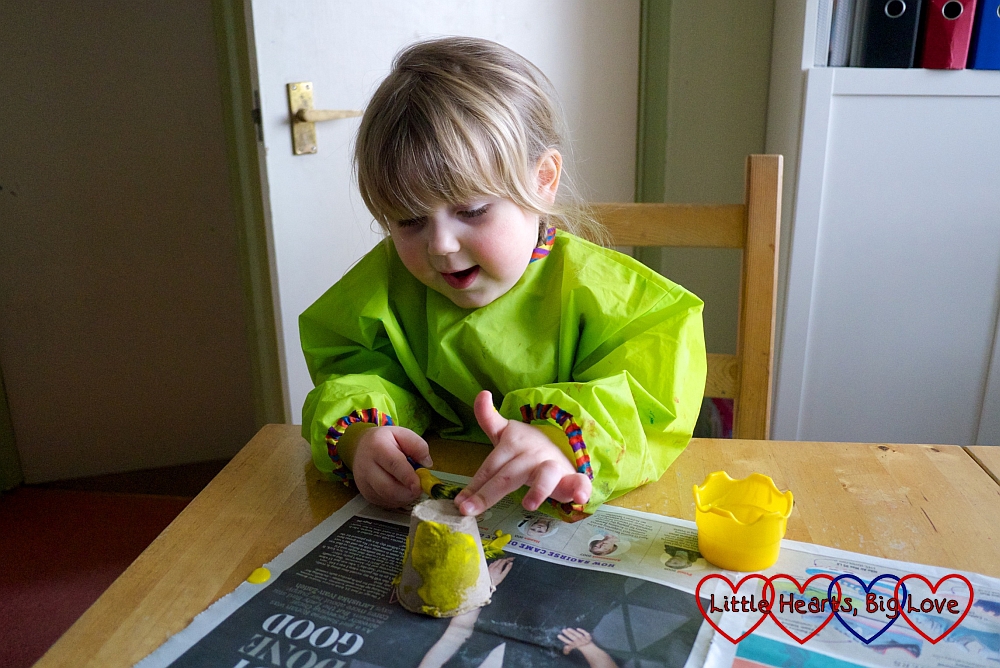
4) Paint the cardboard cup or yogurt pot. Leave to dry.
5) Cut the wooden sticks to approximately 10cm lengths. Glue one end of each stick inside the papier-mâché balloon using hot glue and allow to dry.
6) Glue the other end of each stick inside the cardboard cup using hot glue. It may help to use clothes pegs to hold the sticks in place as they dry.
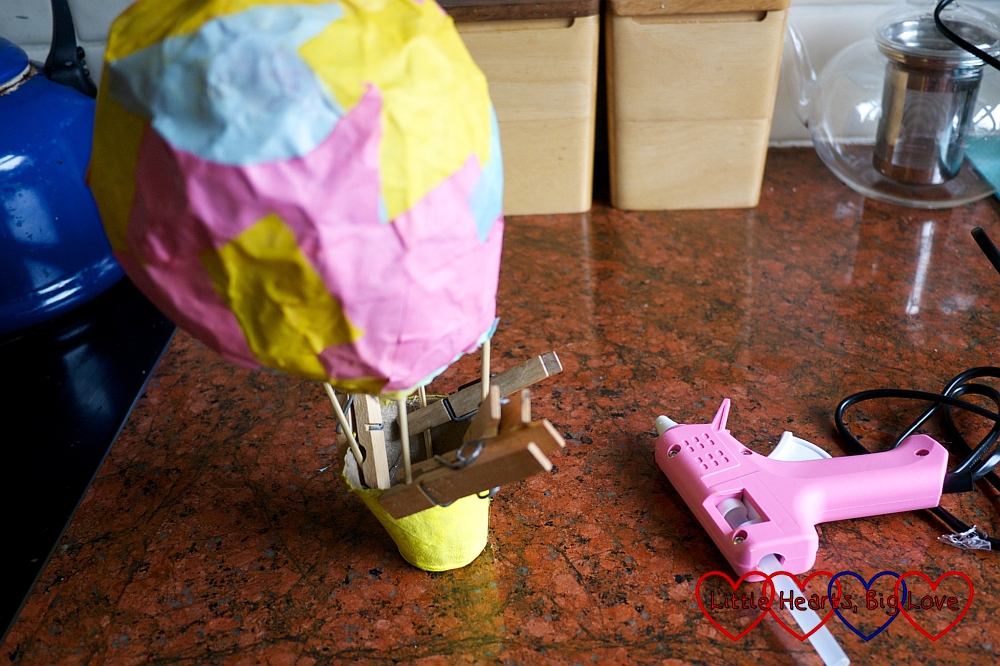
7) If the finished hot air balloon won’t stand up, place some Blu Tack inside the cardboard cup basket to help weigh it down.
It was the first time Sophie had tried doing papier-mâché and she managed to cover most of the balloon by herself with only a little help from me. Fixing the cardboard cup basket to the papier-mâché balloon was the most tricky part. Patience was the key here – waiting for the hot glue holding the sticks inside the balloon to dry was essential. Using clothes pegs to hold the sticks inside the cardboard cup basket in place while gluing them also helped.
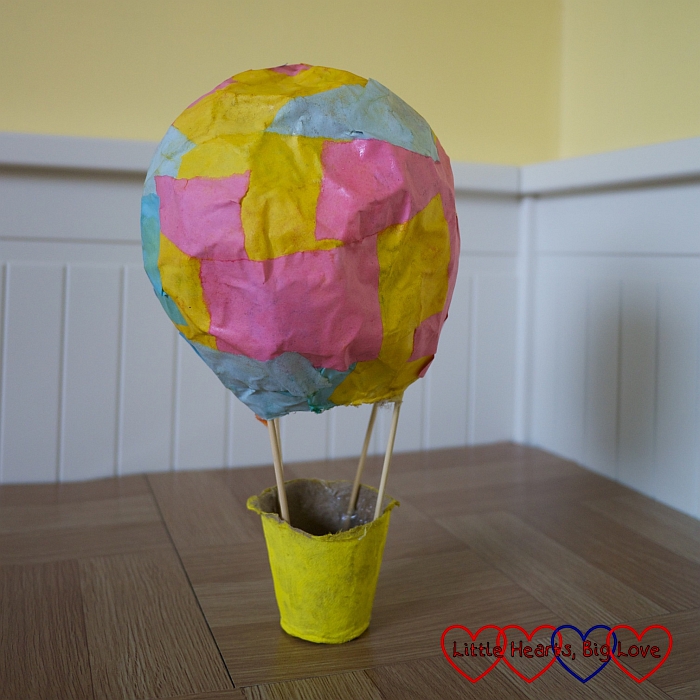
Our finished basket is the perfect size for the girls’ Playmobil figures. I am sure they will have lots of fun playing with it.
We were sent a box of Bostik craft materials as part of being a Tots100 #BostikBlogger
This is lovely! My two love doing paper maché and I’m always surprised at how easily they can do it without making an inordinate amount of mess!
Nat.x
It’s amazing isn’t it – I thought Sophie would make much more mess than she did x
Ahh! That looks fab! We haven’t made anything with paper maché for ages….I feel like we need to now x
Thanks Kim, we had lots of fun making it 🙂