
I love sitting down and doing crafts with Sophie. She’s now at the age where she likes to be able to do as much as possible by herself, with only a little help and encouragement from me. This lighthouse is a great craft activity for infant-school age children. It’s simple to make with minimal adult help, and looks very effective.
You will need:
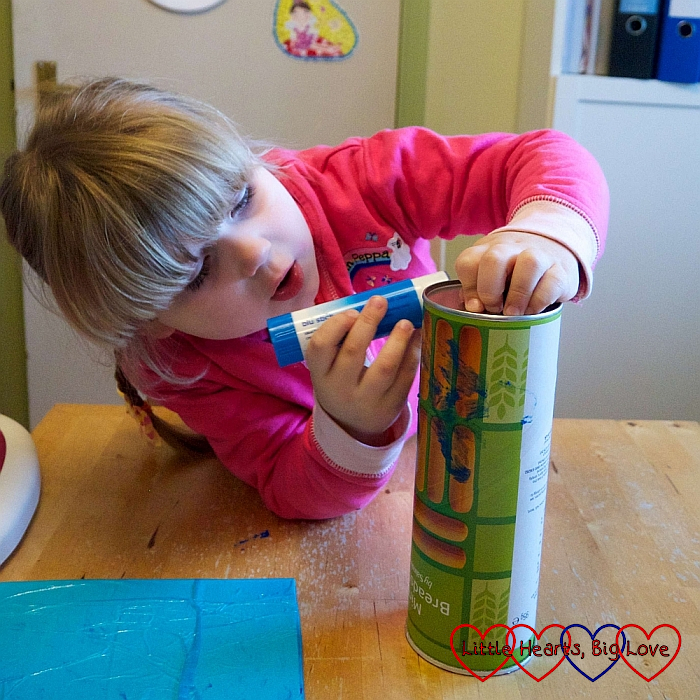
- A large cardboard tube with a lid (such as an empty Pringles tube)
- A piece of cardboard (approx. 20cm x 20cm for the base)
- A clear plastic yogurt pot
- A piece of white paper
- Blue tissue paper
- Grey or silver tissue paper
- Glue
- Scissors
- Red sticky tape
- Clear sticky tape
- Marker pen
- A battery-powered tea light
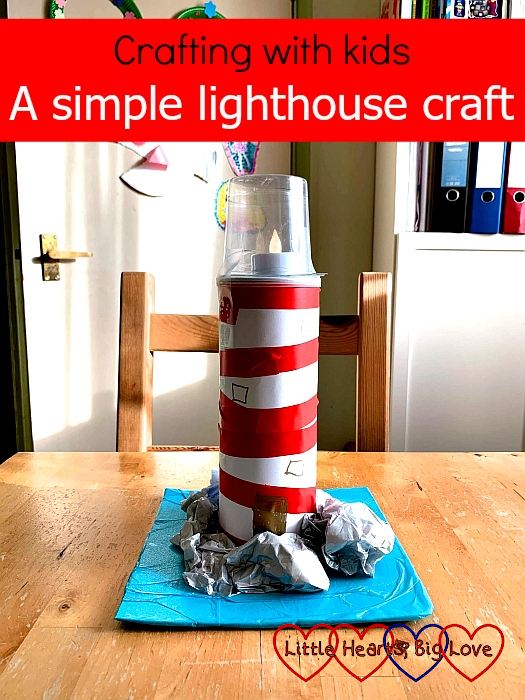
1) Glue a piece of blue tissue paper to the piece of cardboard to make the base for the lighthouse.
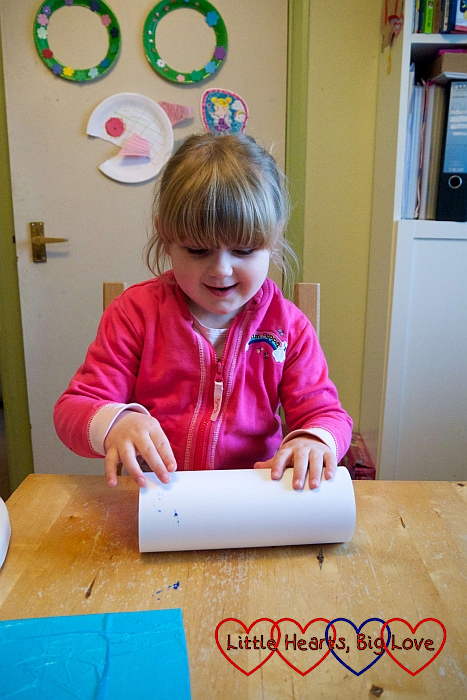
2) Spread glue all over the cardboard tube. Cover with the white paper and trim around the edges if needed.
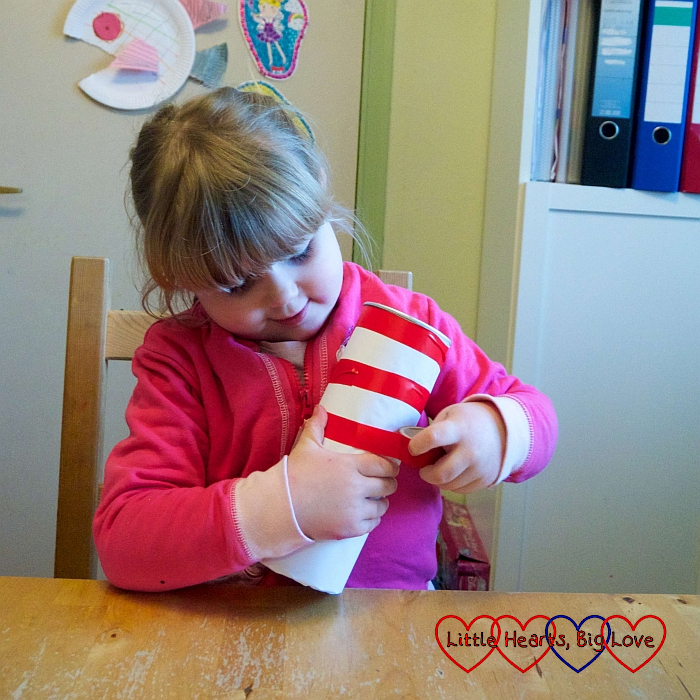
3) Use red sticky tape to create horizontal stripes going up the tube.
4) Glue the tube to the blue cardboard base with the lid uppermost.
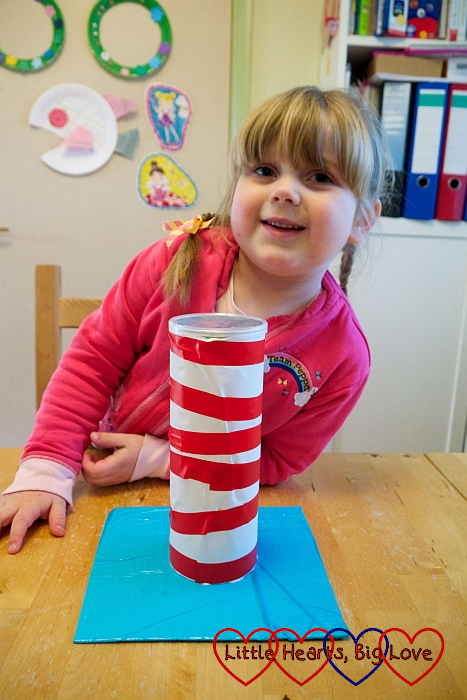
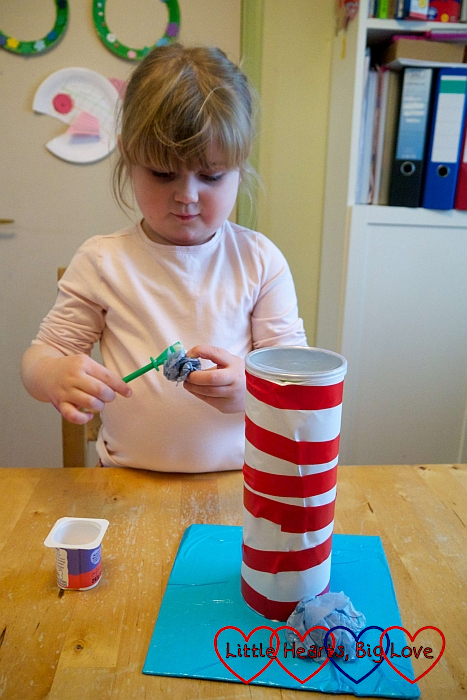
5) Scrunch up pieces of grey or silver tissue paper to make the rocks around the base of the lighthouse. Glue in place around the bottom of the cardboard tube.
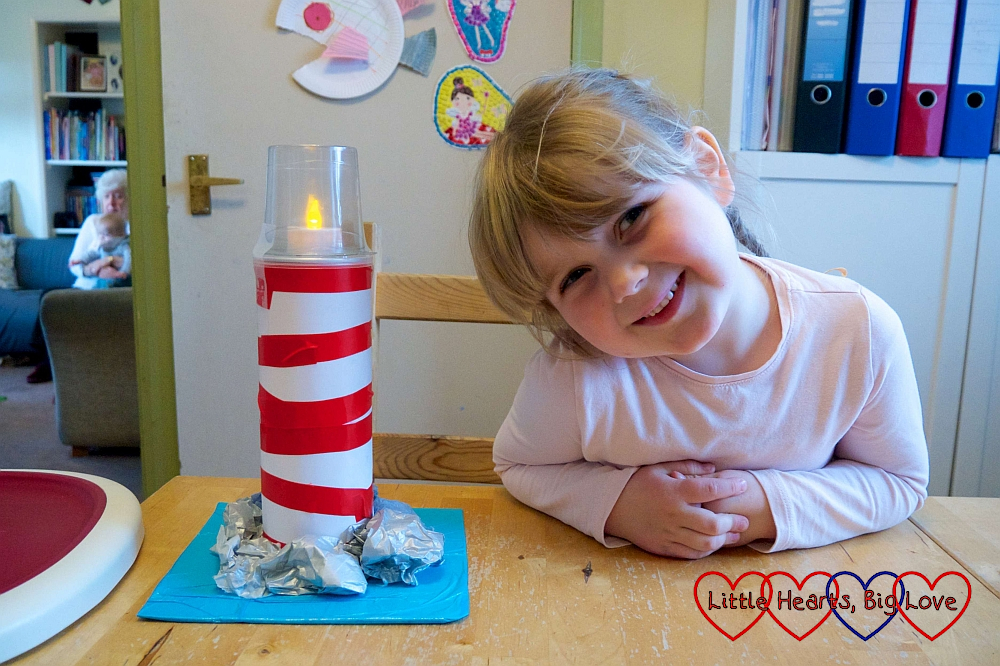
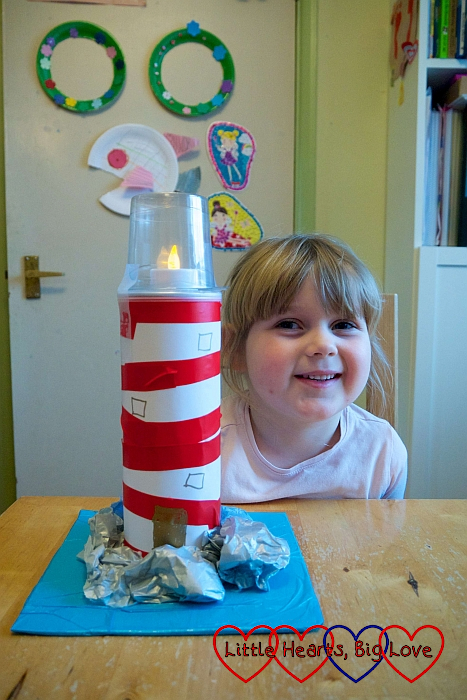
6) Turn on the battery-powered tea light and place on the lid of the cardboard tube. Place the clear plastic yogurt pot over the top and use a couple of pieces of clear sticky tape to hold in place.
7) Use a marker place to add any details, such as windows and doors.
We made sure to just use enough sticky tape to hold the yogurt pot in place, but still make it easy to remove so we could turn the tealight on and off. It would probably have been a little easier to have added the marker pen details before we stuck the lighthouse to the base, but we only thought about doing it once the lighthouse was finished!
Oh, so cute! My grandson loves to make things. He would enjoy this. I am going to collect the supplies so we can do it the next time he stays with us. Thank you for sharing!
How beautiful! And what great way to recycle while you craft and create.
I love this idea! It looks really sweet, especially with a real light at the top. And I’m always hoarding bits of packaging etc for future craft projects, so it’s great to get some inspiration for more recycling crafts like this. Well done Sophie (and mum)! xx
#KidsandKreativity
Oh I love lighthouses, and this is such cute craft idea to do! I also love the fact that your upcycling old containers. Thanks for linking up with #KidsandKreativity, really hope you can join me again next time x