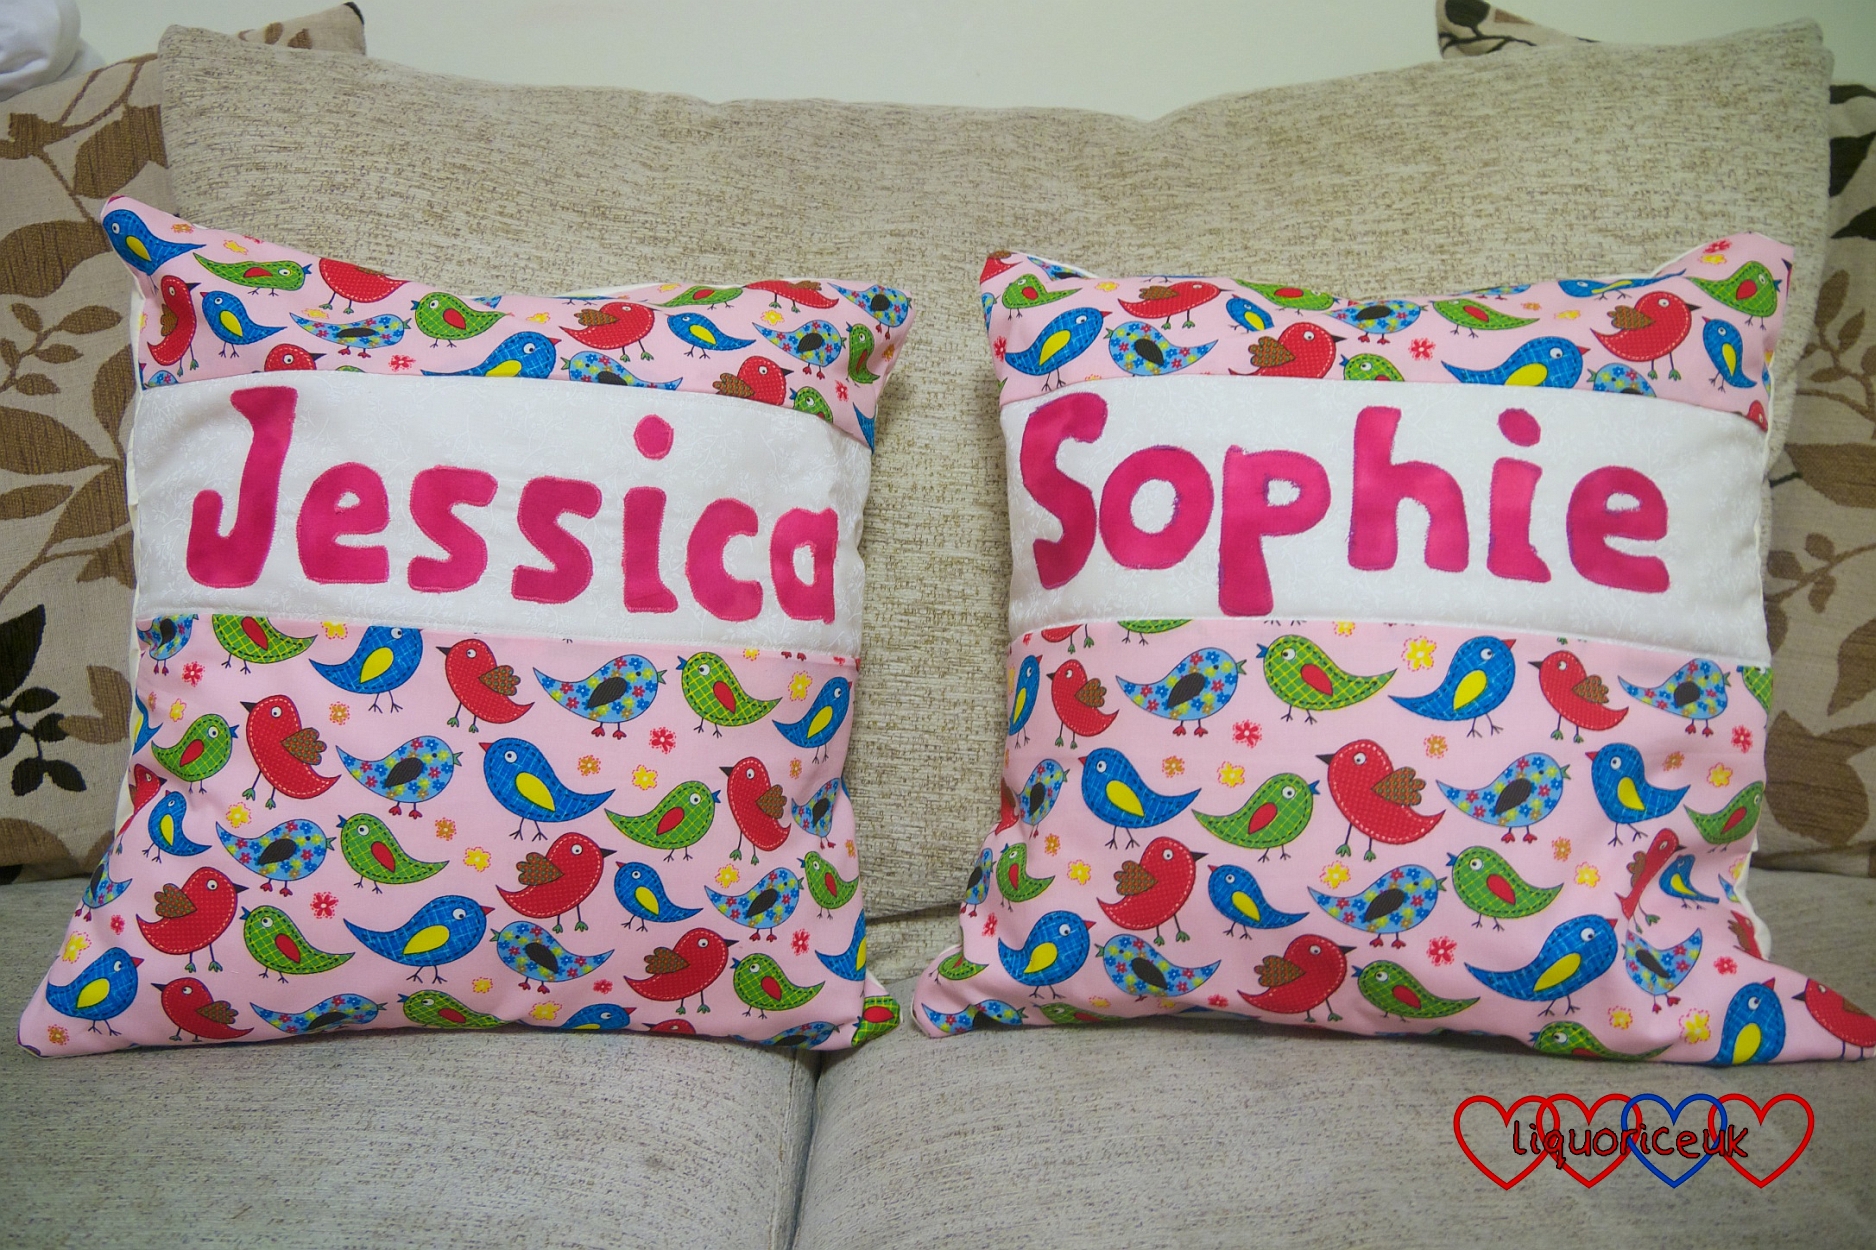
One of my latest craft projects has involved making a couple of cushions with the girls’ names on them. I love how pretty these cushions are. The middle panel could be personalised with any name (not too long though!) or with shapes instead.

To make a cover for a 15 inch square cushion, you will need:
- Thin cardboard
- Bondaweb
- Greaseproof paper
- 1 piece of wadding (measuring 17 inches x 17 inches)
- 1 piece of white or cream fabric for the name background (measuring 17 inches x 5 inches)
- 2 pieces of patterned fabric for the front of cushion (one measuring 17 inches x 9 inches, the other measuring 17 inches x 5 inches)
- 2 pieces white or cream fabric for the back of the cushion(both measuring 17 inches x 13 inches)
- 1 piece patterned fabric for the letters
1) Draw the letters for your chosen name out on to card and cut them out.
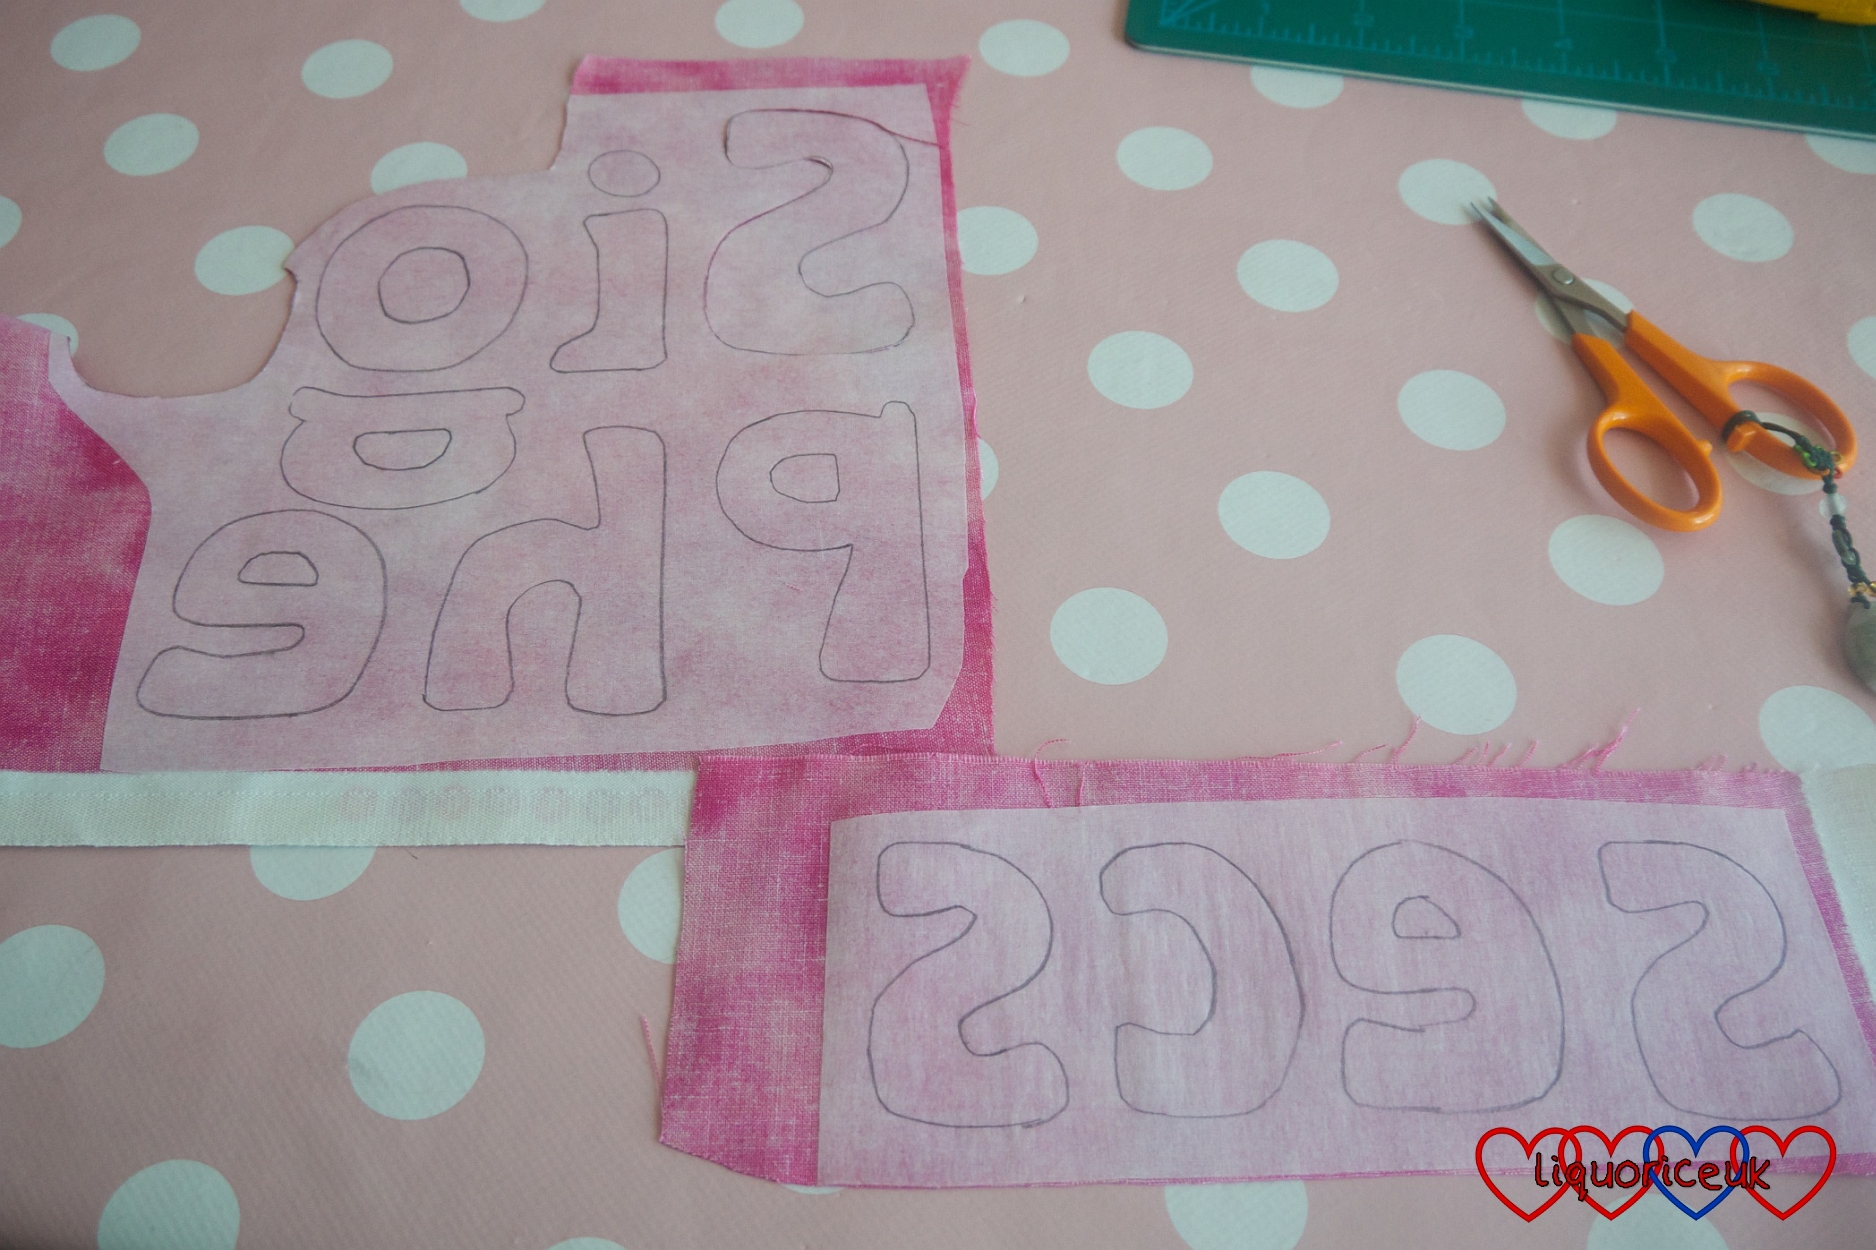
2) Turn the letter shapes over so they are reversed, place on the smooth side of the Bondaweb and trace around the letters.

3) Place the Bondaweb on to the wrong side of the fabric (rough side down) and then use a hot iron (no steam) to press it on to the fabric.
4) Cut out the letters using a sharp pair of scissors.
5) Gently peel off the Bondaweb from the back of the fabric taking care not to fray the edges. The wrong side of the fabric will be left with a layer of adhesive on it.
6) Place the letters right side up onto the background fabric and place between two layers of greaseproof paper and press with a hot iron. The letters should now be attached to the background fabric.
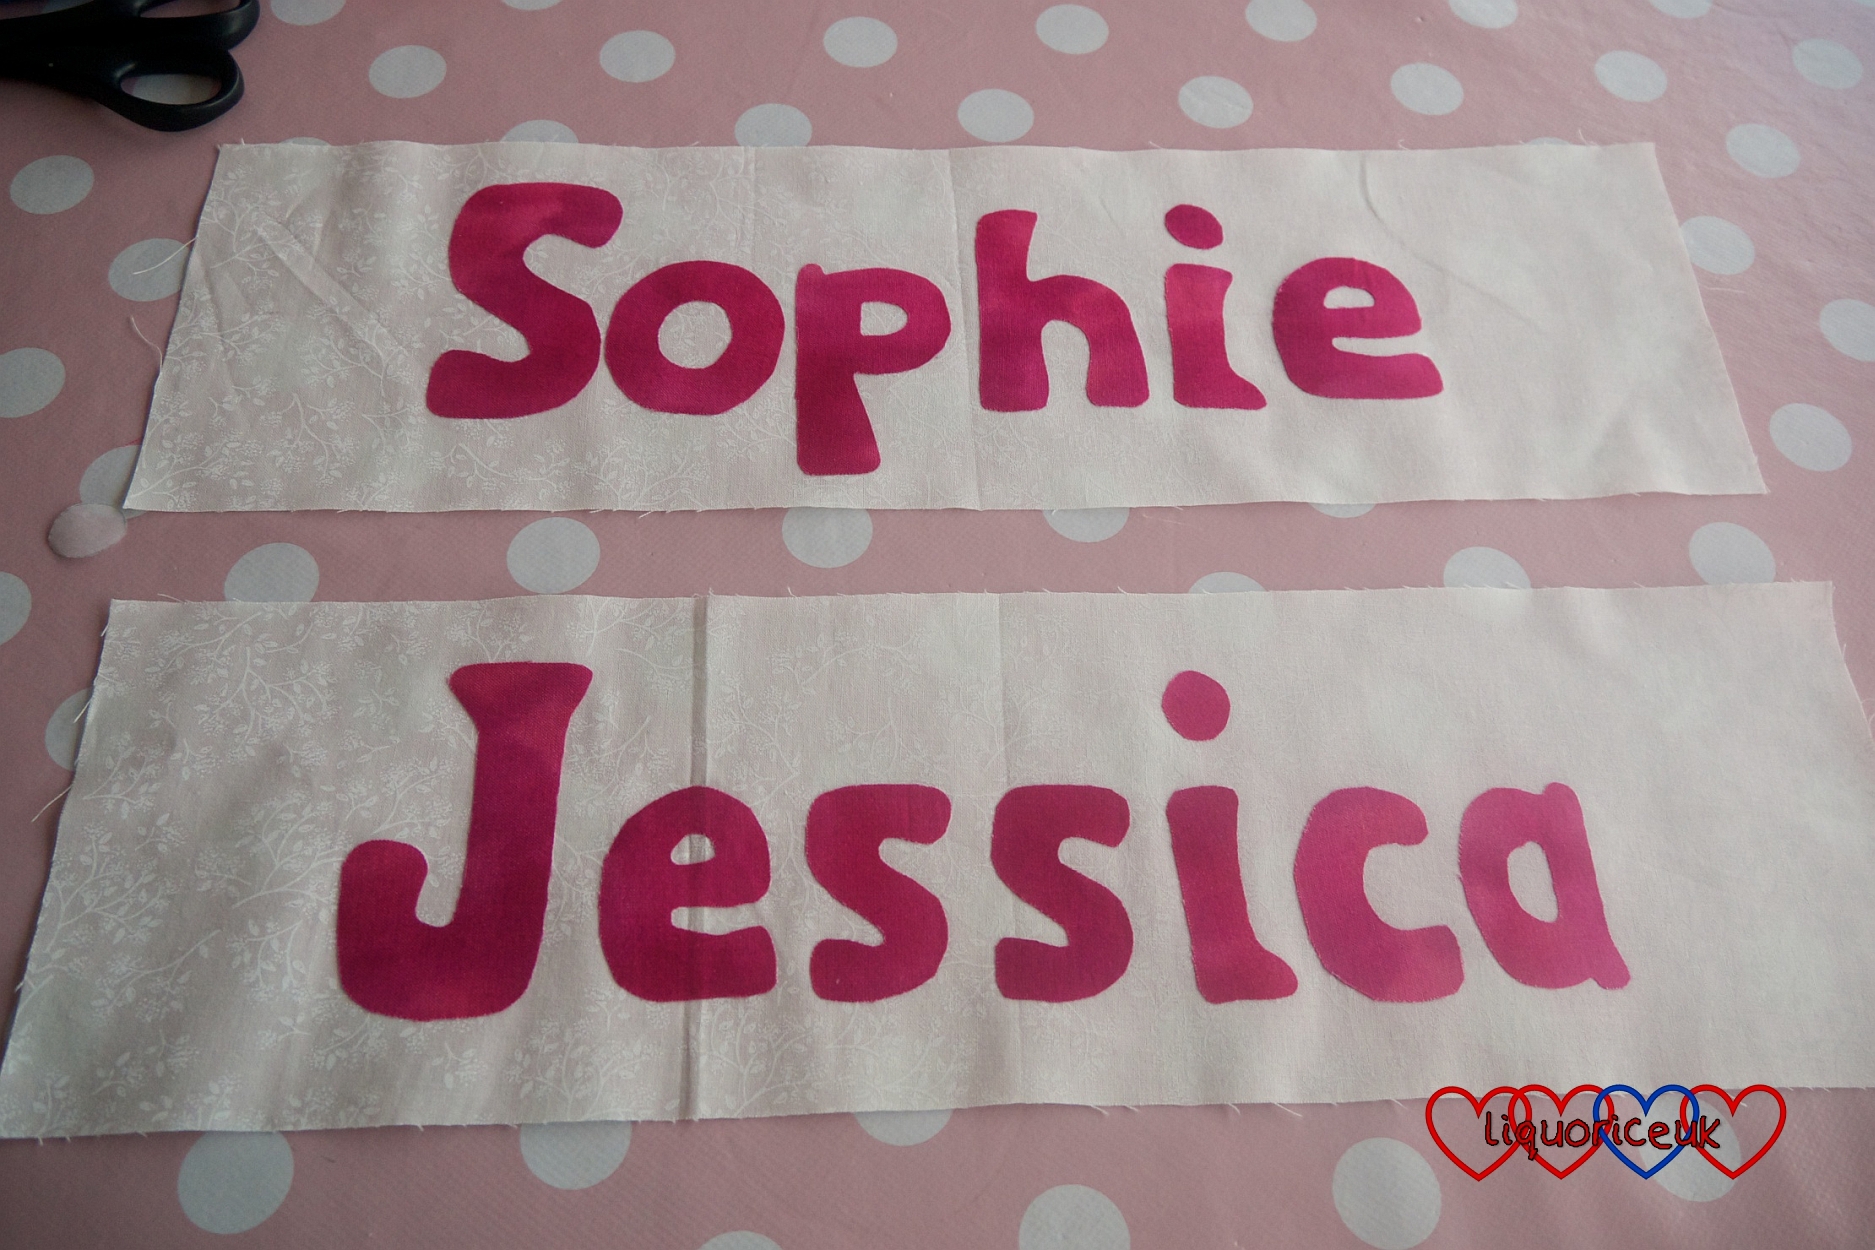
7) Appliqué the letters either by hand using a blanket stitch or by machine using a small zig-zag stitch.

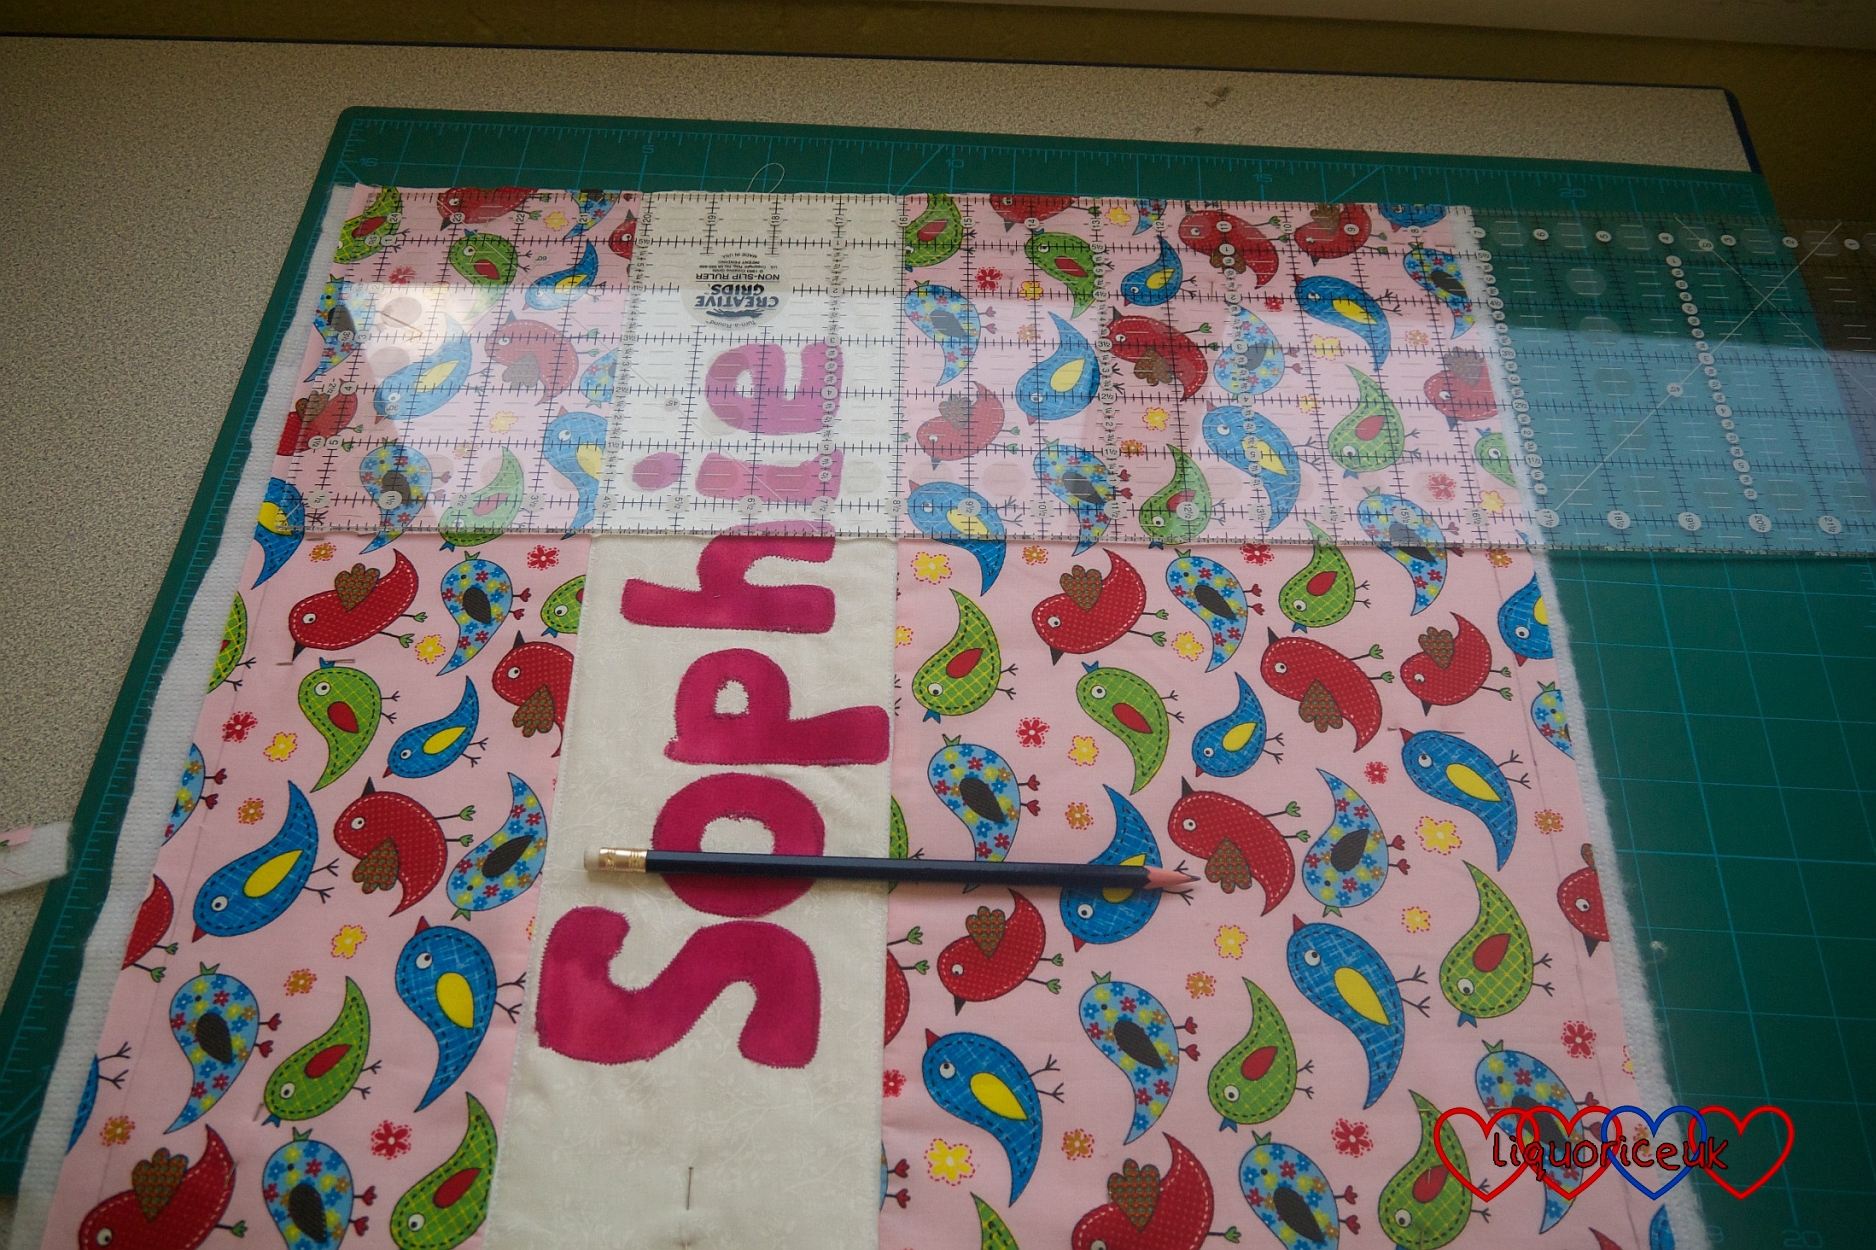
8) Place one of the patterned pieces and the fabric with the name on right sides together, pin and stitch. Repeat on the other side with the other piece of patterned fabric. Open out and press the seams away from the piece with the name on. You can choose whether to use the wide piece at the top or the bottom – I used it at the bottom on my cushion. The front piece of your cushion should now look something like this:

9) Place the front piece of your cushion on top of the wadding (right side up), pin and stitch across the top and bottom of the name band with a straight stitch.
10) Measure out and trim the front of the cushion so that it is 16.5 inches square.
11) Make a narrow double-fold at one of the long edges of each piece of the fabric for the back of the cushion and stitch to make a neat hem.
12) Place the two back pieces overlapping on to the front piece of the cushion (right sides together) and stitch all the way round to sew them together (I stitched round the edges twice to increase the strength of the stitching).

13) Turn the cushion cover the right way out, insert a cushion and voilá! – one pretty cushion cover!
Linking up with Mummy Alarm for the Mondays Parenting Pin-It Party:
what a great (& simple) idea, they look lovely. Love the bird fabric.
Thank you 🙂
These look adorable! You’re a talented lady, I reserve projects like this for my mum to do for us! x
Thank you – glad I wrote it all down as I’ve got a whole batch of them to do in time for Christmas! 🙂
This is such a cute idea and a great way to add a personal touch to a room. I wish I could use a sewing machine…
Thanks for linking up with our #MondayParentingPinItParty
Thank you – lovely to link up with you 🙂
Lovely idea! I bet they love them! 🙂 x
Thank you – they do 🙂