
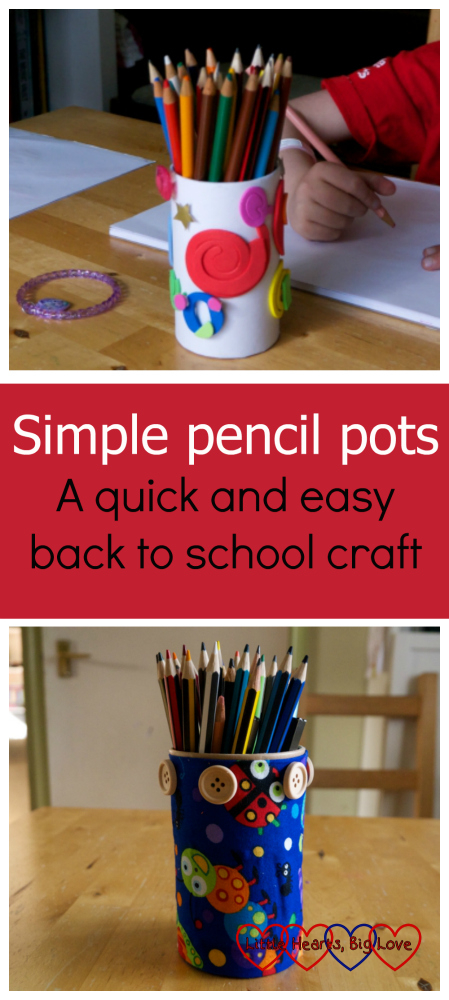
My girls love to draw and having pencils and pens handy is a must in our house. This month’s #BostikBlogger theme is “Back to School.” A pencil pot is always useful to keep those pens and pencils handy when it comes to doing homework (or filling in all those forms that come home in the book bag!) These pencil pots are simple and easy to make, especially the shapes and stars pot which my girls created without any assistance from me.
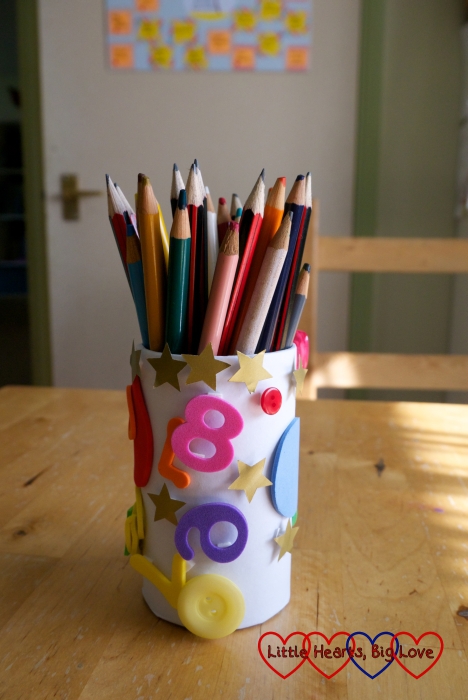
Shapes and stars pencil pot
You will need:
- A cardboard pot
- Foam shapes and paper stars
- Buttons
- Foam pads or glue

Use glue or foam pads to stick foam shapes, stars and buttons to the cardboard pot. We used foam pads to create a 3D effect with the shapes.
Fabric and buttons pencil pot
You will need:
- A cardboard pot or clean tin can
- A piece of fabric big enough to wrap around the pot.
- Glue (we used a Bostik Fine and Wide Glu Pen)
- Buttons
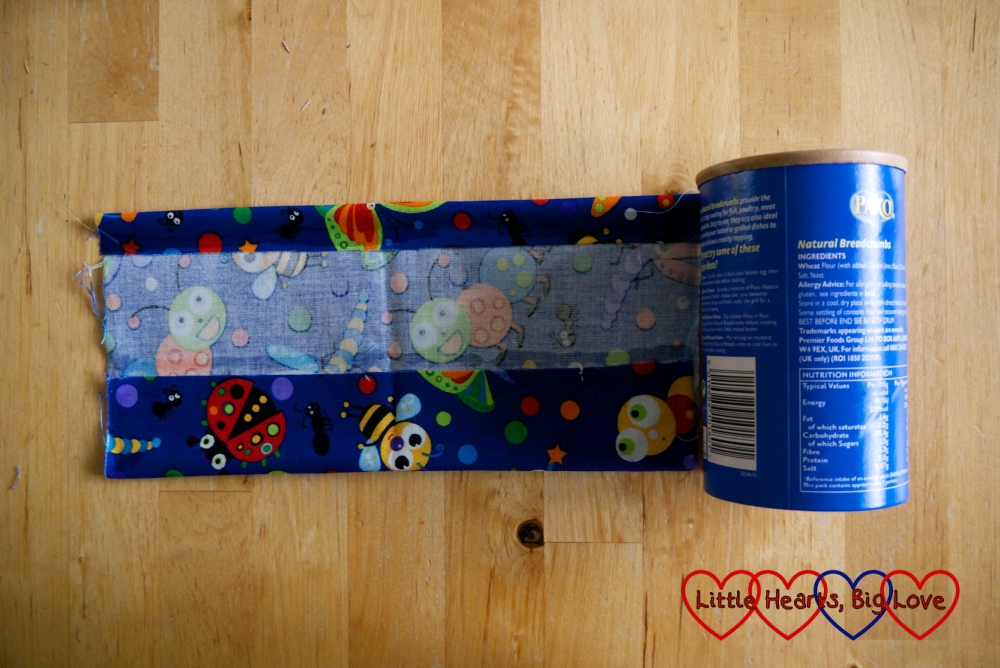
1) Cut the fabric to size. It needs to be a little taller than the pot and wide enough to wrap around with a little extra fabric to spare.
2) Place the fabric on a table, right side down. Put glue at the top and bottom edges. Fold in each edge (making sure that once both edges are folded in, the fabric is the same height as the pot) and press down.
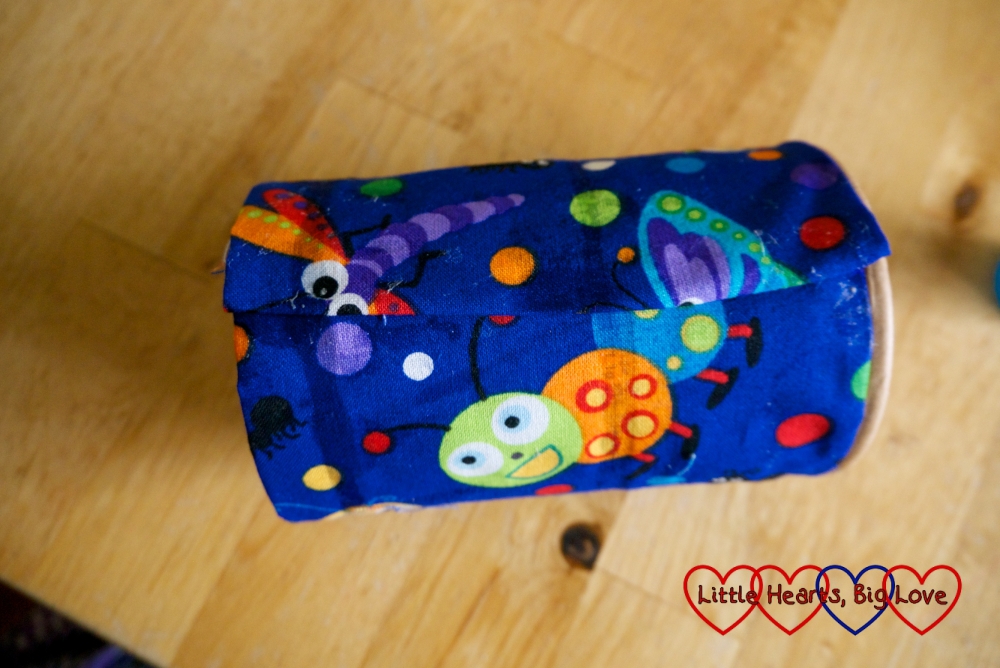
3) Cover the pot in a layer of glue.
4) Wrap the fabric around the pot (right side out). Fold the edge of the fabric under to prevent it fraying and glue in place. Allow to dry.
5) Once dry, glue buttons around the top edge to decorate.

We were sent a box of craft materials from Bostik as part of being a Tots100 #BostikBlogger

Oh this is lovely Louise, the pencil pots are just perfect. I don’t know what we’re going to make yet but I’m sure it won’t be as effective as this!
Nat.x
Lovely! I will try to make similar pencil pot for my child and will leave her to decorate it. Thank you for the idea.