One of the many things I’m enjoying about doing more outdoor learning with Sophie is teaching her about different plants and flowers. She’s getting quite good at identifying the different plants that she spots in the garden. We’ve been taking a closer look at flowers recently, and learning more about the different parts inside a flower.

I remember learning this myself at school, but that was quite a long time ago. There were a few things I remembered – the fact that flowers have male and female parts and reproduce via sexual reproduction as well as the names of some of the parts – but I couldn’t have told you which was which! Taking a closer look at the flower with Sophie was a learning experience for me too, as we learned about the different parts together.
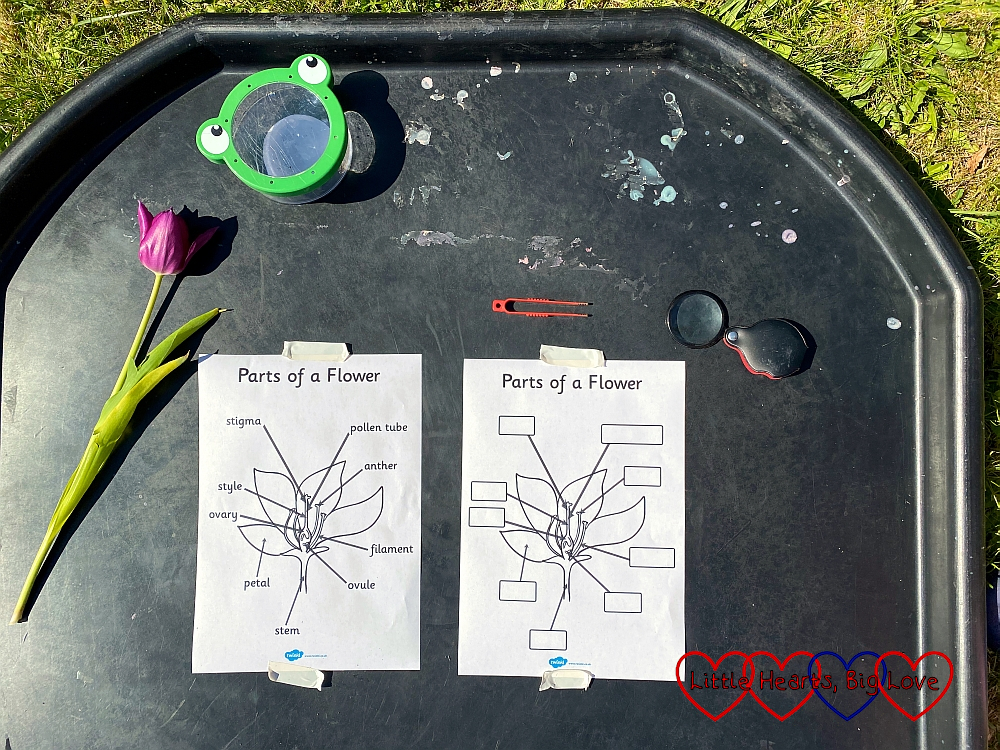
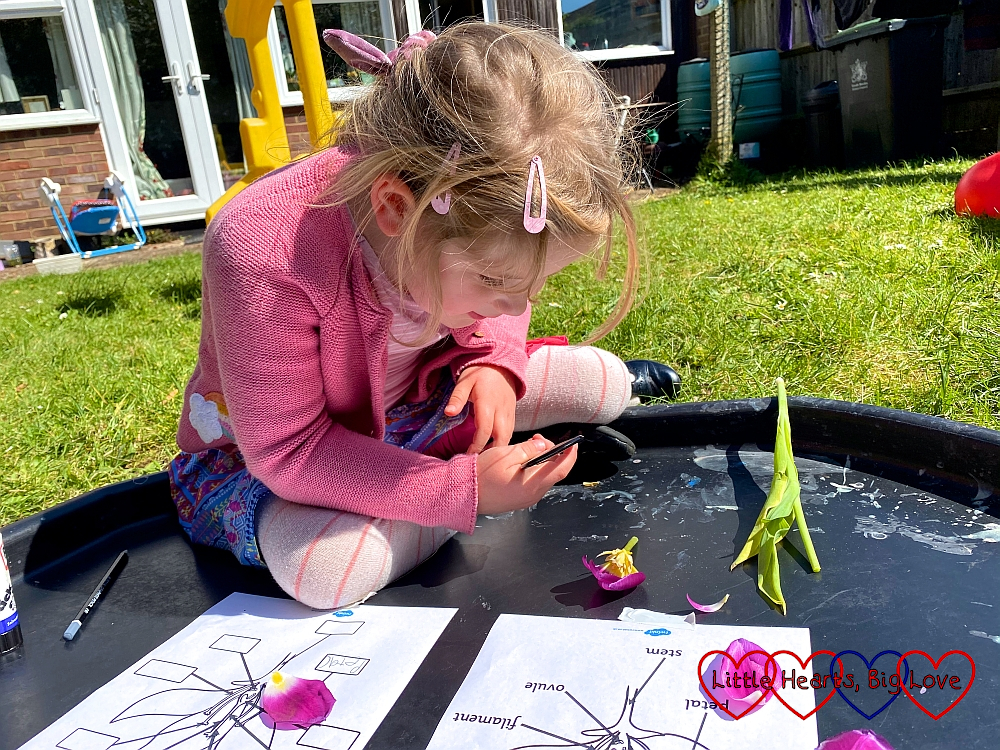
Tulips are good for this as they have large parts which are easier to identify. I printed off a couple of worksheets from Twinkl and set up the tuff tray with the worksheets, tulip, a magnifying glass and a pair of tweezers.
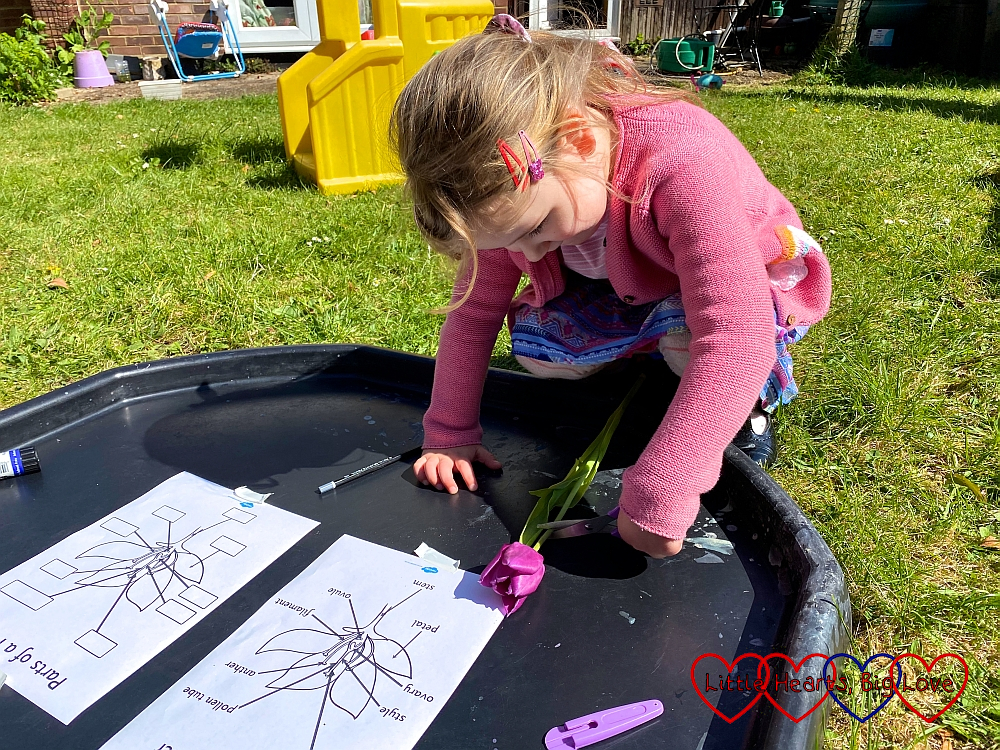
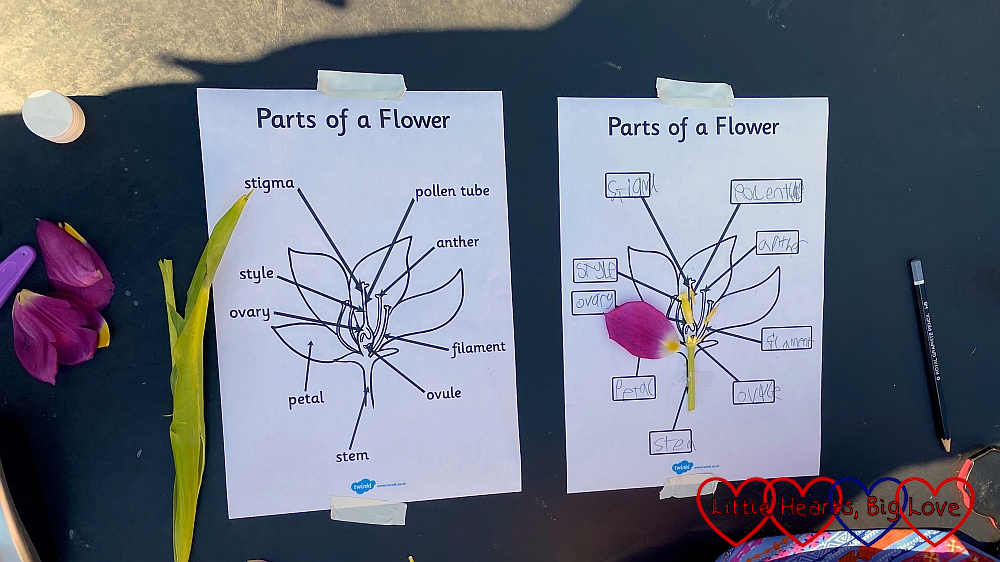
Identifying the petals and stem and sticking them to the worksheet was a nice easy start for Sophie. Once she’d removed a couple of petals, we could then get a closer look inside at the carpel, the female part of the flower, in the middle of the tulip, surrounded by the stamens, which are the male parts.
Each stamen consists of two parts – the anther and filament. The filament is the long thin part of the stamen and the anther is the sac on top, where pollen is produced. The pollen can be dispersed by the wind or through sticking to pollinators, such as birds or bees, when they touch the anther.
The carpel (or pistil) is shaped like a bowling pin. It is made up of the stigma, style, ovary and ovule. The ovary is the rounded end at the bottom of the carpel. Inside the ovary are the developing seeds – the ovules. The style is the tube-like structure above the ovary. At the top of the style is the stigma. This has a flat sticky surface which captures the pollen carried there by wind or pollinating insects or birds. The pollen then germinates and produces a pollen tube down the style. When this reaches the ovules, it fertilises them. The seeds then develop inside the ovary, which swells to transform the flower into a fruit. I used a sharp knife to cut open the carpel so that Sophie could take a closer look inside.
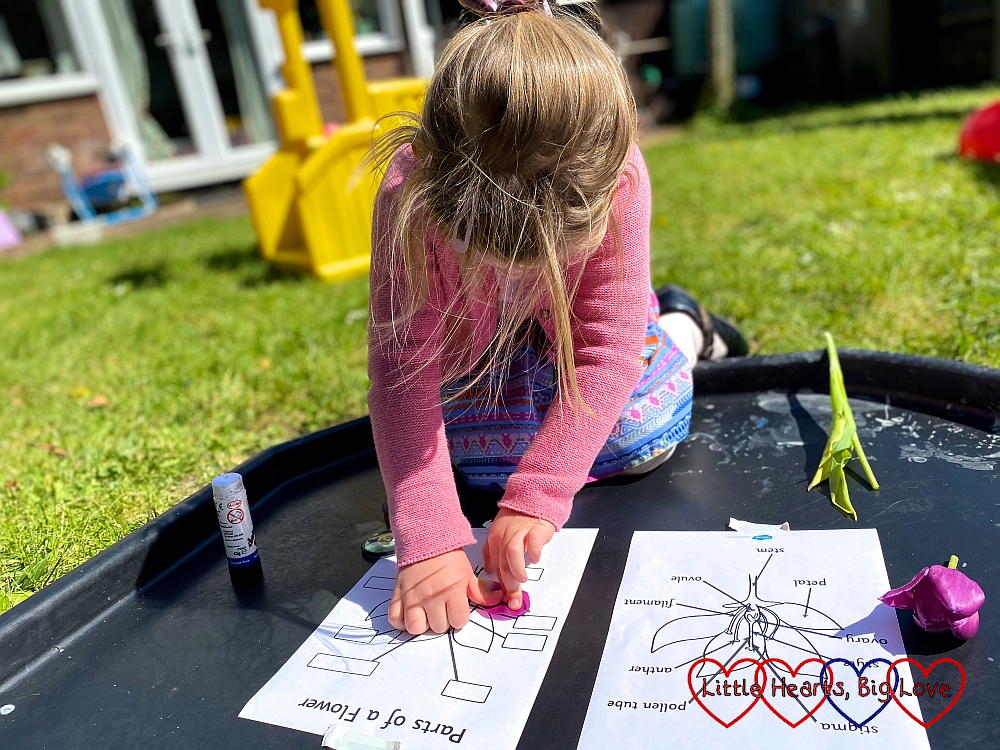
Sophie loved taking a closer look at the parts of the flower. I’m not sure she took in a lot of the information about each of the parts. It is a little advanced for Year 1, to be fair! She had fun sticking them on her sheet and labelling them though.
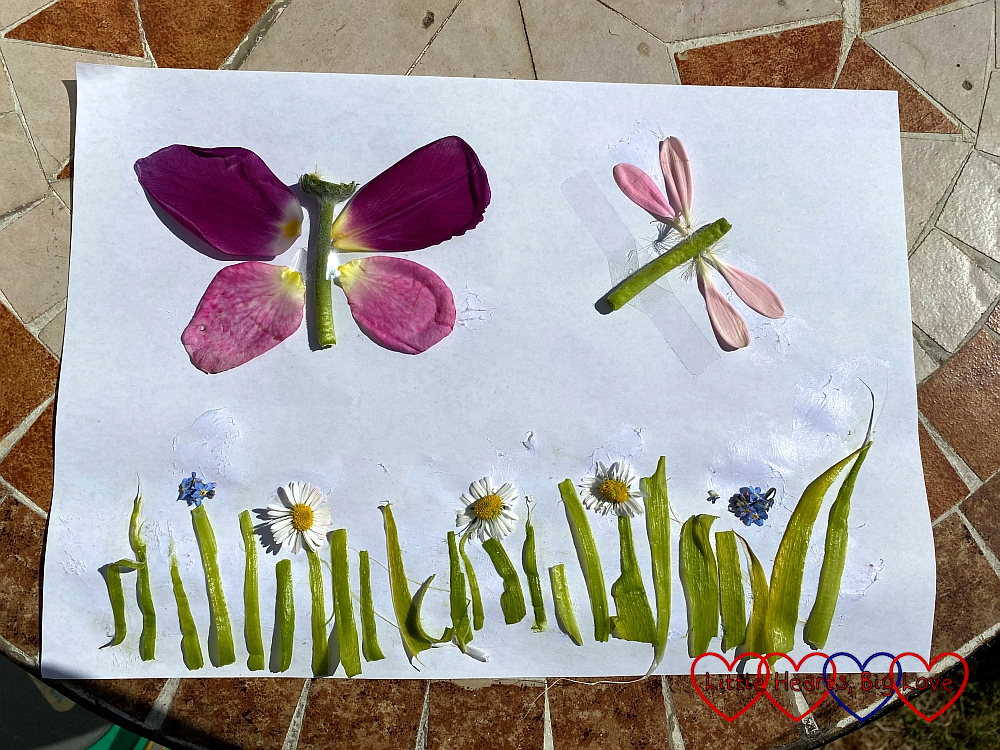
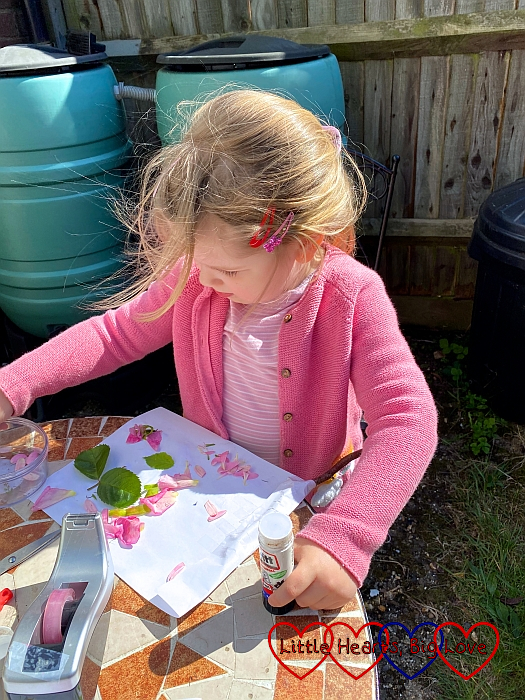
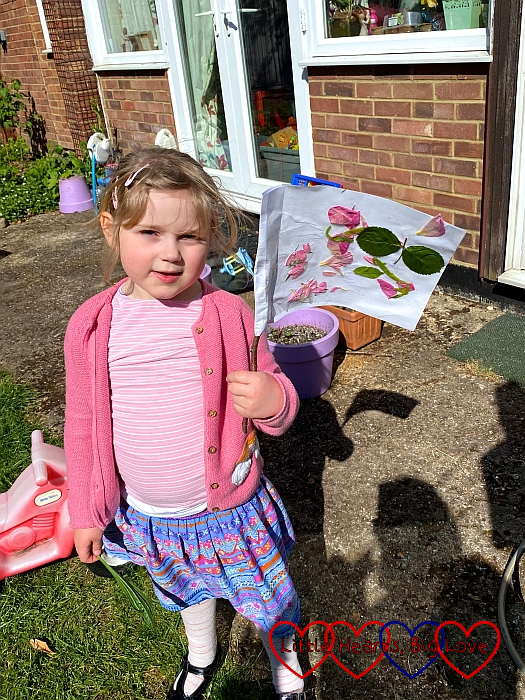
After we finished looking at the parts of the flower, we had fun collecting petals and leaves from around the garden to make some nature art. I made a picture of a butterfly and dragonfly while Sophie enjoyed using hers to make a pretty flag.
I love how I find myself learning (or re-learning!) new things through doing home learning with Sophie. I’m not sure which of us enjoyed our outdoor learning session the most!
I would agree that this forced period of “homeschooling” has also been beneficial to parents! I have rekindled my love of gardening through seeing my daughter become our “head gardener” 🙂
Love your butterfly picture and Sophie’s pretty flag.
Take care xx
#CountryKids
Oh how lovely that your daughter is enjoying gardening. I’ve definitely found that the children have helped encourage me to take more of an interest in nature.