
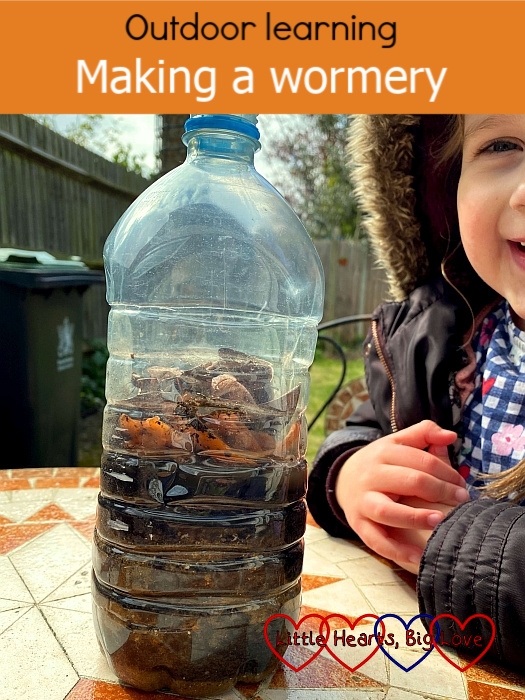
Sophie has been enjoying our various outdoor learning sessions over the last few weeks. We’ve created a little ‘Muddy Puddles’ area in our back garden as a space for her to explore, dig up, look for mini beasts or grow things. We see a lot of worms in that area when she is digging away. Making a wormery out of a plastic bottle is a great way to take a closer look and learn more about the worms.
You will need:
- A plastic bottle (1.5l or 2l is ideal)
- Scissors
- Sharp sand
- Compost
- A trowel
- A spray bottle filled with water
- A pot to collect worms in
- Plastic tweezers (optional)
- Dead leaves and/or vegetable peelings
- Black card
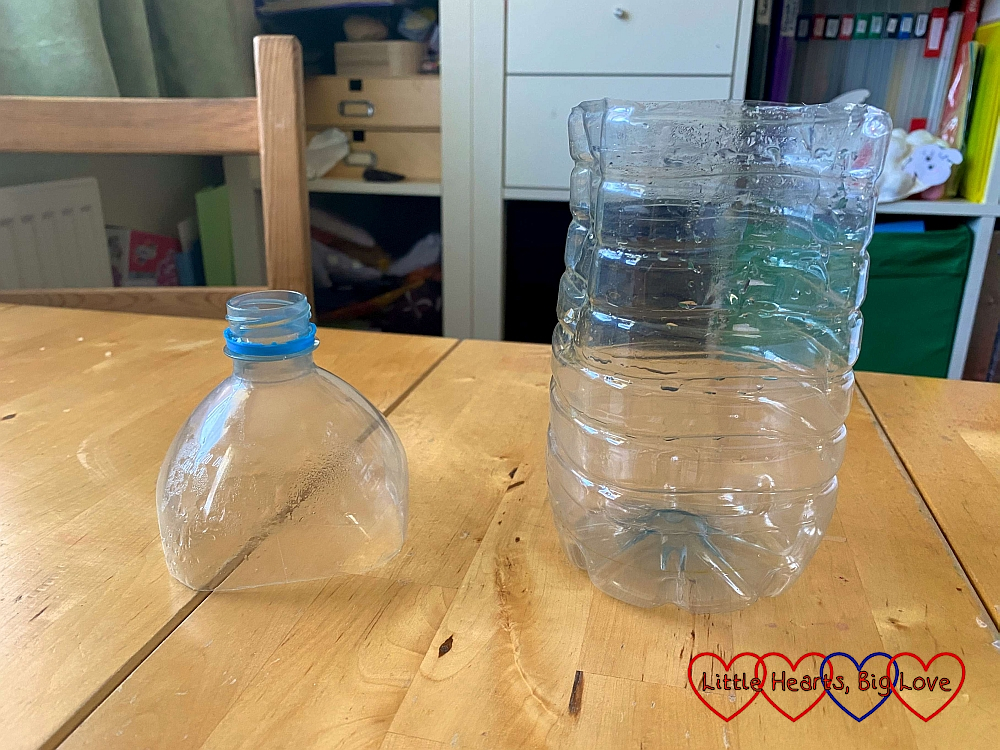
1) Cut the top off the plastic bottle and cut a slit in the side of the top part so you can put it back on the bottom part later.
2) Add a thin layer of sharp sand to the bottom of the bottle. Moisten with water using the spray bottle.

3) Add a thin layer of compost on top of the sharp sand. Moisten with water using the spray bottle.
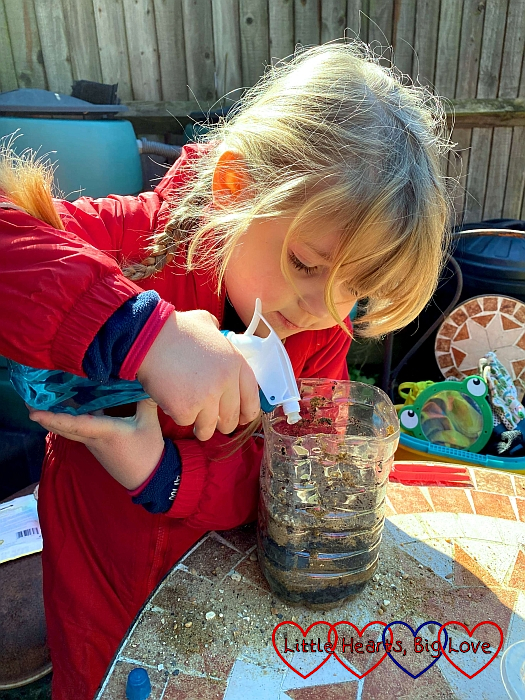
4) Repeat steps 2 and 3 until the bottle is about three-quarters full.
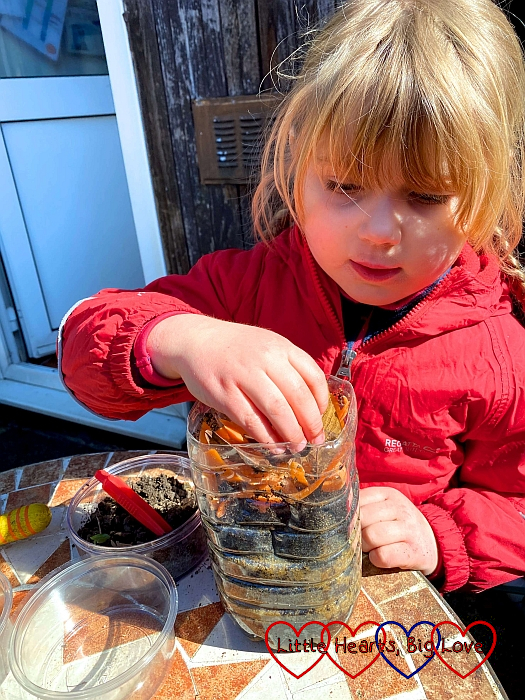
5) Collect some worms from the garden to put in the wormery. Add these on top of the compost layer and watch them burrow down.
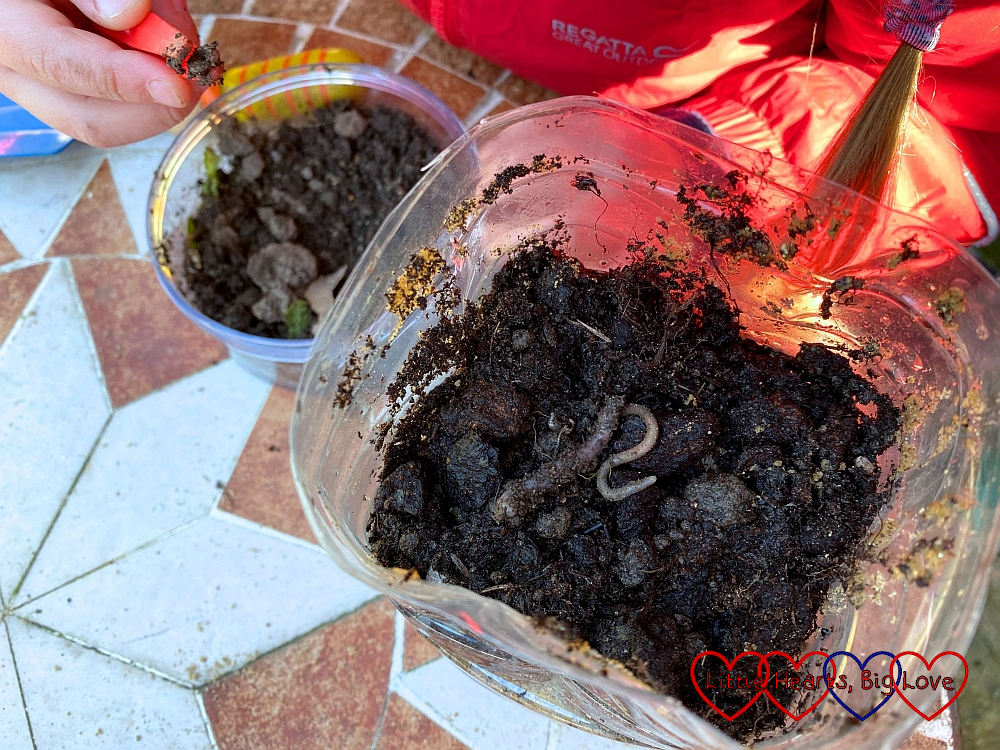
6) Add a layer of dead leaves and/or vegetable peelings (not onion or citrus fruits) on top to provide food for the worms. Replace the top back on the plastic bottle.
7) Wrap the black card around the bottle to keep it nice and dark inside. This will help encourage the worms to burrow around the edges of the bottle.
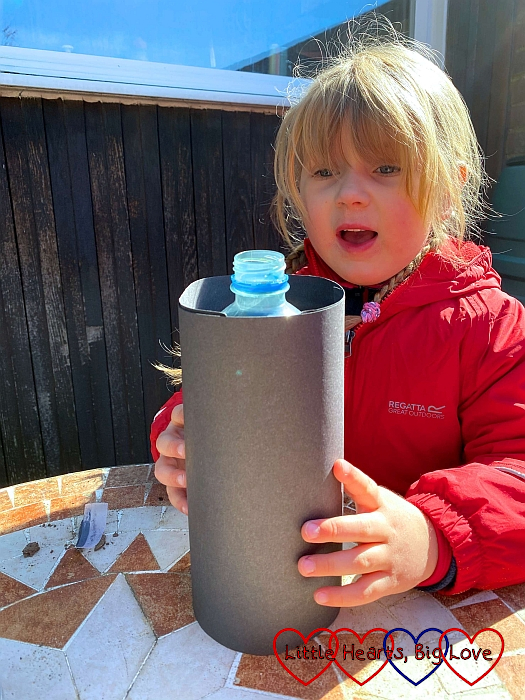
8) Keep the bottle in a warm dark place. Remove the cardboard every now and then so you can observe the worms. Make sure that the layers are moist and that the worms have food and release them back into the garden after a week.
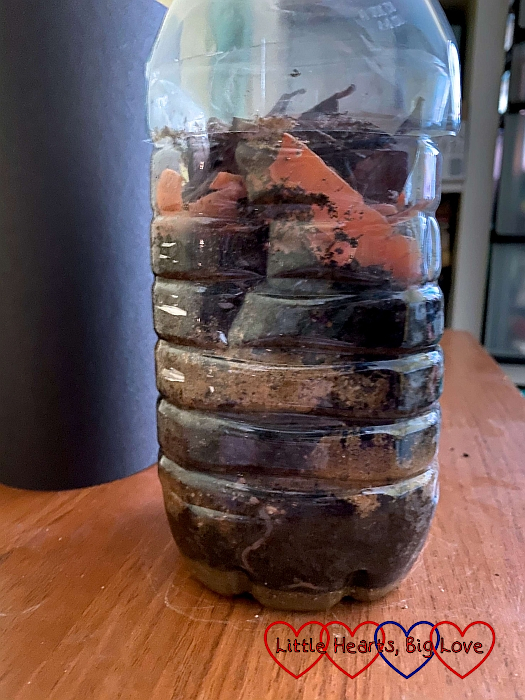
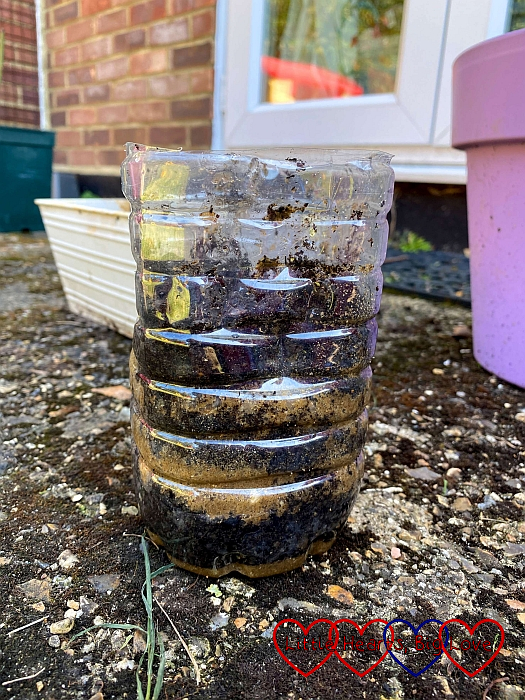
We kept our bottle behind a box in the spare room where it was nice and dark and wouldn’t be accidentally disturbed. It was interesting to see some of the layers start to become a little more mixed over the week and to see the occasional worm tunnel around the edges of the bottle. The layers didn’t get as mixed up as I thought they would. We only had four worms in our bottle though so maybe next time we try this, we’ll add a few more worms.
What a fun and interesting thing to do. A great way to learn about worms x
Thank you Kim. Sophie enjoyed it 🙂
This is such a great STEM activity for tinies who’ll have no idea they’re learning science! We had a full wormery a few years back but it was always swarming with flies so we got rid of it. I bet Sophie loves seeing the worms around the sides of the bottle when they move around. Is it ok with the lid on, i.e without oxygen? Great idea, really like it #countrykids