We’ve been spending a lot more time than usual in our garden over recent weeks thanks to lockdown. I have to admit that it’s looking much better for it! We’ve cleared a small area of the garden for Sophie and part of this area has become our fairy garden. The fairy houses that we made from bottles a few years ago were looking a little tired, so I made a new fairy house from an old flower point to replace them. We also made some mini fairy gardens using toilet roll tubes and paper plates.
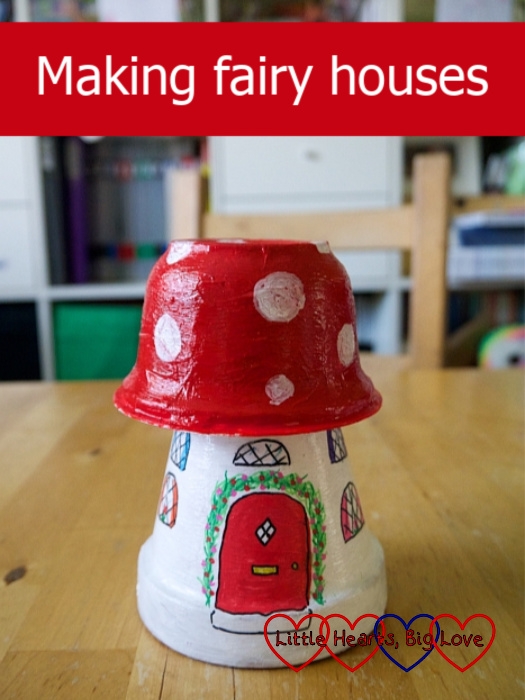
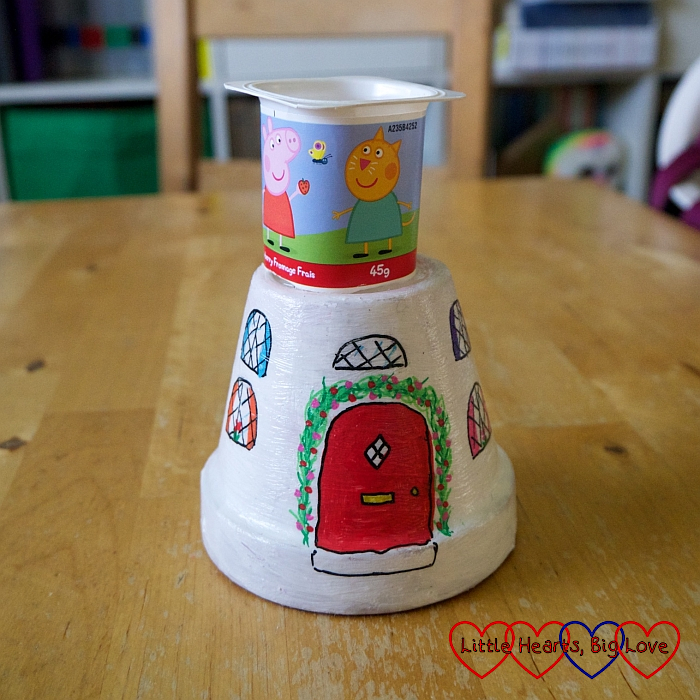
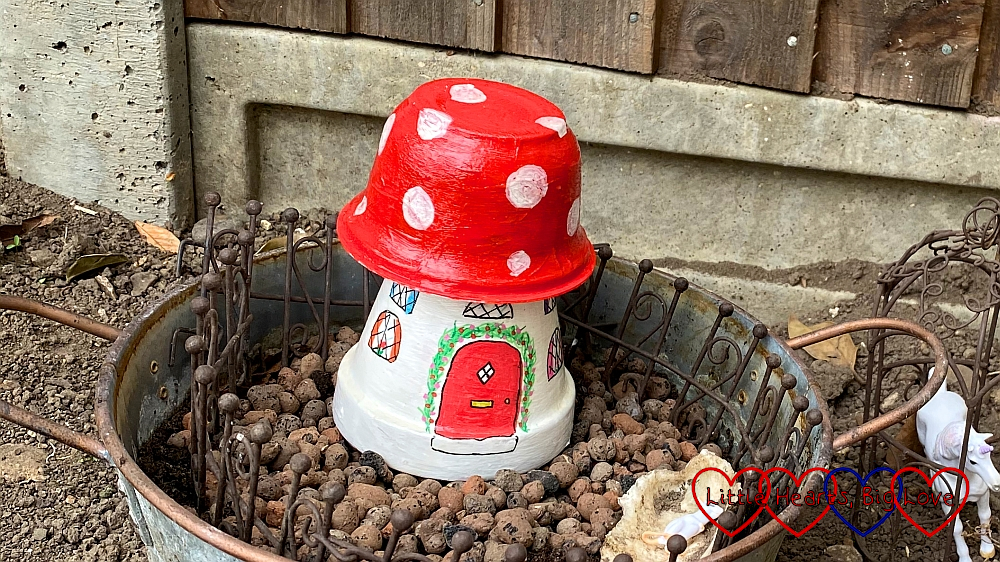
Flowerpot fairy house
You will need:
- A small plant pot
- A plastic pot for the roof (we used a medium-sized yogurt pot)
- A small plastic pot (we used a small fromage-frais pot)
- PVA glue
- White paint
- Red paint
- Tissue paper (optional)
- Paint pens or marker pens (we used POSCA paint pens)
- Outdoor Mod Podge or other clear varnish/sealant
- Superglue
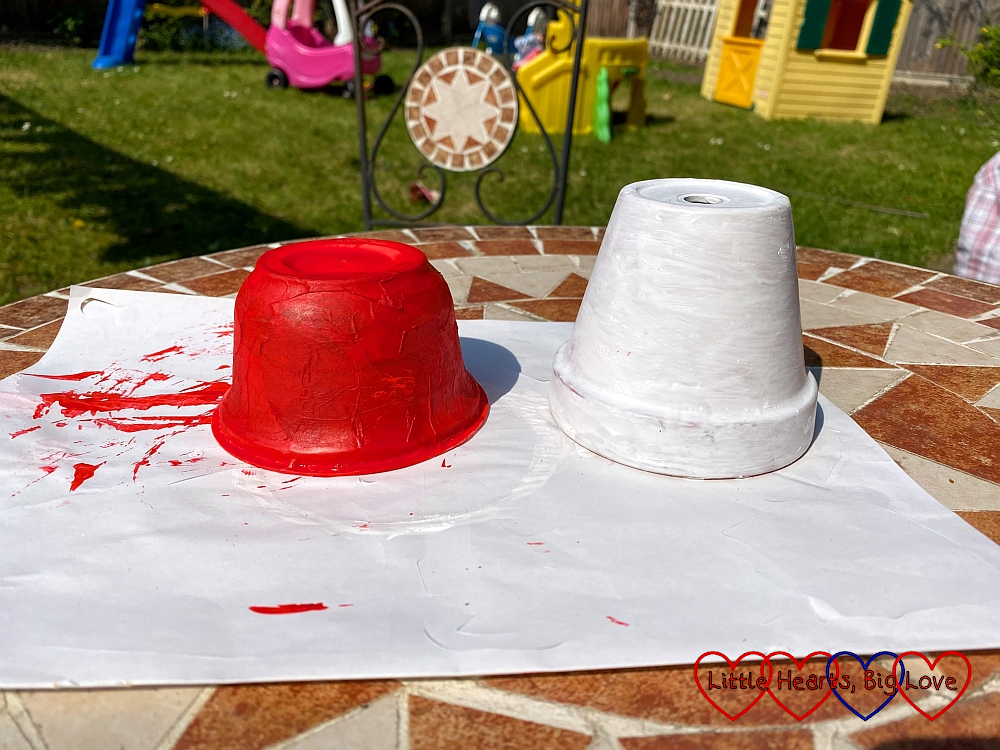
1) Mix equal amounts of white paint and PVA glue and use this to paint the plant pot. Leave to dry, and repeat with a second coat. Add additional coats of paint if needed, leaving to dry between each layer.
2) Mix equal amounts of red paint and PVA glue and use this to paint the plastic pot for the roof. We also cut up small pieces of tissue paper and stuck these over the pot using the paint mixture to help cover up the print on the pot and give us better paint coverage. Leave to dry and add a second coat of paint. Repeat with additional coats of paint as needed, leaving to dry between each layer.
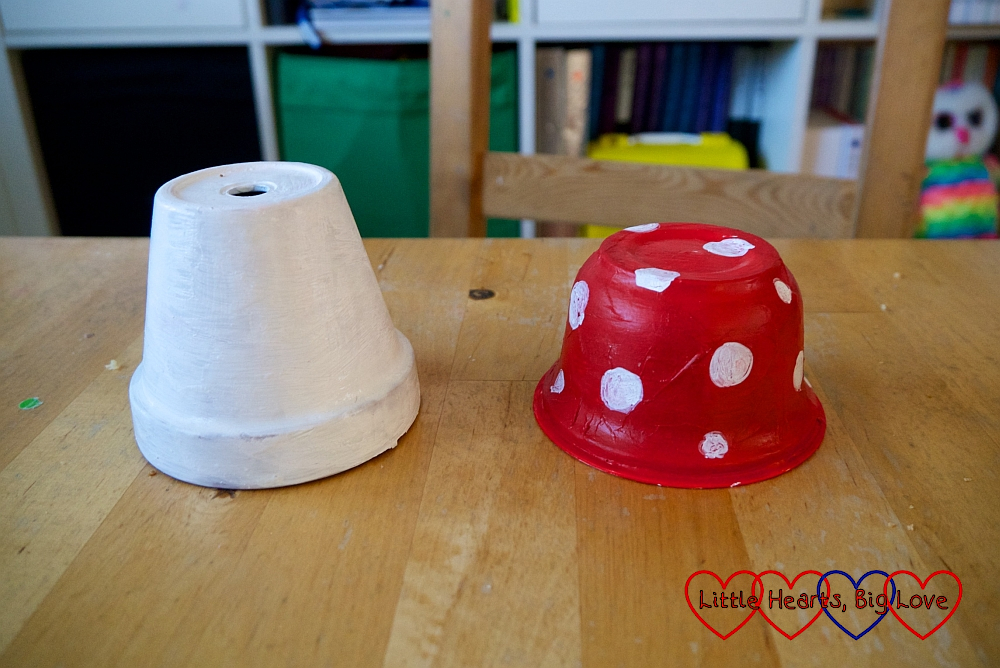
3) Paint circles of white paint on the roof and leave to dry.
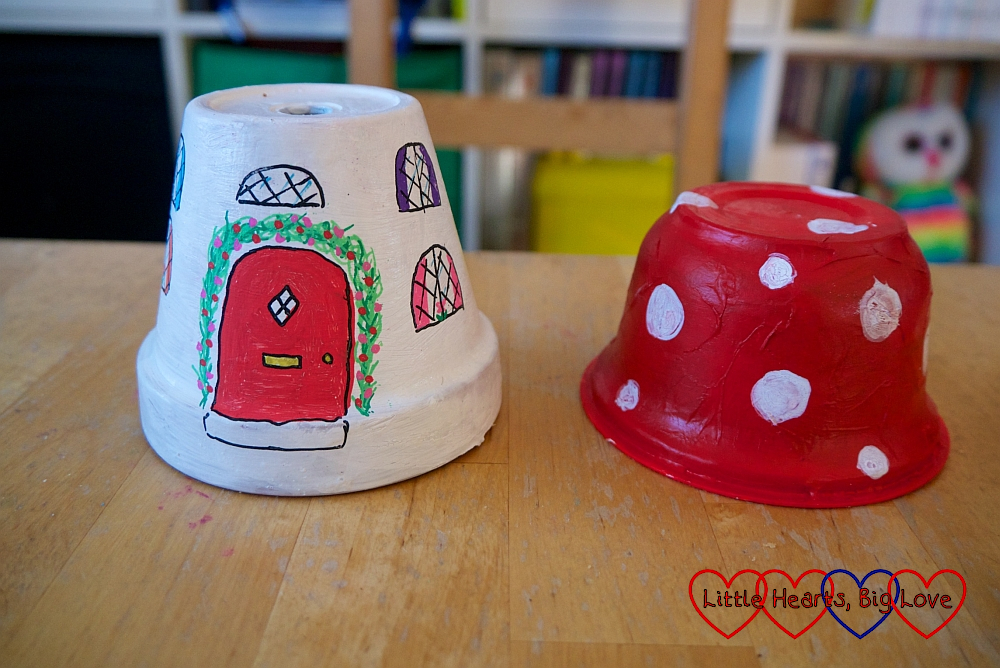
4) Add door and window details to the white pot using paint pens or marker pens. Leave to dry.
5) Paint each pot with a layer of clear varnish/sealant and leave to dry. Repeat twice more to add another couple of layers of sealant.
6) Superglue the small plastic pot to the top of the white pot. Add superglue to the top of the small plastic pot and put the roof on top. Your fairy house is now ready to go out into the garden.
Toilet roll fairy houses
You will need:
- Toilet roll tube
- Cupcake case
- Patterned paper
- Scissors
- Glue
- Marker pens
- A green paper plate (or one painted green)
- Washi tape
- Foam or felt flower shapes
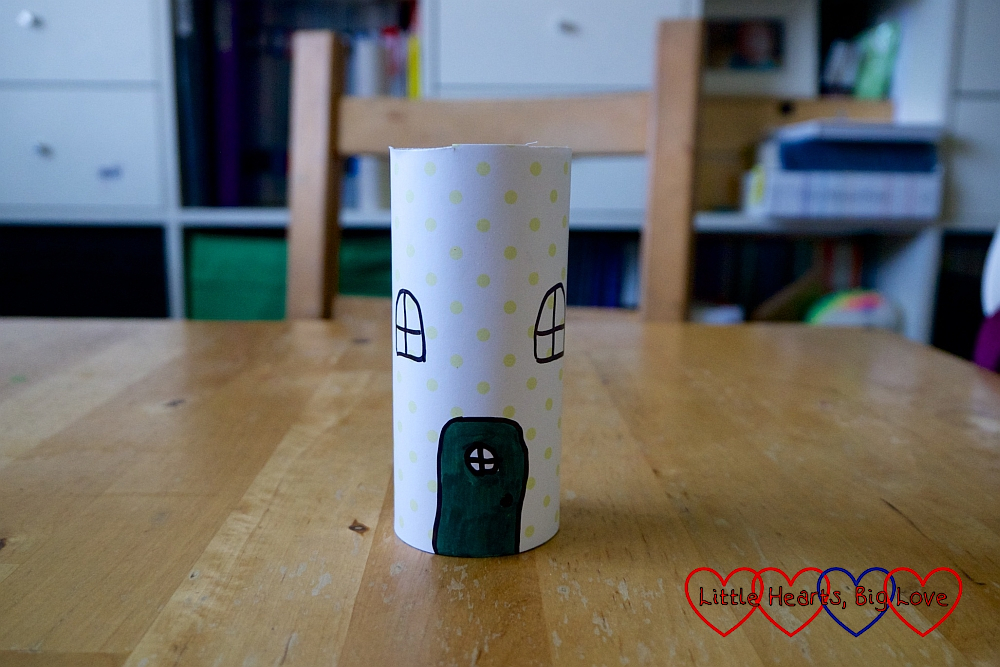
1) Cut a piece of patterned paper the length of a toilet roll tube and wide enough to wrap around it.
2) Draw doors and windows on the patterned paper using marker pens. Glue the piece of paper around the toilet roll tube.
3) Glue the cupcake case on top of the toilet roll tube to make the roof.

4) Glue the toilet roll tube to a green paper plate.
5) Add a couple of strips of washi tape to make a path and decorate the garden around the fairy house with foam or felt flower shapes.
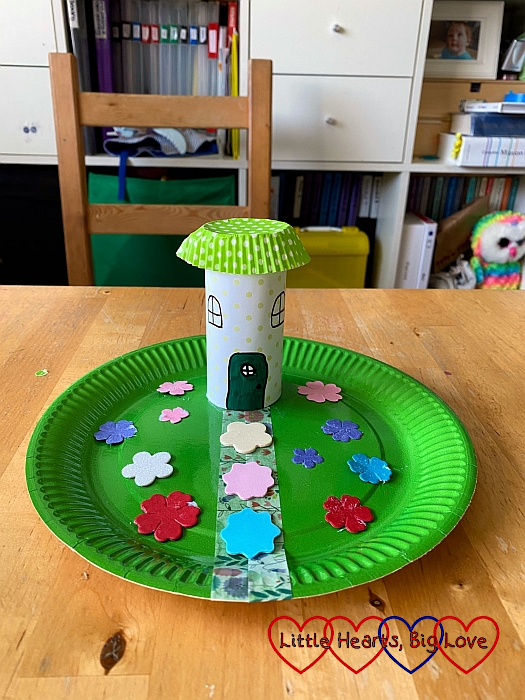
The toilet roll fairy houses were simple for Sophie to make with minimal input needed from me. She particularly enjoyed filling the garden with lots of flowers, hearts and stars for the fairies!
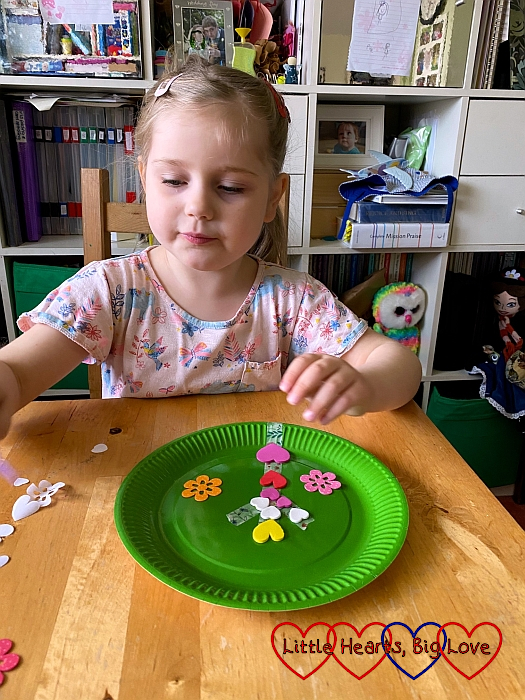
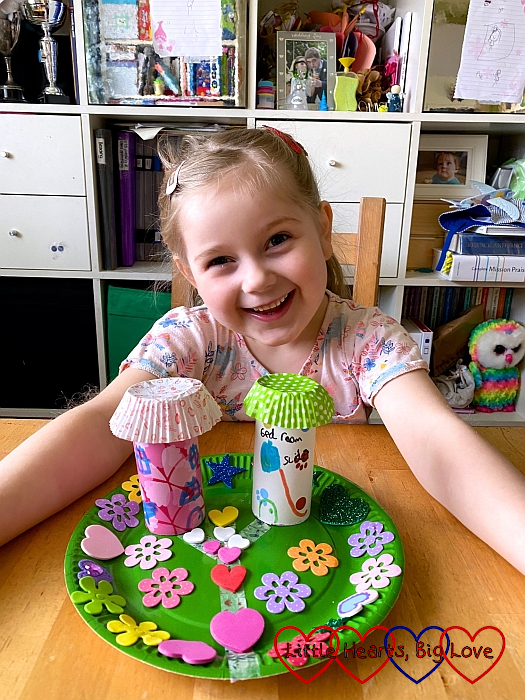
We’ve had fun making our fairy houses. I’m hoping to make a few more fairy houses to go outside in the garden over the next few weeks.



Aww! They are just adorable. What a sweet idea. I do love the Toilet roll fairy house the best. x
As a former early years practitioner, I love this idea#kidsandkreativity@_karenden is
Ohh I love these – they look so cute! 🙂 #kidsandkreativity
this is such a cool idea! #kidsandkreativity
I love these crafty ideas, the plant pot one particularly would be great for displaying on our veg patch. It’s really well painted too. The toilet roll house is sweet, with it’s own little garden, great inspiration #kidsandkreativity
These little fairy houses are so cute, and I really love the garden that Sophie decorated so beautifully! x #KidsAndKreativity
Love these, they are so cute! I keep meaning to make a fairy door and windows for our old apple tree, as my daughter loves fairies! Thanks for sharing at #KidsandKreativity, hope to see you back next time.