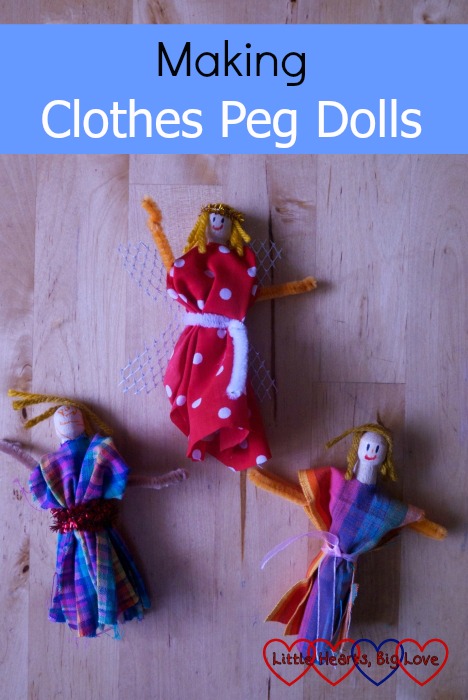
With all the lovely weather we’ve been having this summer, we’ve spent very little time indoors doing crafts. Last week we had a couple of rainy days though, and used it as an opportunity to make some clothes peg dolls. These little dolls are simple to make – although my girls needed a little assistance with a few of the steps.
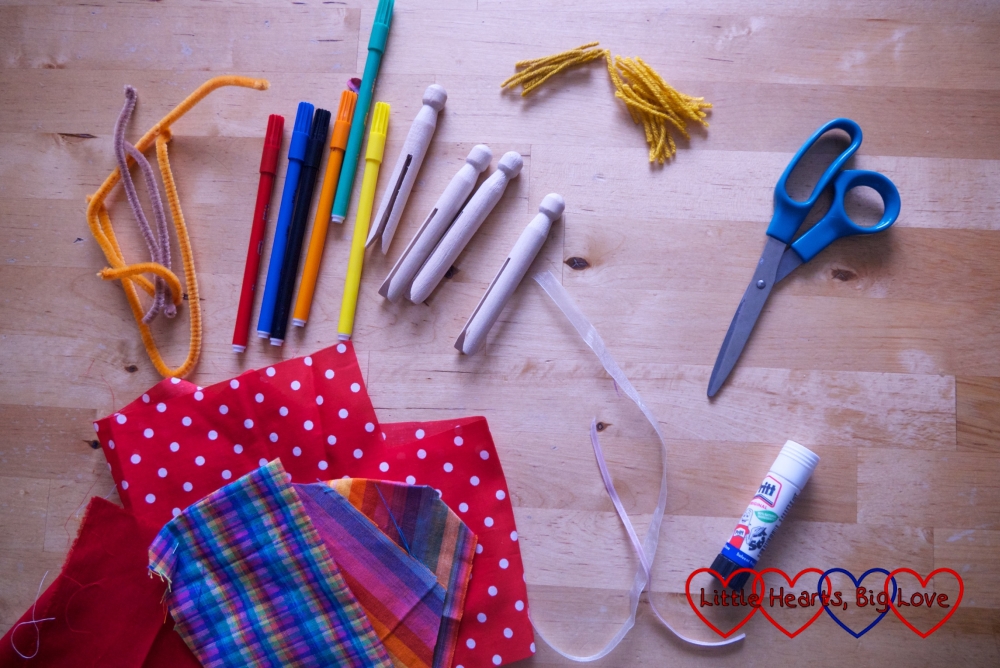
You will need:
Clothes pegs (the dolly peg type)
Pipe cleaners
Scraps of fabric
Pieces of wool
Marker pens
Glue
Scissors
Ribbon (optional)
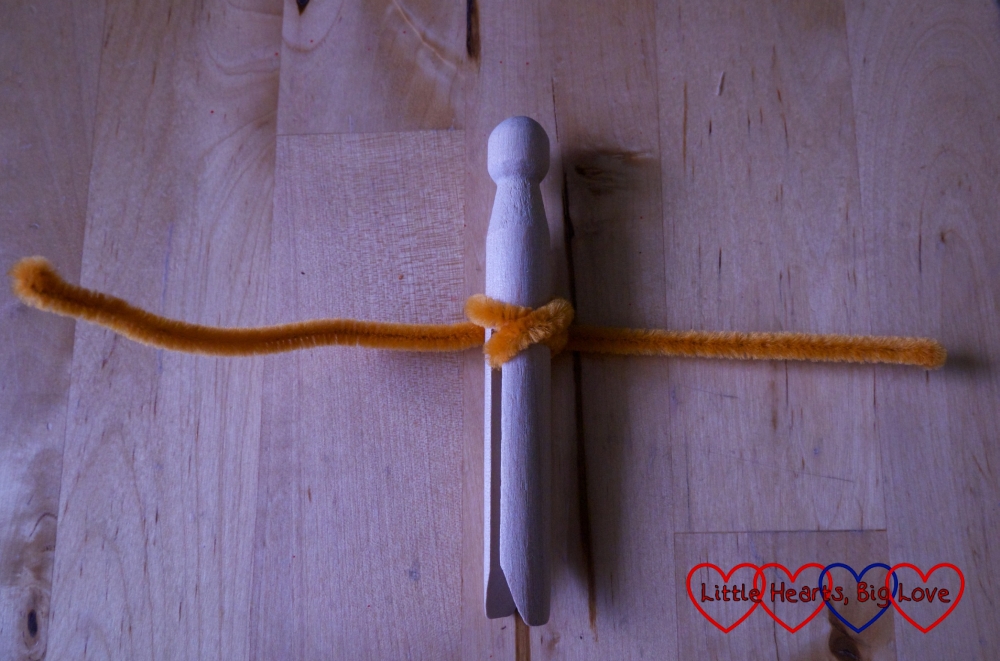
1) Make the arms for the doll by sliding a pipecleaner into the notched end of the clothes peg. You can wrap it around at the top to help secure it if it is long enough.
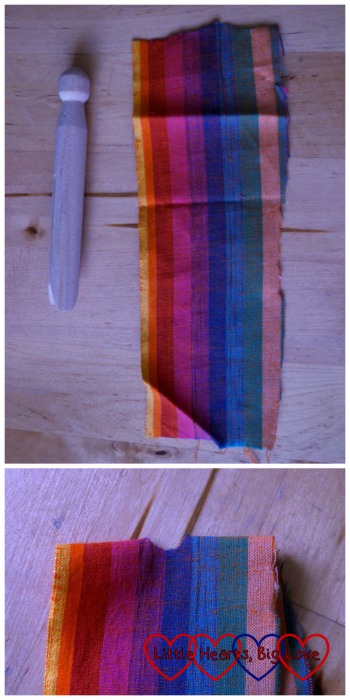
2) Cut a piece of fabric approximately twice the length of the neck section of the clothes peg to the bottom and about 3-4 times the width of the peg. Fold in half and cut a small semi-circle in the middle of the fold to make a hole that’s just big enough for the head of the peg to go through.
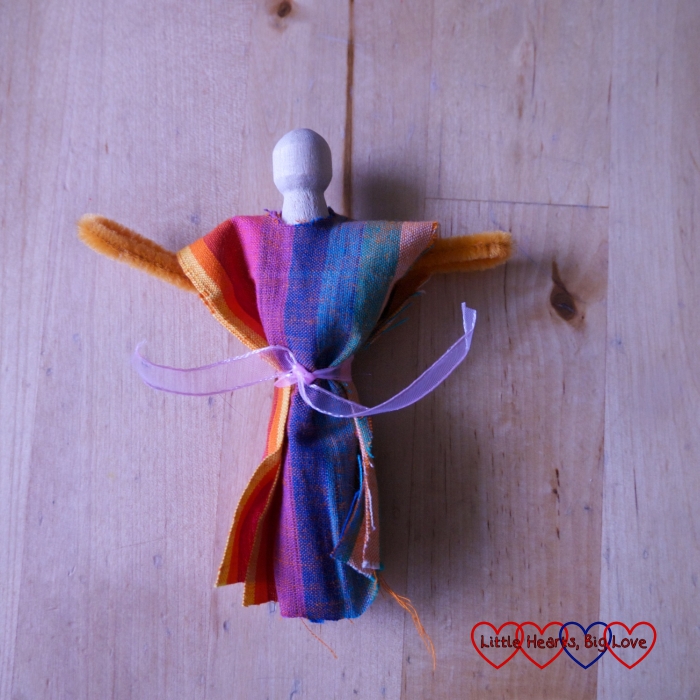
3) Push the head of the clothes peg through the fabric and gather it just below the pipe cleaner arms. Fasten with a ribbon or another pipe cleaner (a pipe cleaner is easier for little ones to use).
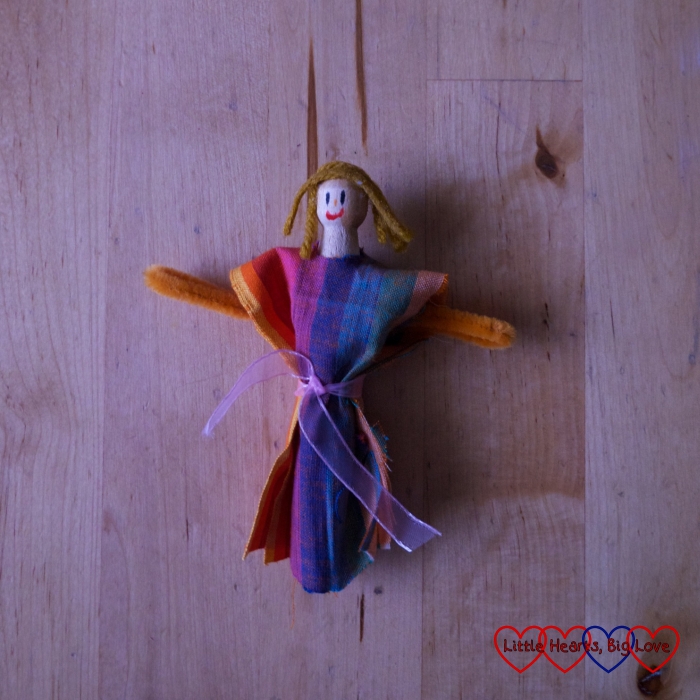
4) Glue some strands of wool to the top of the peg to make hair. Draw a face on using marker pens.
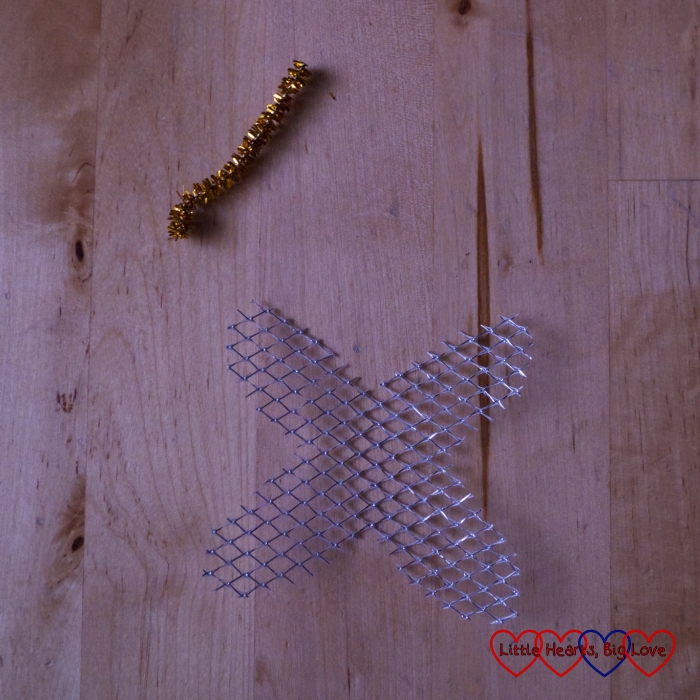
Once the glue is dry, the doll is ready to play with. You can also add wings cut from net, sparkly paper or card (secured with the pipe cleaner around the doll’s waist) and a sparkly pipe cleaner crown to create princess or fairy dolls.
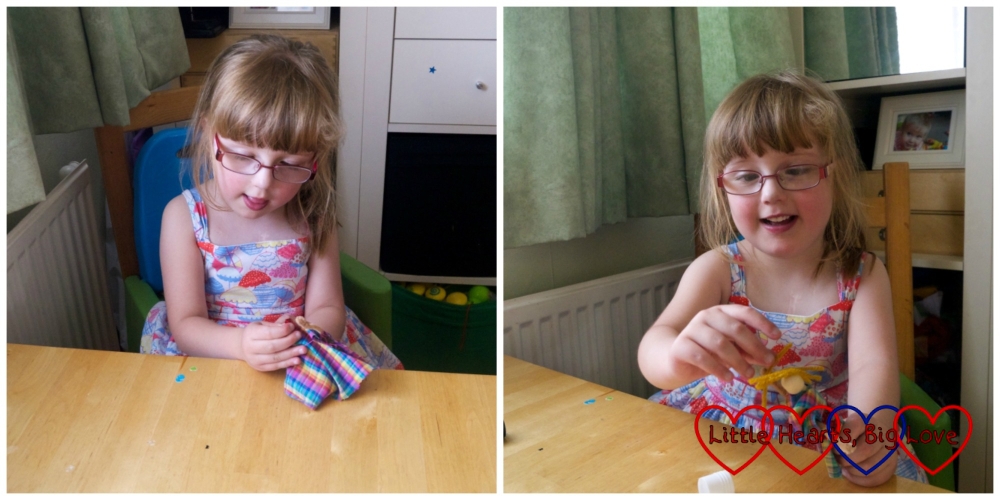
My girls have had lots of fun making the dolls. They needed a little help with cutting out the fabric and tying it up around the doll’s waist but were able to stick the hair on and draw the doll’s face themselves. The little dolls have now made themselves at home in our doll’s house and the girls enjoy playing with them.
These look fab! I bet you all had a great time making them! I am going to embrace gender-equality and try it with Ernie! X
What a fun activity for a rainy day! #TwinklyTuesday
Helen x
http://www.treasureeverymoment.co.uk/
Very clever. I wish I was more crafty but I’m really not. I should broaden my horizons for my little ones sake. #twinklytuesday
Aww! How cute are they! What a lovely activity x
Definitely trying this with my brood!