
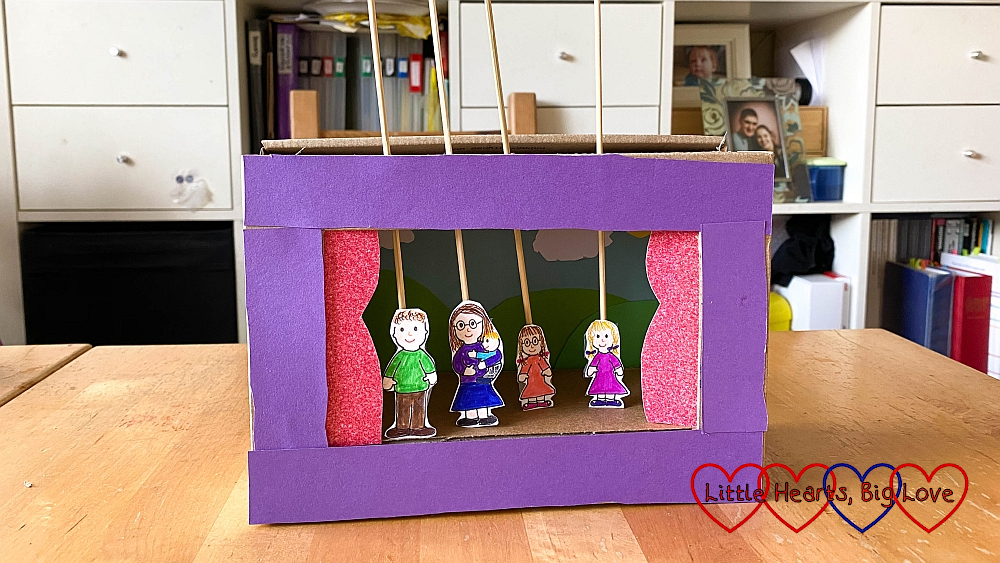
One of Sophie’s Christmas presents from us last year was her ‘Special Time with Sophie’ box – containing twelve envelopes of activities that I had planned to do for each month of the year. Covid-19 has meant that some of the activities I originally planned have not been possible, but I’ve tried to think outside the box and keep with the same theme for the activity. August’s activity was ‘Let’s put on a show!’ The original plan was to book Sophie in for the summer theatre classes, as she did last year. As that wasn’t an option, we decided to put on a little show at home in a miniature theatre, which we made together from a shoebox.
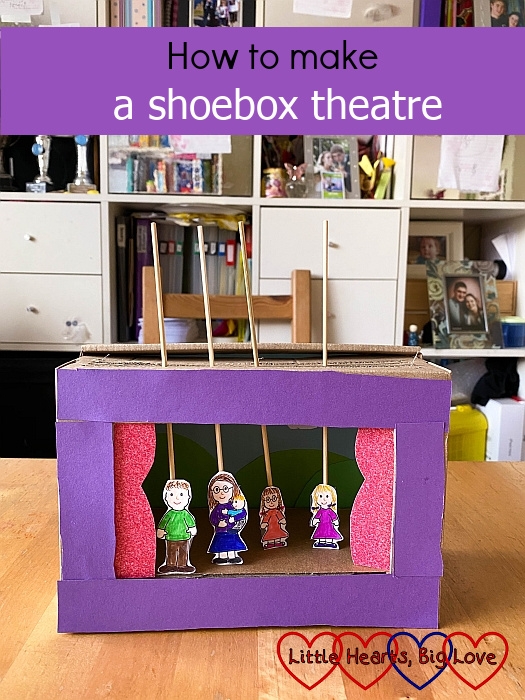
The shoebox theatre is fairly straightforward to make, although adult help is needed for cutting out sections of the shoebox.
You will need:
- A shoebox
- Cardboard
- Coloured card (red, blue, green, yellow and a colour of your choice)
- White card
- Coloured pens
- Wooden sticks
- Craft knife
- Pencil
- Ruler
- Scissors
- Glue
- Sticky tape
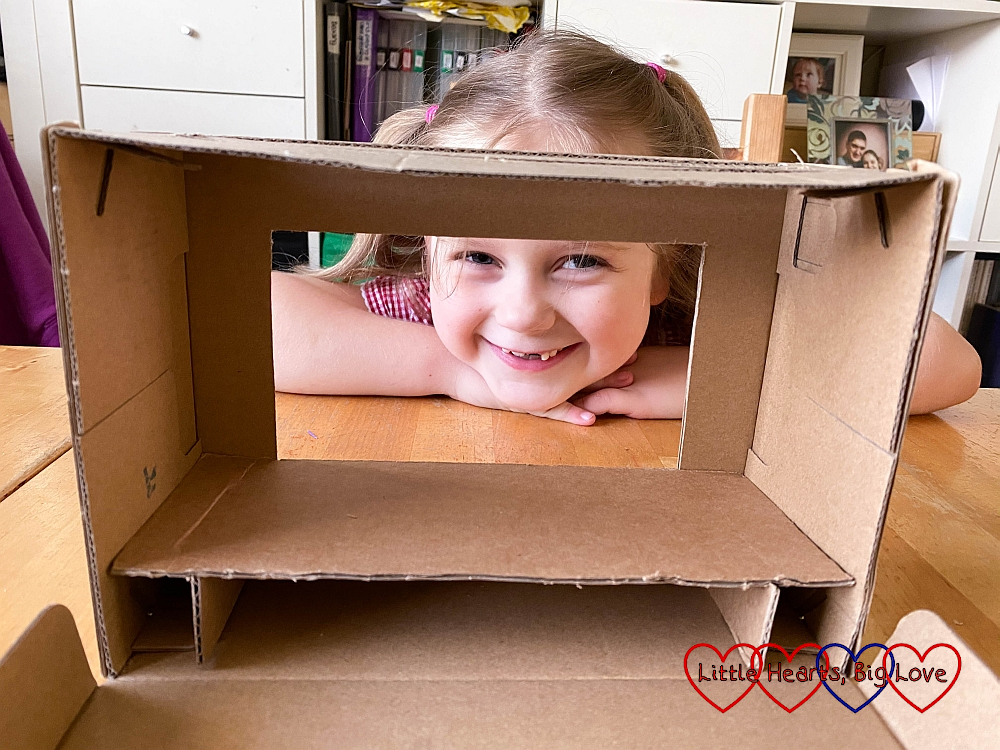
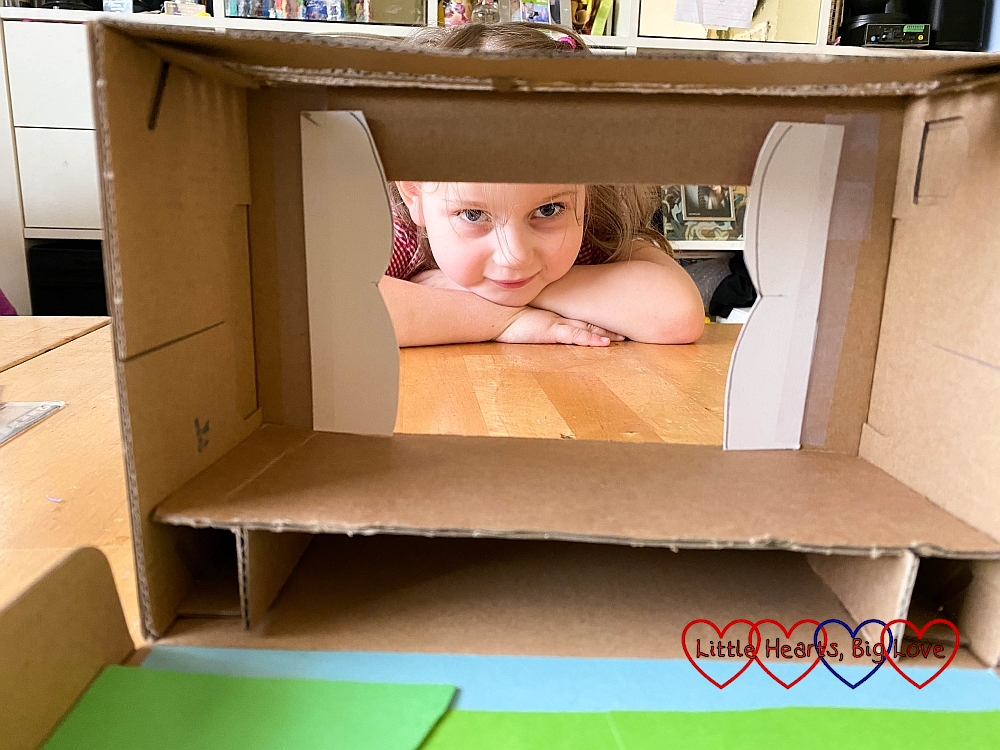
1) Measure and mark out a rectangular window on the bottom of the shoebox and cut out using a craft knife.
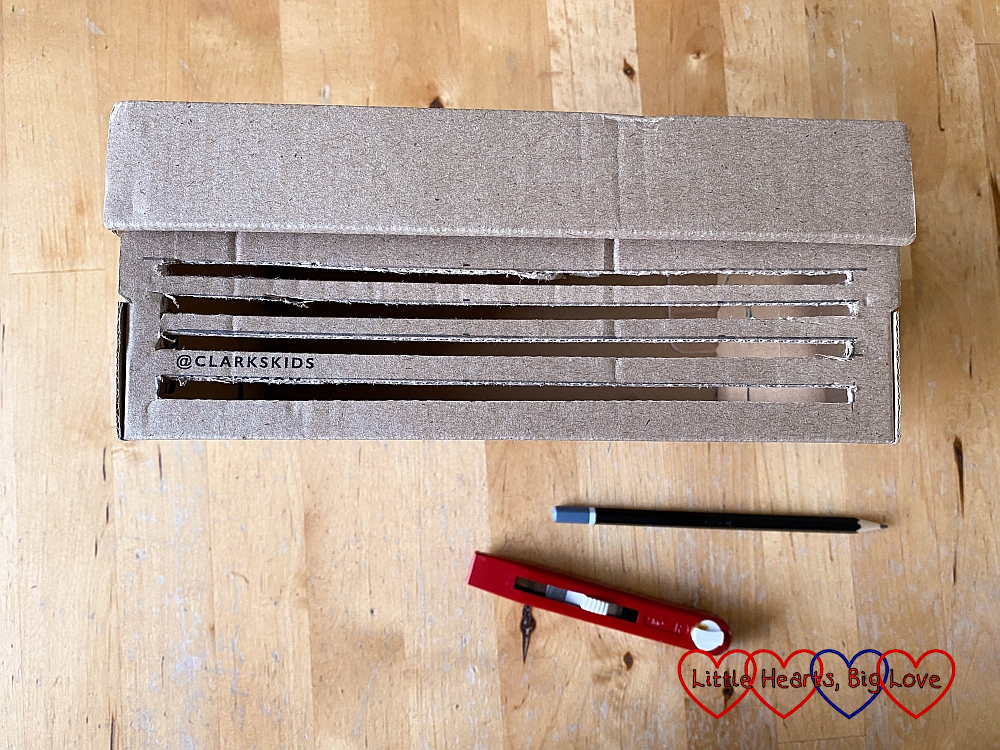
2) Mark out and cut 4 thin strips on the top long edge of the shoebox using the craft knife. These should be slightly longer than the window cut out in step 1 and slightly wider than the wooden sticks.
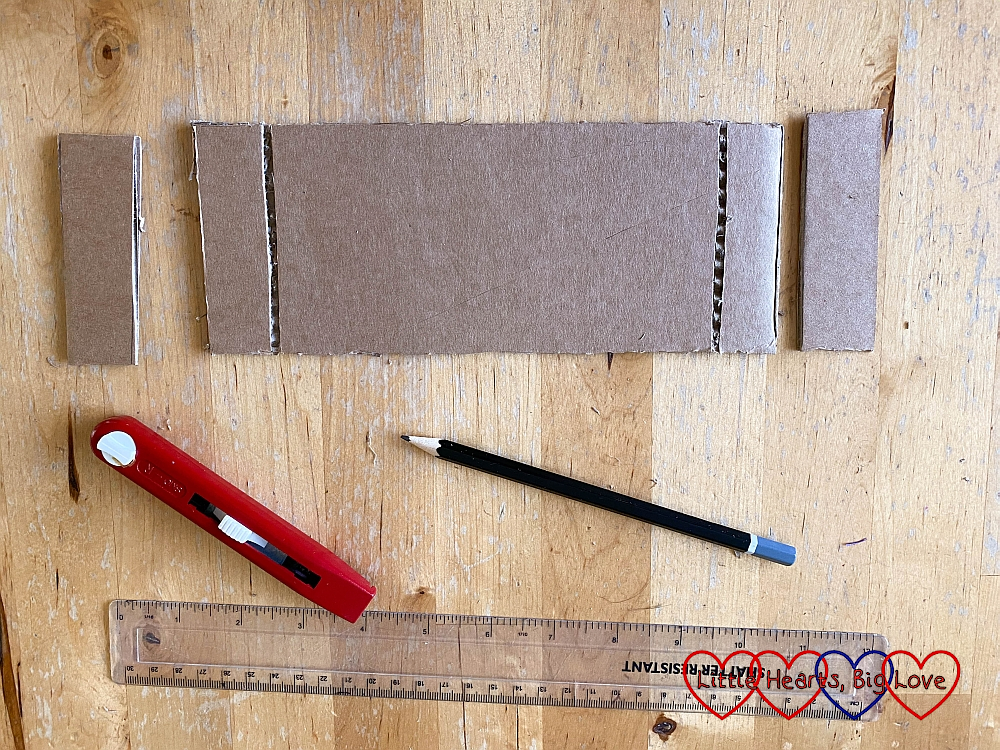
3) Cut a piece of cardboard to fit inside the shoebox and form the stage. Cut two small pieces of cardboard to form the legs for the stage so it aligns with the bottom of the rectangular window. Score two slots on the bottom of the stage piece and glue the two legs in place. Insert the stage into the shoebox.
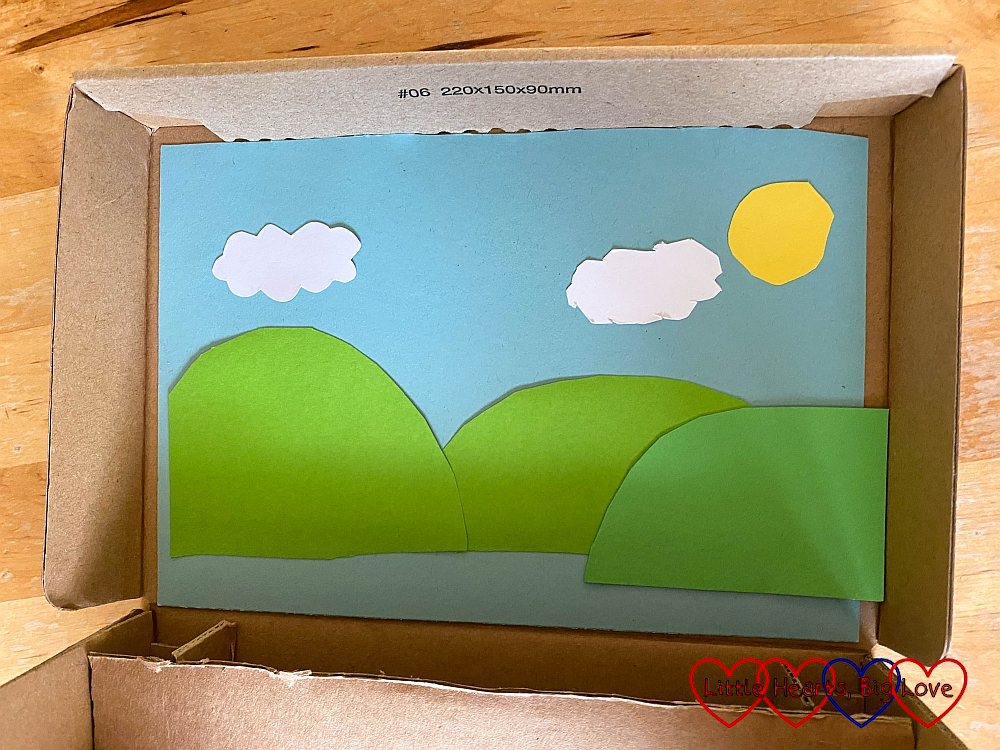
4) Cut a piece of blue card to fit the inside of the lid of the shoebox and glue into place. Cut hills from green card, clouds from white card and a sun from yellow card and glue into place on the inside lid to make the background scenery.
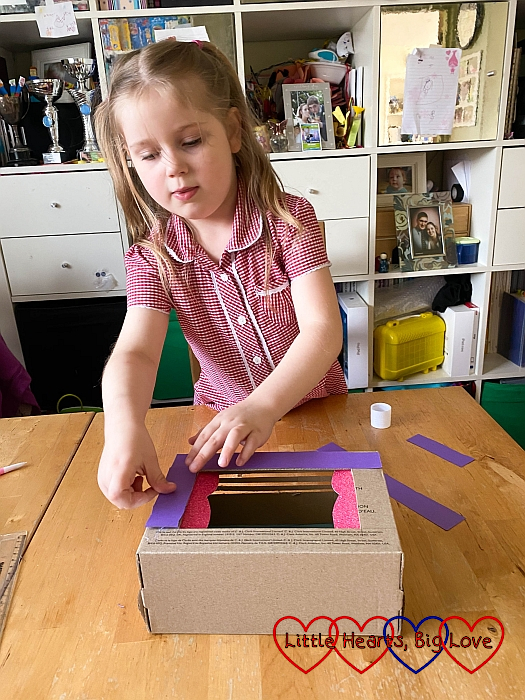
5) Cut out two curtain shapes from red card and glue into place against the rectangular window.
6) Cut strips of coloured card to fit around the rectangular window and glue into place.
7) Draw the characters for the theatre on pieces of white card, colour in and cut out. Stick these to the bottoms of the wooden sticks with sticky tape. You could also print out characters and glue these to white card before cutting out.
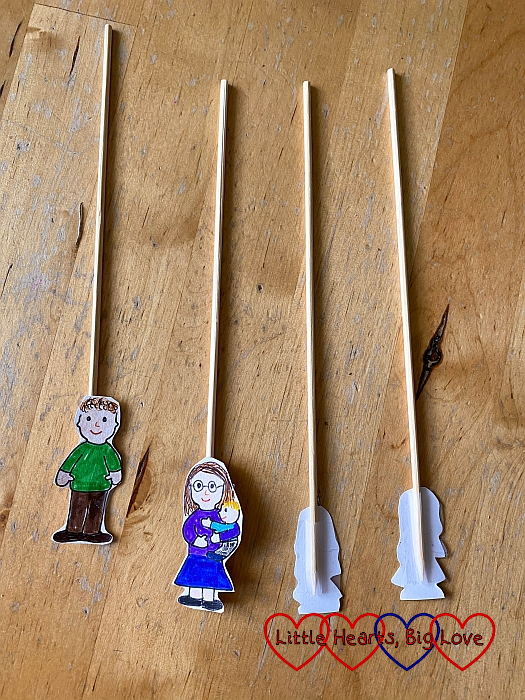
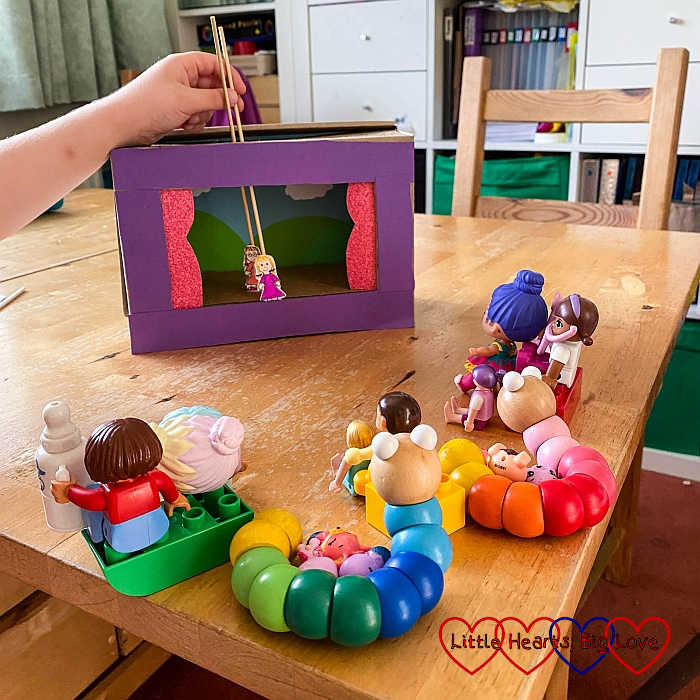
8) Insert the characters through the slots on the top of the shoebox and you’re ready to start the show!
Sophie had a wonderful time putting on a show. I loved how she lined up her toys to form the audience. We’ve made several different characters for our theatre, which all store nicely inside the shoebox when it’s not being used. We’re also planning on creating some different backdrops which could be blue-tacked into place for different shows.
As a former early years practitioner, I love everything about this simple idea#kidsandkreativity@_karendennis
Thank you. It was fun to make.
This is adorable! What a great idea, and so simple to. My daughter would love this. Thanks for linking up with #KidsandKreativity, hope to see you next back next time.
Thank you Kerry. We’ve had fun with this one 🙂