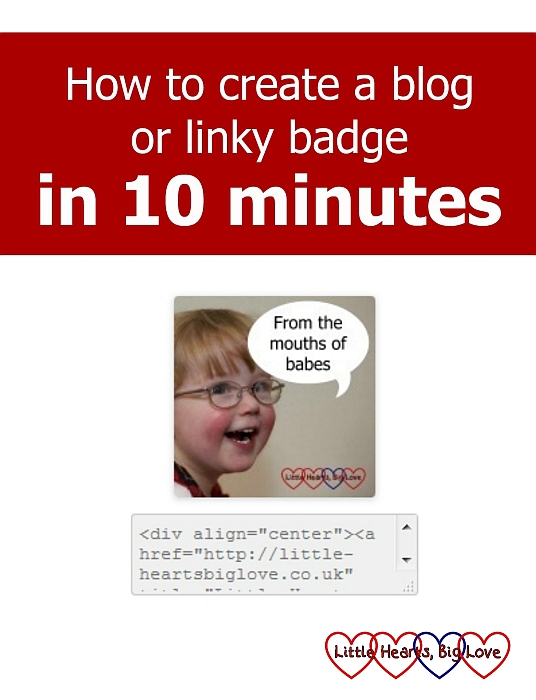
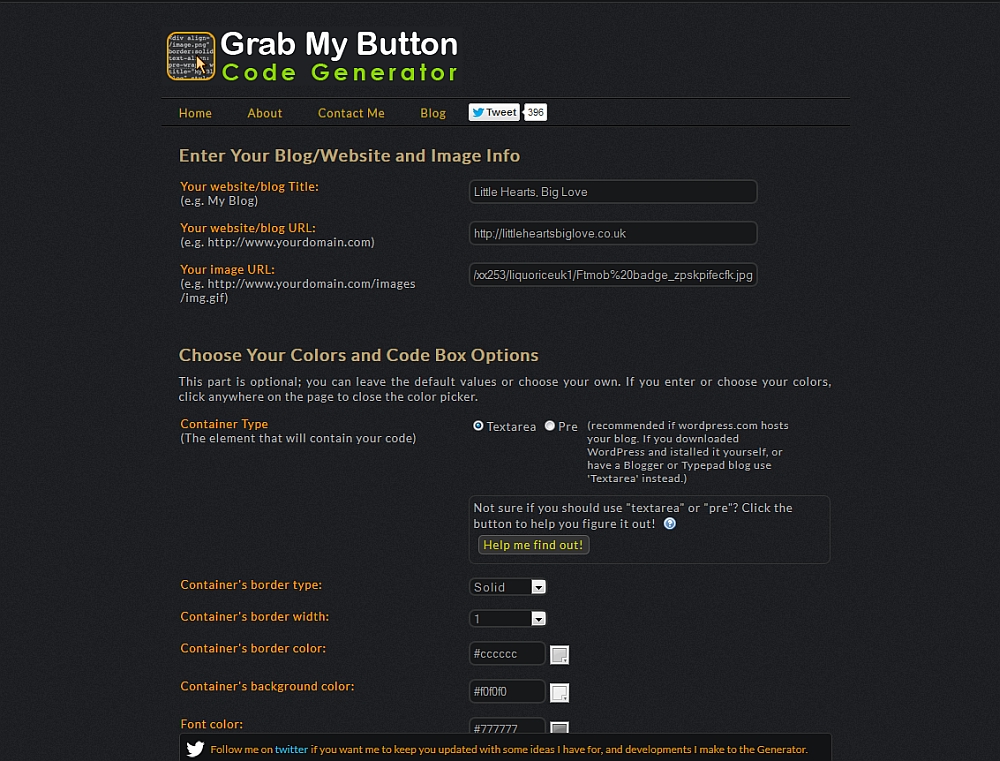
Creating a badge for your blog or linky and adding code so that others can add it to their sites doesn’t need to be a complicated process. The badge I use for my “From the mouths of babes” linky took me approximately ten minutes to create and add to my blog. This is how I created my badge using Picmonkey:
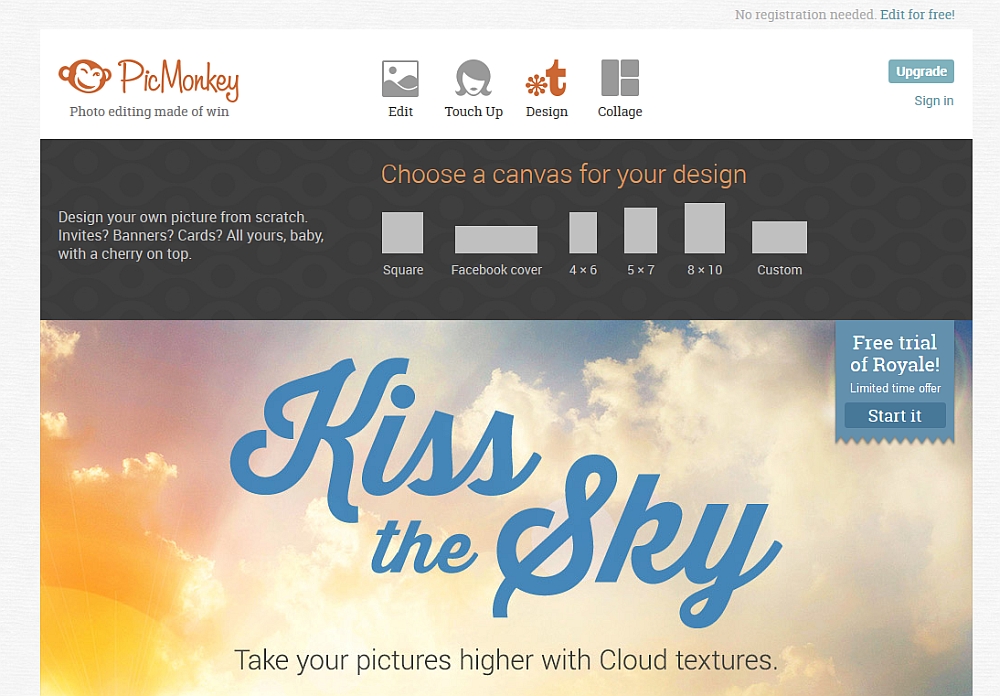
1) On the Picmonkey website I started by clicking on design, followed by the square canvas
2) I then clicked on the butterfly icon on the left hand side to add an overlay. I uploaded my photo by clicking ‘Add your own’ and dragged the corners of my image until it filled the canvas. I chose this photo of Jessica as a background because it had plenty of blank space for me to add a speech bubble and text. 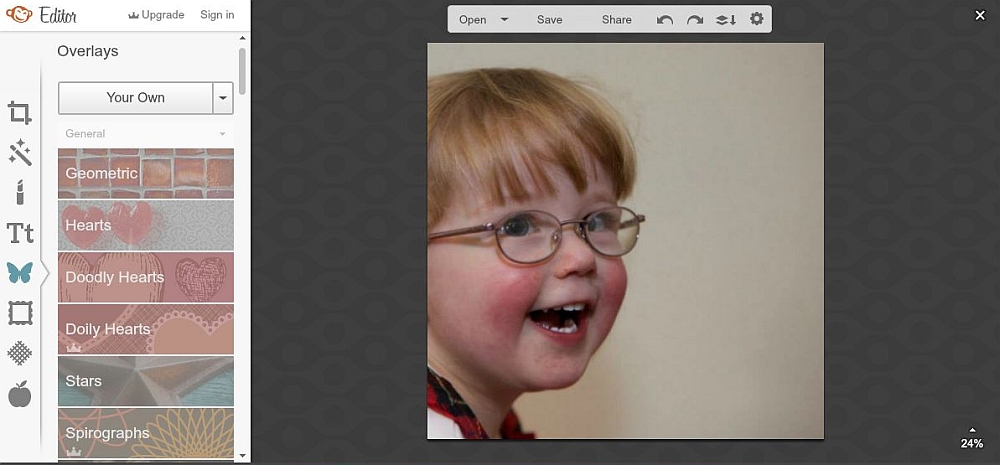
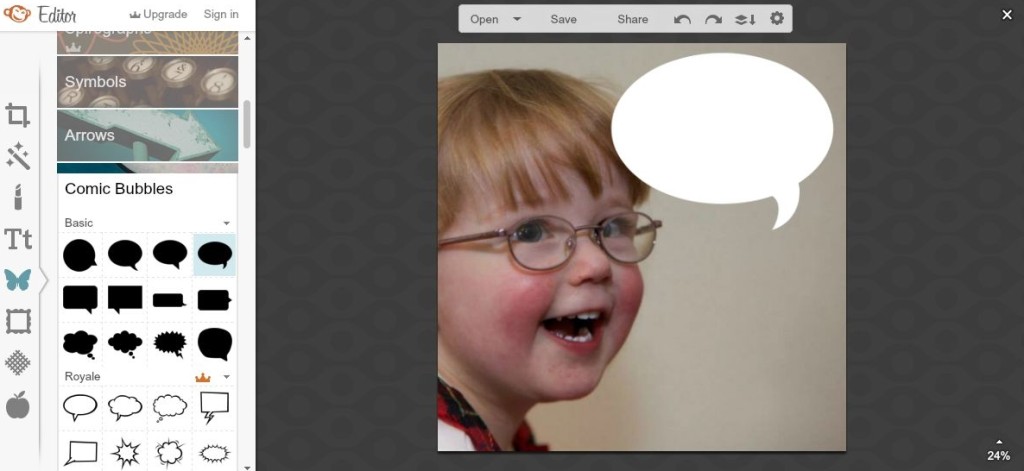
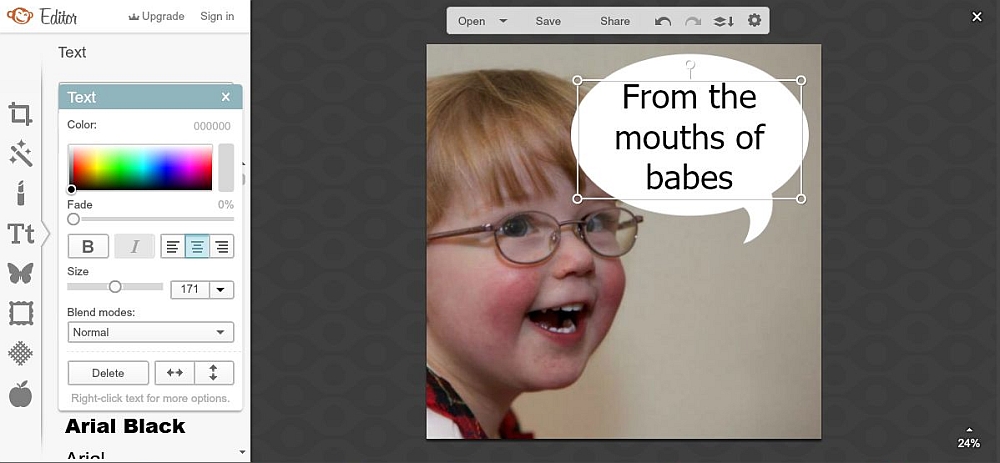
3) Next, I added a speech bubble (found in the ‘comic bubbles’ section in overlays).
4) I then clicked on the Tt icon on the left hand side to add text to the speech bubble.
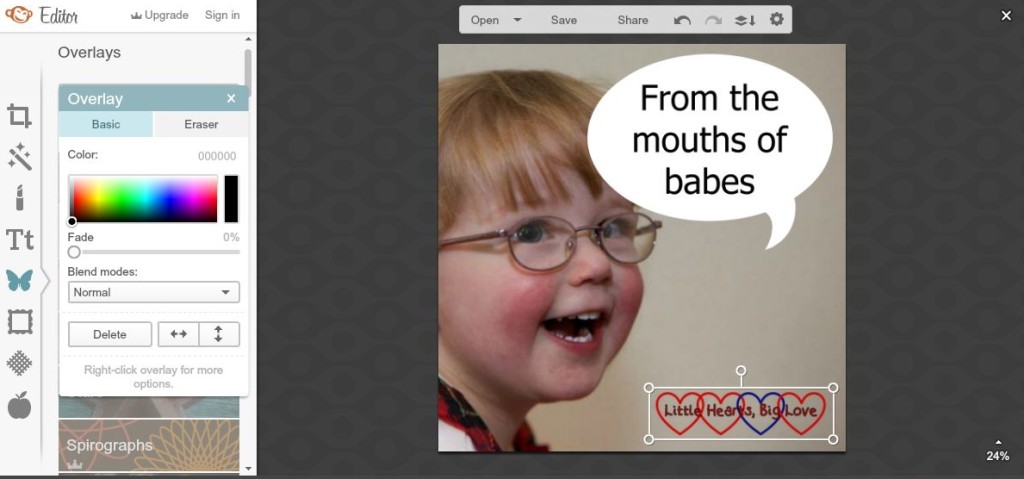
5) Finally I added my logo using the ‘Add your own’ function in the overlay menu again.
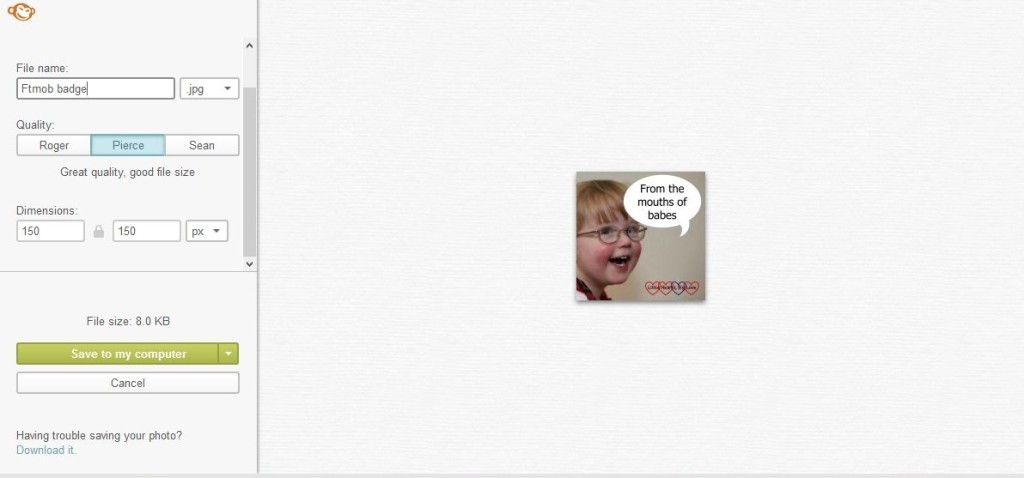
6) After clicking ‘save’ I then adjusted the image dimensions to 150px by 150px (a good size for a linky badge) before saving the badge to my computer.
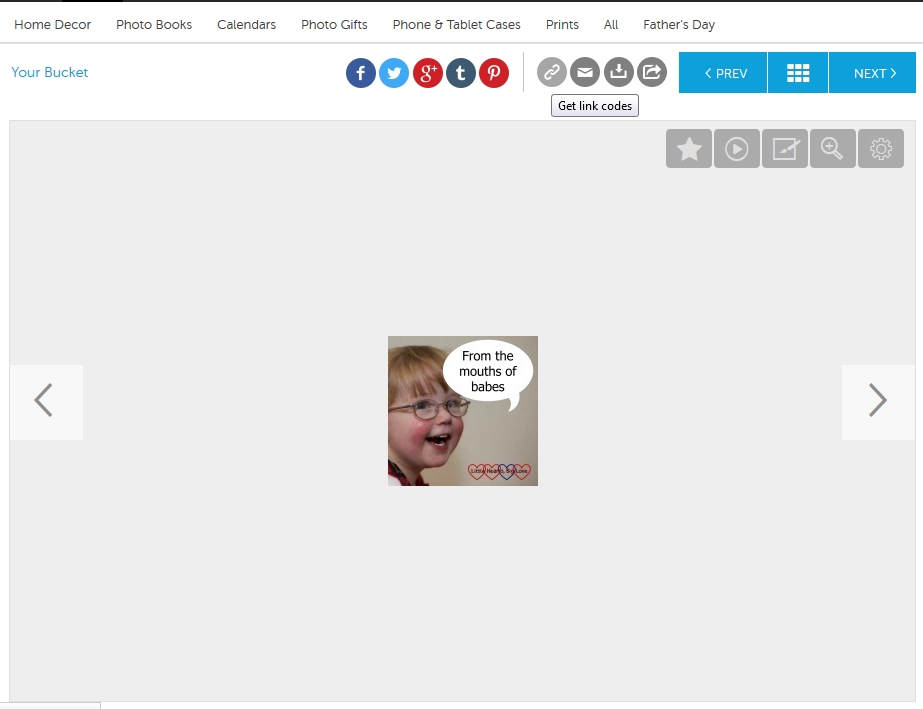
7) The next step was to upload my badge to Photobucket as the image needs to have a URL for the badge code.
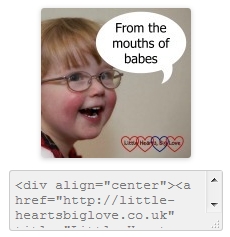
8) I generated the badge code by using a code generator found at: http://www.mycoolrealm.com/sandbox/gbgen/ where I just needed to enter my blog name, blog URL and the URL of my image. You can change other settings on this if you wish but I was happy with the default settings.
9) Finally, I copied the code generated into a text widget in my blog sidebar. I also add the code at the end of the linky post each week to make it as easy as possible for those linking up to find the code.
Voilà! One linky badge complete with code created in about ten minutes.
I used a photo as the background image for my badge, however, Picmonkey has a range of different themes, effects, overlays and fonts that can be used to design a badge if you don’t have a photo or image to use as a starting point for your background. Some of these are free to use, others require you to upgrade to Royale membership which costs $4.99 per month or $33 per year after the 30 day free trial period.
Those of you who are eagle-eyed may spot that my example badge is slightly different from my linky badge. I actually used a combination of the A Beautiful Mess app on my phone and GIMP on my computer to design my badge originally which while it was still a quick process is more complicated to explain than using Picmonkey as a design tool.




I love using PicMonkey! Thanks for sharing the tutorial, I have pinned it too.
Thank you – hope you find it helpful 🙂
Ooh… So simple! I use pic monkey all the time, but not for creating badges! This makes it so much easier than the usual long-winded route! Thanks for sharing! #sharewithme
My pleasure, glad you found it helpful 🙂
I love PicMonkey, and a great guide, very clear which is what I need. I think it took me about ten times this long to make mine hehe.
My first one took ages too! So glad you found my post helpful 🙂
Picmonkey is great, thanks for the tutorial, I might try making my own badge at some point soon! 🙂 x
My pleasure, hope you find it useful 🙂
Really clear, thanks a lot. I forget this every time! doh Mich x
Thank you – the code generator makes it a lot simpler 🙂
Ahh I would be so lost without PicMonkey….hehehe
Thank you for sharing x
PicMonkey is great isn’t it 🙂
Brillint tutorial, Louise! I am going to pin it right now for future reference. xx
Thank you Mel 🙂
Thank you for sharing your experience. I use blogger and an option to get link to photo is save the photo in a “non-published” draft page. Then you grap the image file name from there. A little mess but does not require to save on exterior photo site. Great tutorial.
Oh that’s handy if you can avoid having to use an exterior photo site. Thank you for letting me know.
You are awesome Louise, thanks so much for sharing! I’ve only just got onboard with Picmonkey but am absolutely loving it! Have a great weekend 🙂 #thelist
My pleasure Renee – glad you found it helpful 🙂
Oh, I wish I had read this before I created my linky badge. It definitely took me more than 10 minutes! Great guide. #TheList
Thank you Erin 🙂
Great tutorial. I love PicMonkey and must use it every day for something! #TheList
Thank you – I love PicMonkey too 🙂
The Mother says – This is so useful. Will be ‘favouriting’ this tutorial. Really useful xx #sharewithme
Thank you, so glad you found it useful 🙂
Quick and easy tutorials are always a godsend to newbies like me. This is fab. Thank you so much for linking up to Share With Me #sharewithme
My pleasure Jenny, always lovely to link up 🙂
Thanks so much Louise – I have no idea what I am doing when it comes to code… and naively didn’t realise that such tools exist. Something new to explore over the weekend :), thank you for sharing. #TheList
You’re very welcome, hope you find it helpful 🙂
This is getting saved to my favourites! I can’t believe it’s that simple. I was actually debating paying someone to do me a button! Thanks so much. #TheList
Debbie
http://www.myrandommusings.blogspot.com
You’re very welcome, so glad that you found it helpful 🙂
You make it sound so easy Louise! #TheLisr
Thanks Laura – hopefully it’s quite straightforward to follow!
Thank you for such a fantastic list! I have followed it step by step & have it book marked for the future! 🙂 #TheList
You’re very welcome, so glad you found it helpful 🙂
Great tutorial, Louise. I know some are a bit intimidated by creating their own things but it’s not too bad. I love Canva, it’s a good alternative to PicMonkey for those who’d like to try something different. That code generator is awesome! xx #TheList
Thanks Leigh – I love the code generator, has been so useful. I haven’t tried Canva – will have to give it a go.
Oh I love your badge 😀 and what a great tutorial, really helpful and easy to understand!
Thanks for linking up to #TheList xx
Thank you Hannah, so glad you found it helpful and always a pleasure to link up to #TheList 🙂
sooooo useful, thank you!
Thankyou so much for writing this post… I used all your advice to ceate my new linky badge! I literally coundn’t have done it without you!!
So glad you found it helpful 🙂
Hi Louise, thanks for this, it’s really useful! I’m setting up a blog link up and the one thing I haven’t yet managed to do is get the text for my badge into the text box. I’ve made a text box but the text doesn’t show up. Any tips on how it works?! Thanks x
Hi Annabel. I used an online code generator which helped me get the text for the badge into the text box but I think that no longer works. There is another post here which might be helpful for explaining the code you need https://www.vevivos.com/2014/02/05/how-to-make-a-blog-badge-or-linky-badge-with-and-without-text/ Good luck!
Thanks Louise. I ended up calling on a techy friend for assistance but that link you suggested looks really useful. I think I need to learn a bit more about code and HTML! If you fancy joining my new link up, it starts in June #FamilyFriendlyStays