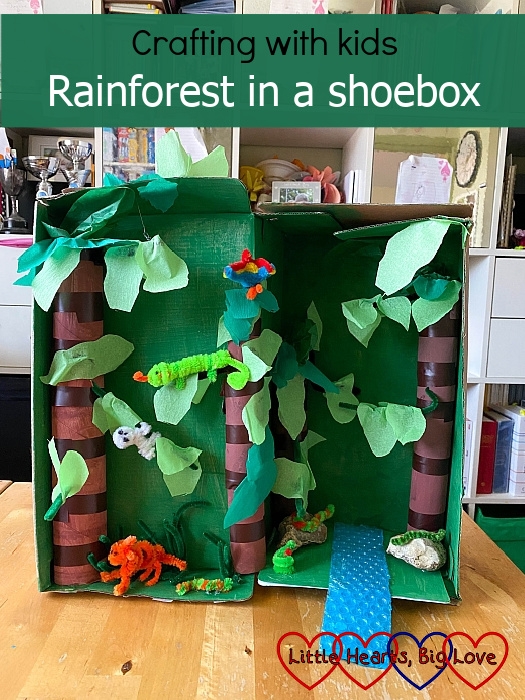
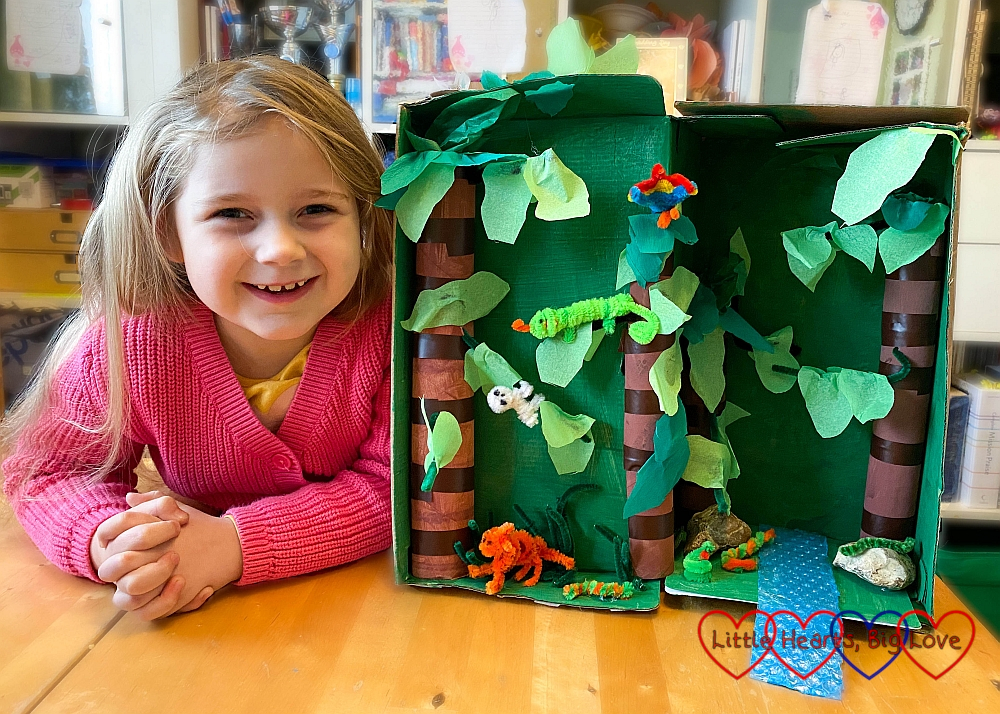
Sophie has been learning about Brazil and the Amazon rainforest over the last few weeks. Her project this half-term was to make a rainforest in a shoebox. She enjoyed having a project to focus on and spent a few afternoons putting her shoebox rainforest together. Although it does sound very time-consuming, most of the time involved was to allow for paint or glue drying, and it was fairly simple to make. Sophie was able to make most of it herself other than the more complicated pipe-cleaner animals.
You will need:
- A large shoebox
- Toilet roll or kitchen roll tubes
- A small piece of bubble wrap
- Green paint
- Brown paint
- Blue paint
- Paintbrushes
- Sticky tape
- Brown tape (optional)
- Scissors
- Glue
- Empty margarine tub (optional)
- Green tissue paper or crepe paper
- Short lengths of green pipe-cleaner
- Pebbles (optional)
- Pipe-cleaners in assorted colours, pictures of animals or small toy animals.
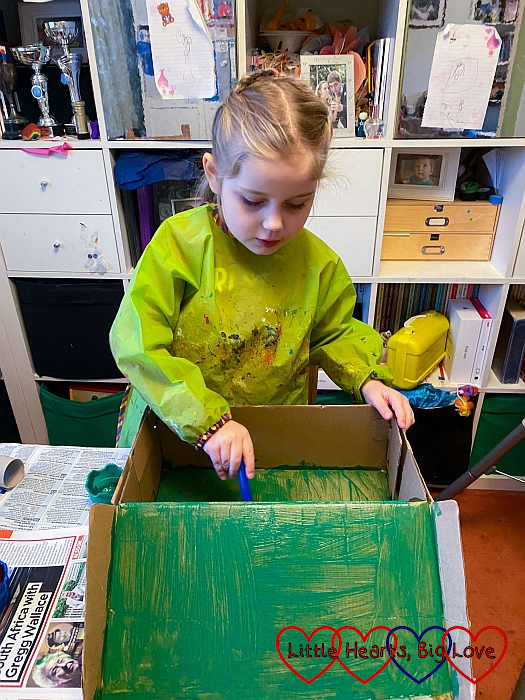
1) Paint the inside of the shoebox green and leave to dry. Repeat with a second coat of paint if needed.
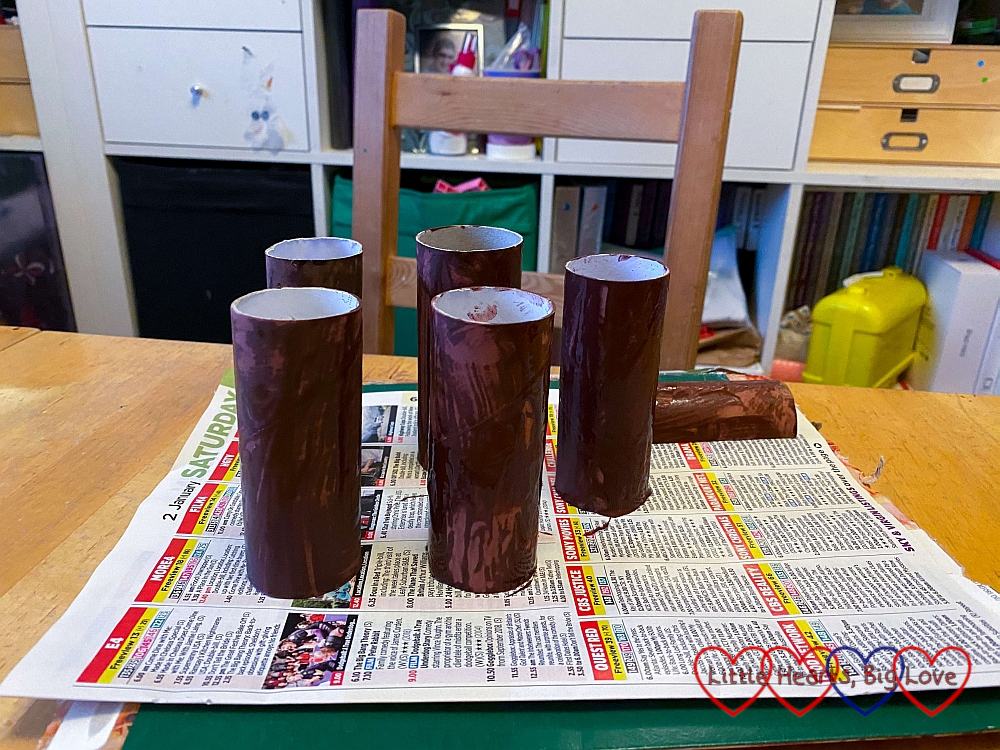
2) Paint the toilet roll tubes brown and leave to dry. Repeat with a second coat of paint if needed. We cut one of the toilet roll tubes in half before painting.
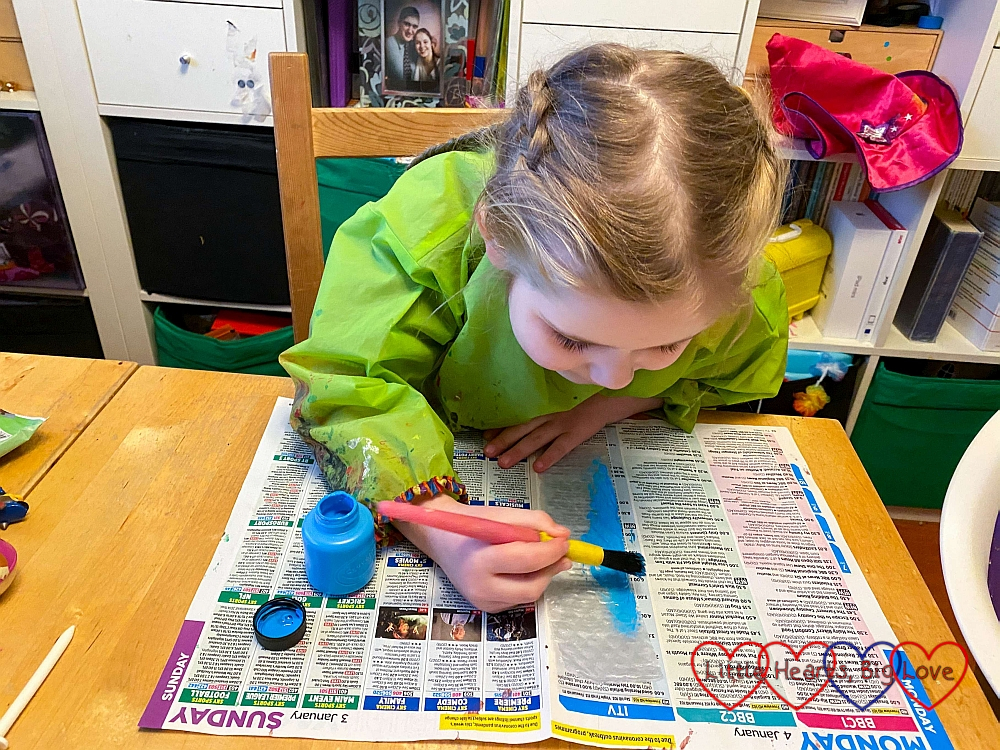
3) Cut a small piece of bubble wrap (about 5cm wide and 12cm long). Paint the smooth side blue and leave to dry.
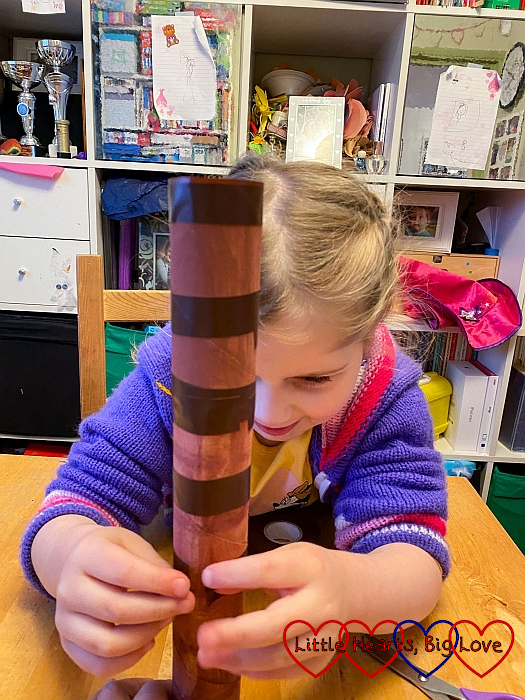
4) Stick the toilet roll tubes together with sticky tape to make tree trunks. We used brown tape to stick ours together and to decorate the tree trunks. Our tall trees were made from three toilet roll tubes stuck on top of each other and from a toilet roll tube with a kitchen roll tube. The smaller ones were made from two toilet roll tubes.
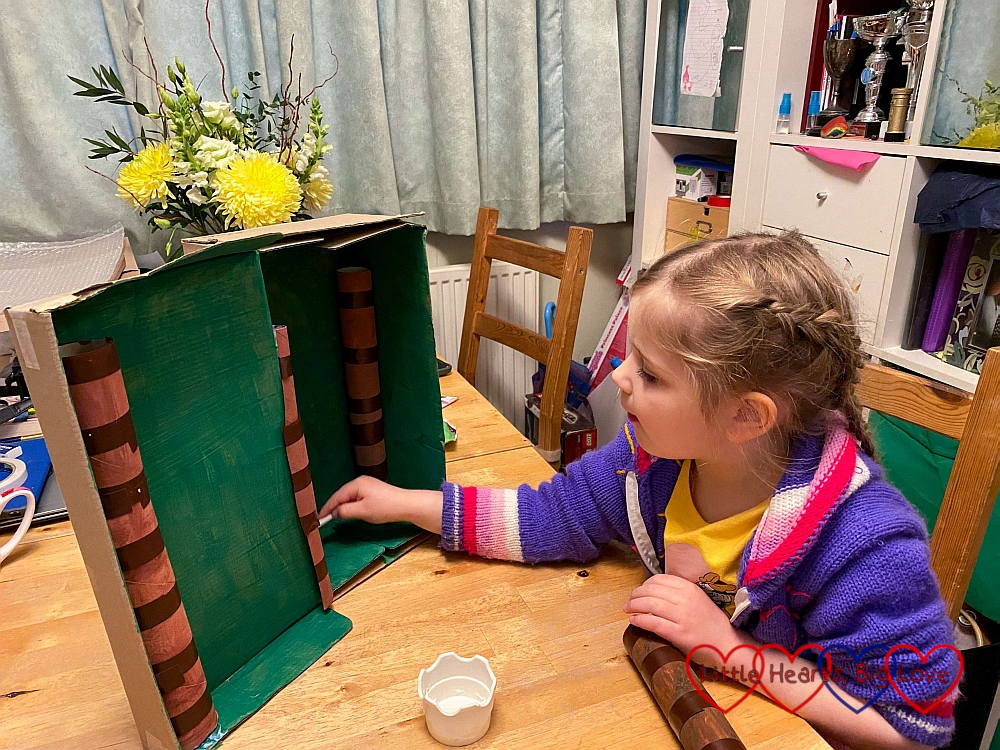
5) Stand the shoebox on its side with the lid opened out. You may find it helps to stick a margarine tube behind the lid to help keep it in place and help the shoebox stand on its side.
6) Glue the tree trunks into place in the corners of the shoebox. We used the toilet roll tubes that we’d cut it half to cover the join between the shoebox and the lid.
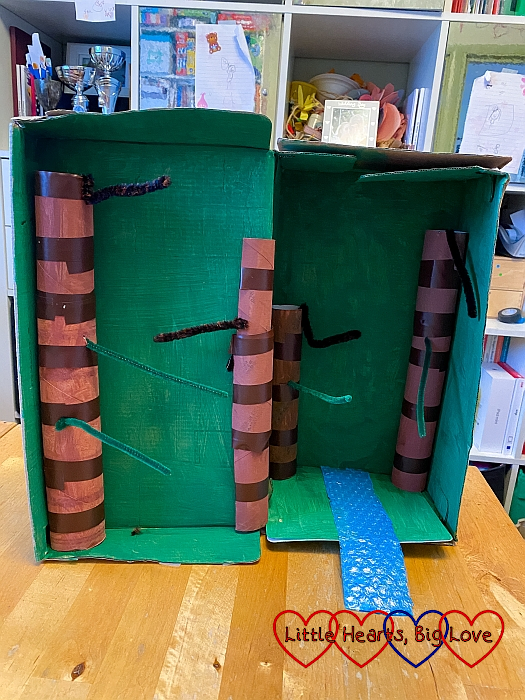
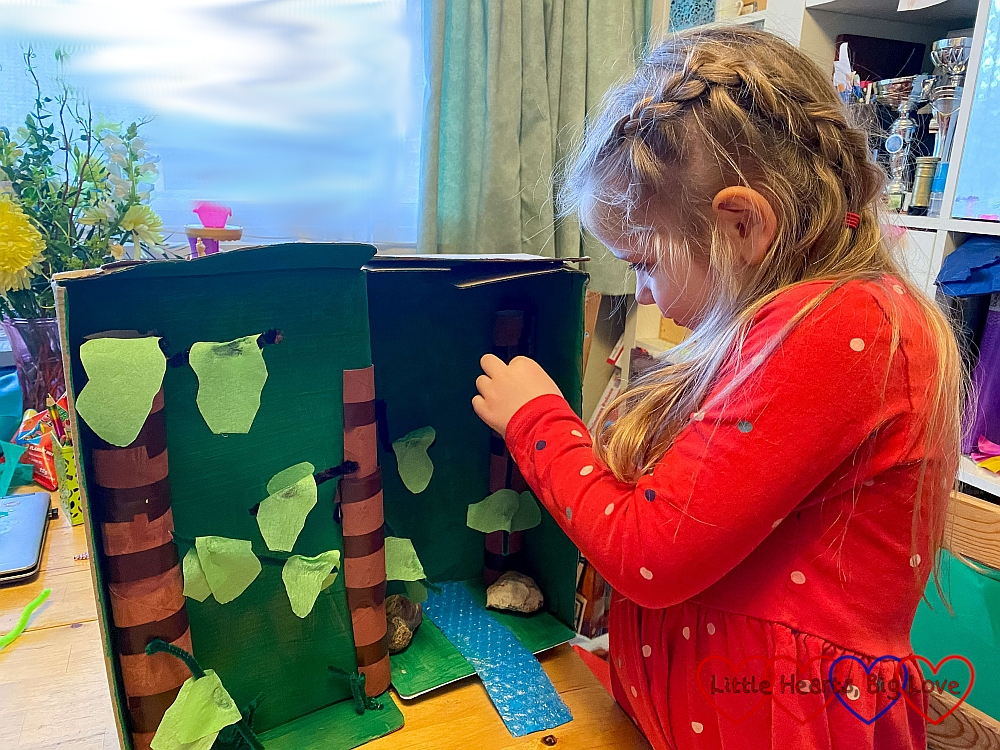
7) Poke holes in the toilet roll tubs and stick pipe cleaners through to make branches. Bend the pipe cleaners to hold the branches in place and glue them if needed.
8) Glue the strip of bubble wrap smooth side down to the bottom of the shoebox to make the river.
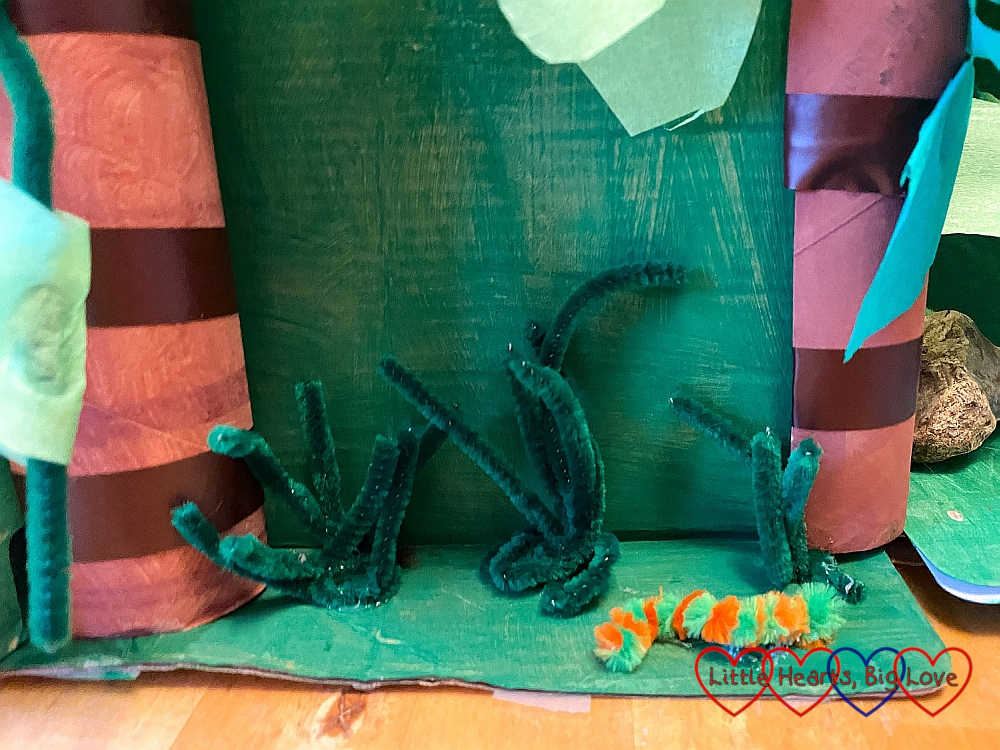
9) Make plants for the forest floor using short pieces of green pipe cleaner twisted together and glued into place. You can also add pebbles either side of the river.
10) Cut out leaf shapes from different shades of green tissue paper or crepe paper. Glue to the top of the shoebox and along the pipe cleaner branches.
11) We made pipe-cleaner animals for our rainforest but you could also add animals by either cutting out pictures of animals and using cardboard to make them stand up, or by adding small toy animals.
How to make pipe-cleaner animals
Our pipe-cleaner snakes were the simplest to make. Some were simply short lengths of patterned pipe-cleaner bent or coiled into snake shapes; others were made from two different coloured pieces twisted together.
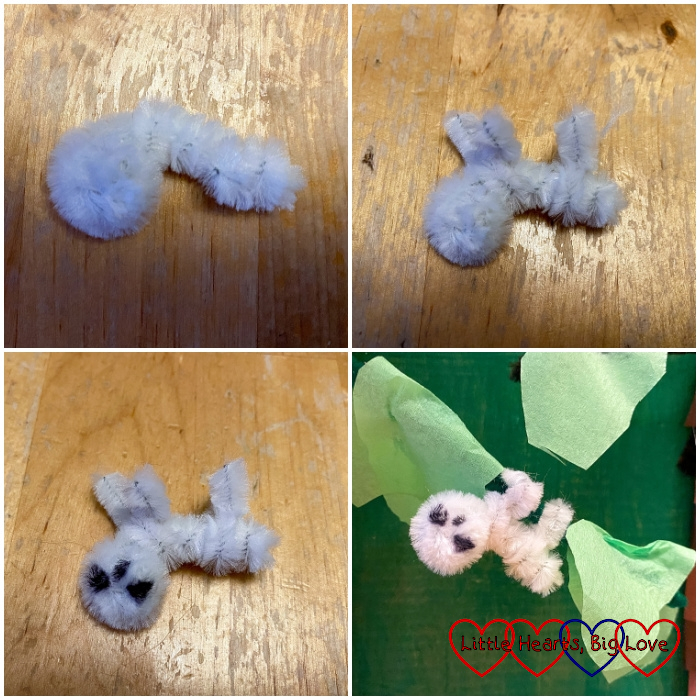
To make the sloth, coil one end of a long white pipe-cleaner and then fold the other end back towards the coil. Add two short lengths of white pipe-cleaner for the legs and draw the face on with a marker pen.
To make the parrot – bend an orange pipe cleaner in half and splay the two ends outwards to make the feet. The bend will form the beak. Bend short lengths of red, yellow and blue pipe cleaners in half. Wrap the middle of each coloured pipecleaner around the orange pipe cleaner. Bend the ends out and twist together to make the wings.
Instructions for the chameleon and jaguar can be found online here.
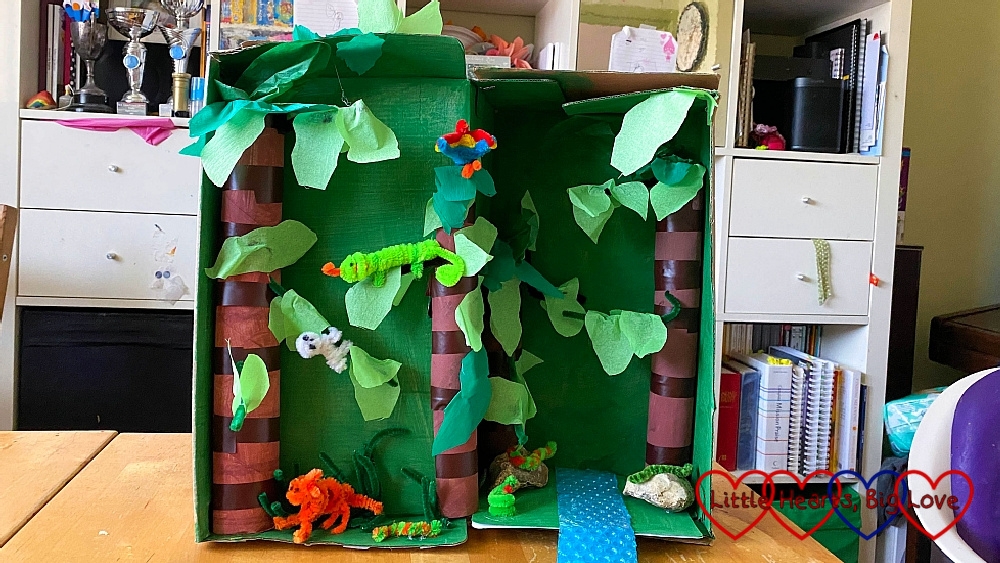
Making a rainforest in a shoebox was a lovely way to help bring the online learning about rainforests to life. We enjoyed discussing more about the different layers of the rainforest and the kinds of animals we might find in the rainforest while making it. Sophie was very proud of the finished rainforest and enjoyed showing it to her school-friends at their Zoom show-and-tell at the end of the half-term.
That is fantastic! Well done Sophie.
What a great project to do x
Thanks Kim. She had a lot of fun making it x
This looks amazing!! Well done Sophie! My daughter loves making things out of pipe cleaners 🙂 #kidsandkreativity
Thank you. The pipe cleaner animals were so much fun to make.
This is wonderful! Well done Sophie. Such a great topic to learn about too.
It’s was so lovely to see you at #MMBC Louise. Xx
Thank you Jayne, lovely to join in.
That turned out great! My son made a rainforest in a box one year as part of a science fair project with our homeschool group but he used toy animals we already had on hand. I love the adorable pipe cleaner animals.
Thank you, the pipe cleaner animals were fun to make.
This is absolutely brilliant! I love the way you did the river – well done Sophie!
#MMBC
Thank you Catherine. Sophie was very proud of her river!
As a former early years practitioner, I love this#kidsandkreativity@_karendennis
Thank you.
I absolutely love this, what a fantastic craft project. #MMBC
Thank you Charlotte, Sophie had fun making it 🙂
This is great! My kids also made rainforests in boxes as part of their homeschooling (just haven’t written it up yet!). Love the pipe cleaner animals, especially the little sloth, so cute! Thanks for linking up with #KidsandKreativity, hope to see you back next time.
Thank you Kerry. Hope your kids had fun making their rainforests in boxes too.
Those look like they would be fun to make. What a great idea!