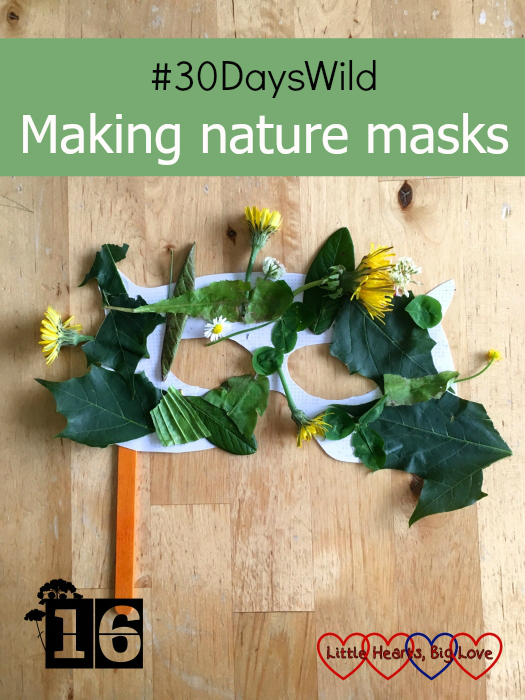
Our #30DaysWild activities have been restricted to the garden lately due to my big girl being unwell. These nature masks are simple to make and decorate with natural items found in the garden. Once I had made the mask template for them, the girls were able to decorate the masks themselves with very little assistance from me.
You will need:
- Cardboard
- Pencil
- Scissors
- Craft stick
- Glue and/or sticky tape
- Glue dots or double-sided tape
- Leaves and petals from the garden
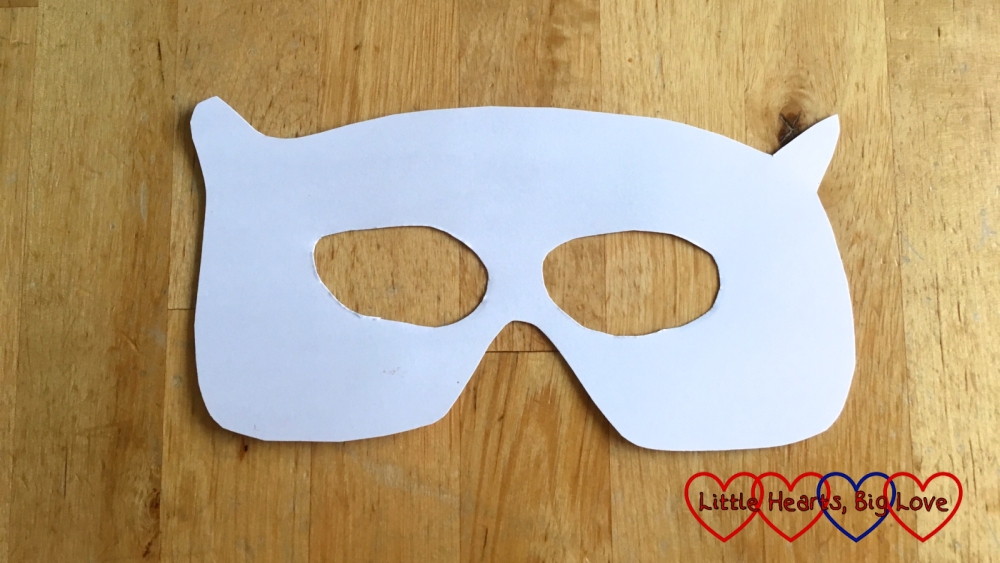
1) Draw a mask shape on a piece of cardboard and cut out. (TIP – I often struggle to get the eye holes in the right place when making masks. I used my daughter’s glasses as a guide to help me get them in the right place. You could also use a child’s pair of sunglasses for this.)
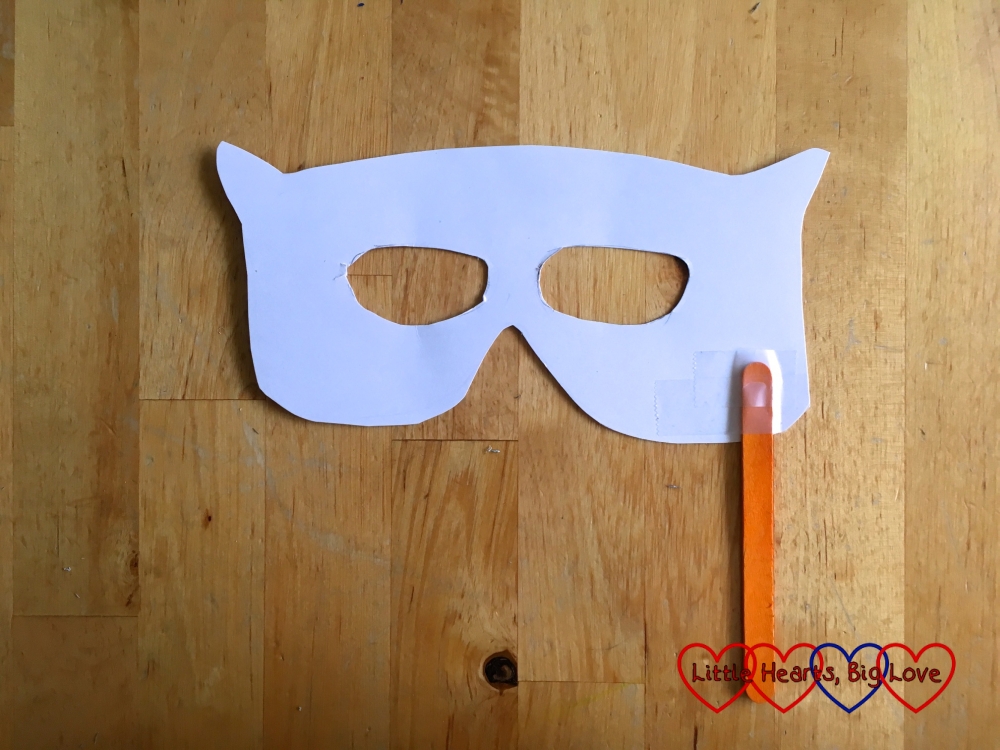
2) Stick a craft stick to the back of the mask. I used glue to attach the craft stick and also secured it with sticky tape to help keep it in place.
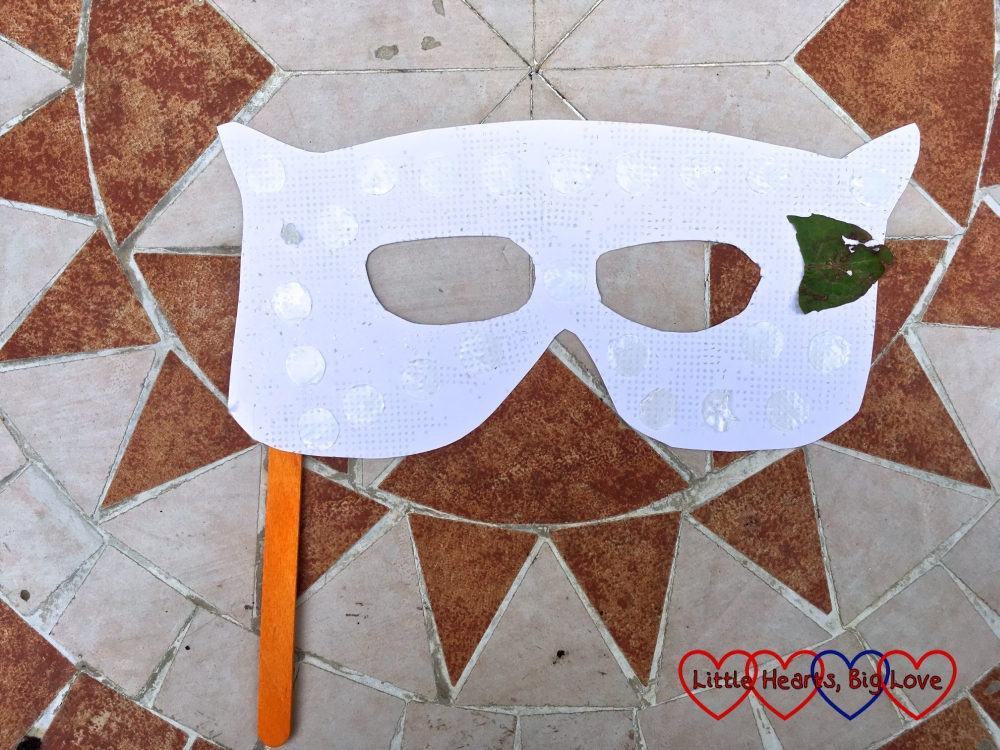
3) Cover the front of the mask with glue dots or double-sided tape. I used micro-dots initially but found these weren’t quite strong enough so added some large glue dots which were much more effective.
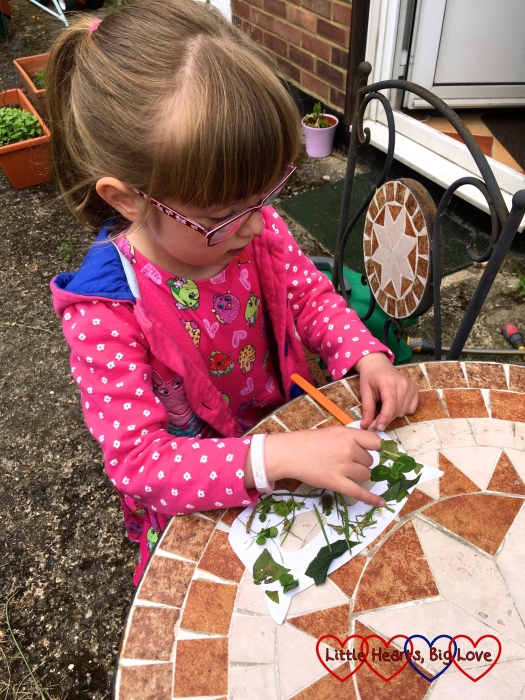
4) Collect leaves, petals, feathers and other items from the garden. Stick them to the glue dots/tape on the front of the mask to decorate.
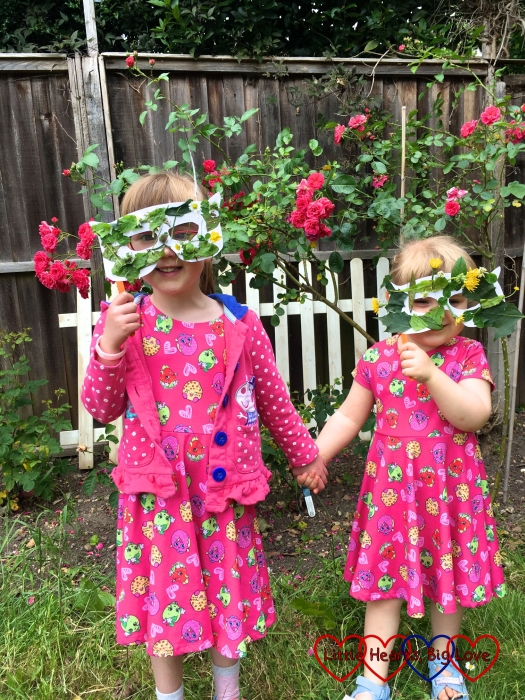
Jessica and Sophie had fun collecting leaves, flowers and grass and enjoyed getting creative outside. It took them about ten minutes to decorate their nature masks. As you can see, they were very pleased with them when they had finished.
This year we’re taking part in #30DaysWild – a challenge from the Wildlife Trusts to get outside each day in June, do something wild and connect with nature.


Very creative, thanks for giving me ideas for weekend active with my girls
My pleasure, hope you have fun making them 🙂