
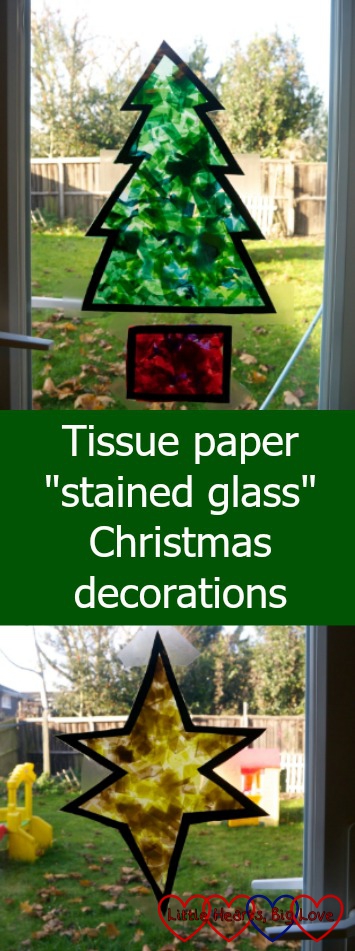
One of my favourite crafts to do with my girls is creating “stained glass” decorations using tissue paper and sticky-back plastic. It takes a little time to set up but is a lovely simple craft for the girls to do and can be adapted to fit different themes and season. This time, we made a Christmas tree and star to decorate the windows for Christmas.
You will need:
- A large piece of black card (we used two A4 sheets taped together)
- Sticky-back plastic (contact paper)
- Small pieces of coloured tissue paper
Draw the shape of the tree or star on a large piece of black card. Cut out the shape and then cut out a smaller shape inside to produce the outline of the tree or star shape with a thick border all around.
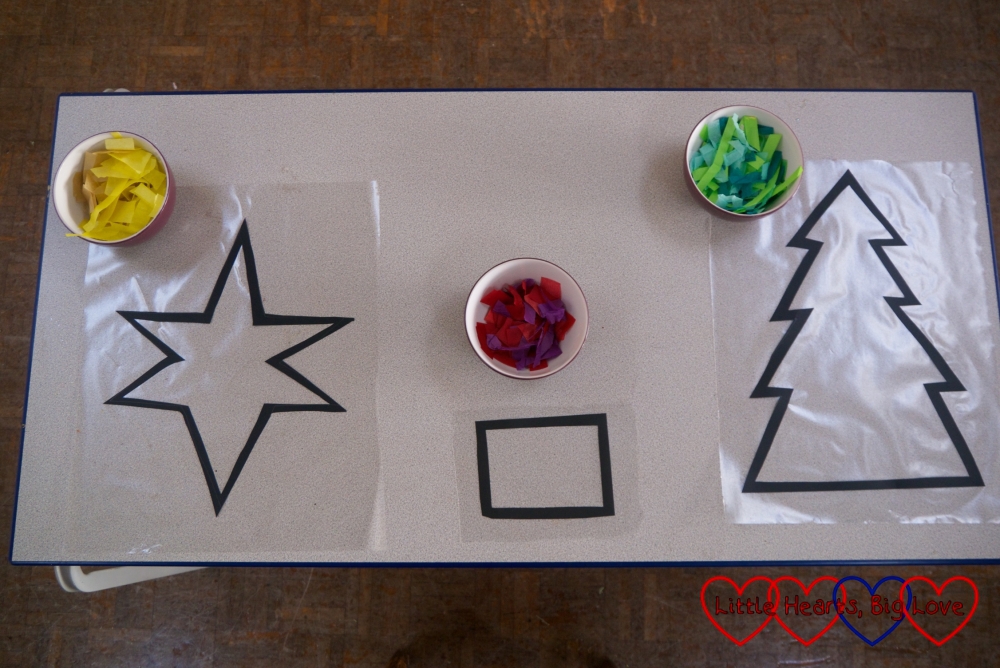
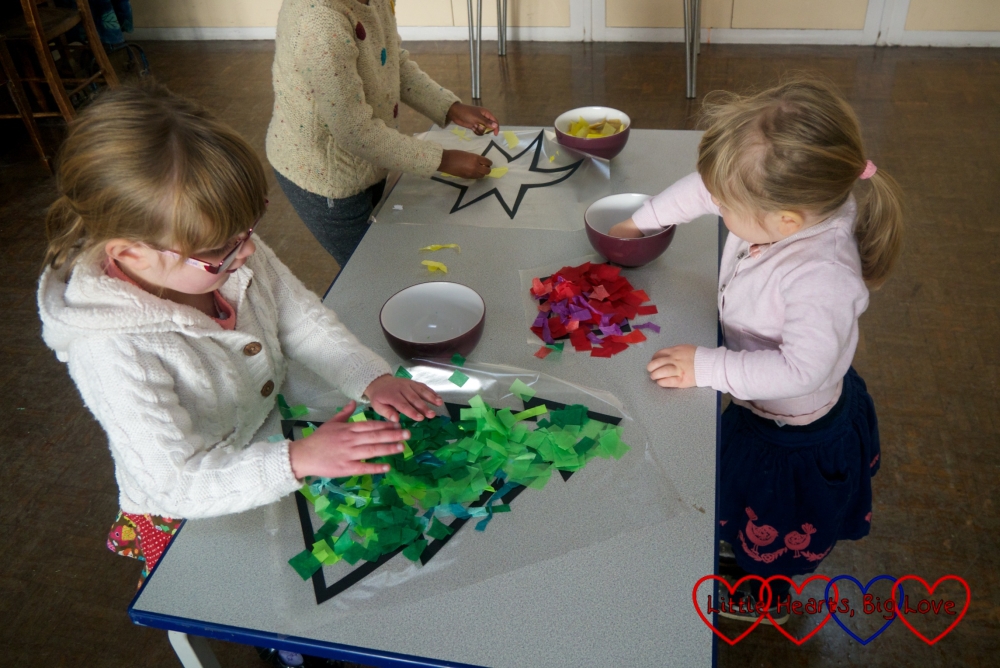
Place the cardboard shape on a piece of sticky-back plastic (sticky-side up). Cover with small pieces of coloured tissue paper. We used various shades of green for the tree, red for the pot and yellow for the star. Once the shape is completely covered with tissue paper, cover it with a second piece of sticky-back plastic and trim around the edges.
Once the shape is finished you can use tape or sticky-tack to fix it to a window. We used the trimmed off pieces of sticky-back plastic to fix ours to the French doors.

They’re so pretty and such a brilliant little thing to do on a dark afternoon!
Thank you – I love the way they help to brighten up the French doors 🙂
Love this idea Louise, appropriate for any time of the year but especially so at Christmas with all the decorations. Adding to my wish list! Thanks for linking up to #familyfun
Thanks Karen – am sure the Robot would have lots of fun doing this. Lovely to link up again, thank you for hosting 🙂
Ooh I love this idea! I’m always on the look out for crafts to keep my girls entertained through the school holidays. I think they’d love to try this one. And they look so effective! #FamilyFun
Thank you Lucy – I love the way that you can adapt it to fit different themes and seasons 🙂
These are lovely, what a brilliant craft. I’ve never tried this with my girls, we might have to give it a go.
Nat.x
I love making these – but you are right, they take a lot of preparation beforehand! Your results are stunning! #FamilyFun
So simple yet so cute! I need to start getting craftier with the Popple besides handing her a piece of paper and a crayon and letting her go nuts. #FamilyFun
We were thinking of making some Christmas bits at the weekend, now I have some idea of what we can make 🙂
#FamilyFun
Oh these are super cute and I think I have everything already!!
I’m pinning this! #familyfun
That is amazing and looks easy to do too! Would love to try this one out with T 🙂 x
What a brilliant idea, so festive as well. I bet the kids really love it as well. This is definitely an activity to pin for a rainy day with the kiddies. Thank you for sharing at #familyfun
What a fun project! Need to look up Contact Paper. Never used it before so it’ll be a fun thing to do with my toddler. #familyfun
Thank you – hope you have fun if you give it a try 🙂
This is a lovely craft. I’ve yet to do it with my girls and I can’t remember doing it prior to having my girls either. #FamilyFun
Thank you Helena – hope you have fun if you decide to give it a try 🙂
A lovely activity that can be enjoyed for children and adults of all ages and abilities, and the results look really great! Thank you for sharing x #KidsAndKreativity
It is a fun activity and I love how effective it looks 🙂
These look great! We have done similar at Easter and Valentines, but I love your Christmas tree, looks so effective. Thanks for sharing at #KidsandKreativity, hope to see you back next time.
We’ve done Easter ones too – not tried doing them for Valentine’s though. Perhaps that’s something to do next year.