
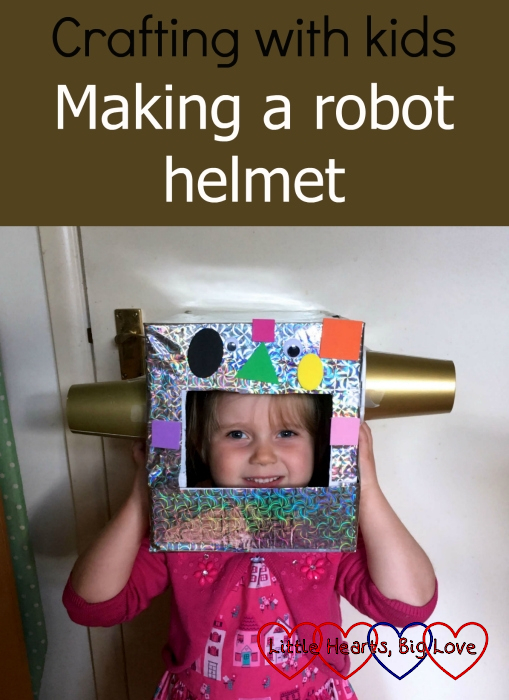
Cardboard boxes are brilliant for imaginative play. They can be turned into so many different things, depending on the size – a car, a boat, a doll’s house. We’ve used a cardboard box as the starting point for this month’s #BostikBlogger craft. Our theme for this month is “robots”. This cardboard box robot helmet is simple for children to make with a little adult help to cut up the box.
You will need:
- A cardboard box big enough to fit over your child’s head
- Shiny silver or metallic paper
- Paper cups
- A craft knife
- Sticky tape
- PVA glue (we used Bostik White Glu) or a glue stick
- Foam shapes and googly eyes to decorate
- Glue dots (optional)
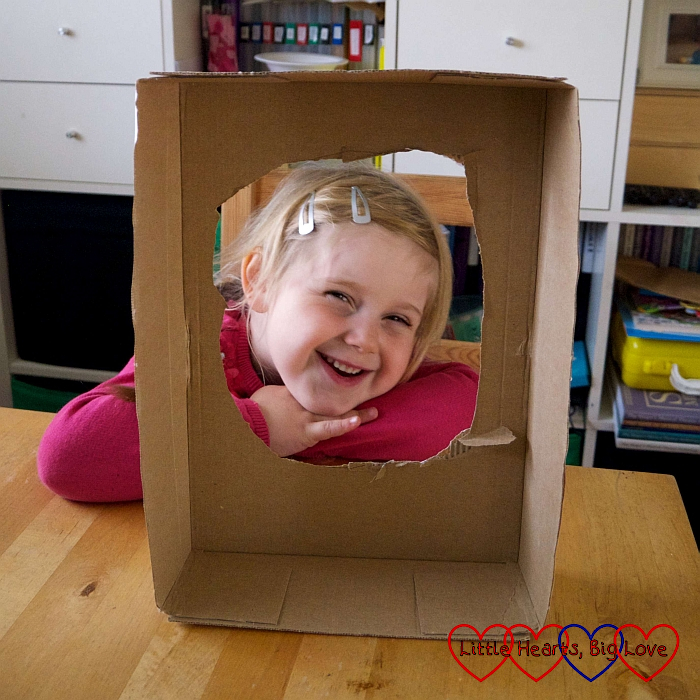
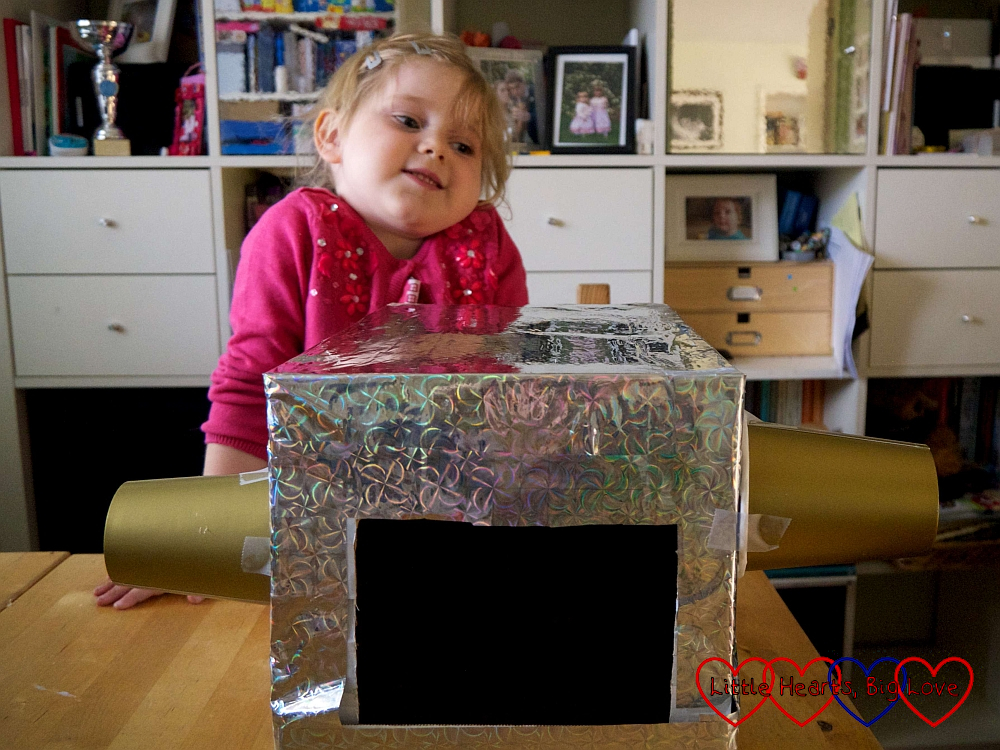
1) Use a craft knife to cut out a hole in the bottom of the cardboard box big enough for your child’s head to fit through. We used one of the boxes that carry five reams of paper and cut out the hole in the lid of the box, which we then reattached to the box with sticky tape after step 2.
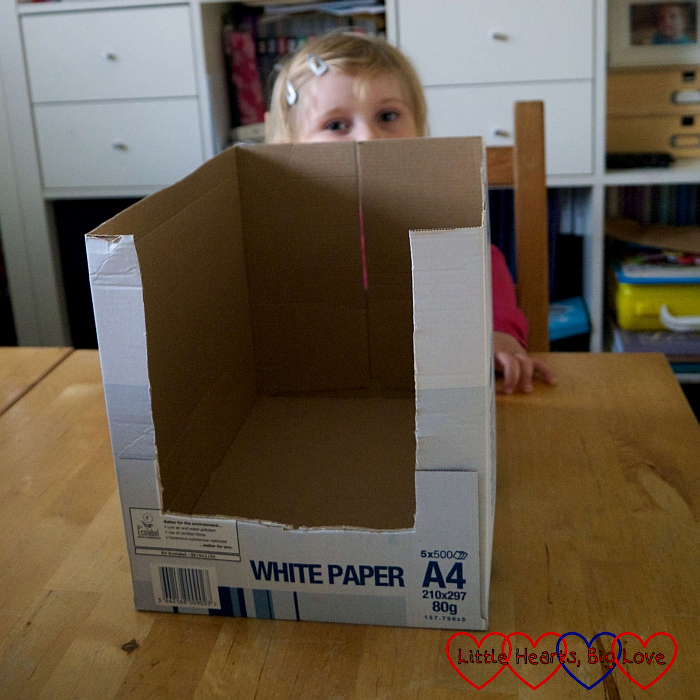
2) Cut out a rectangle in one side of the box. This will be the front of the robot helmet.
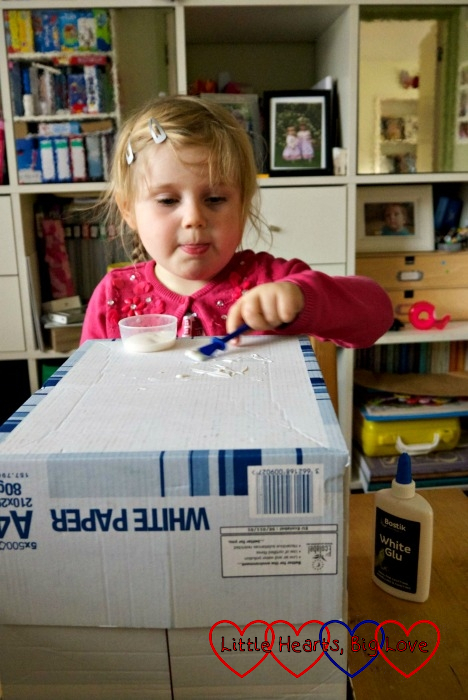
3) Cover the box with glue and then cover with silver or metallic paper.

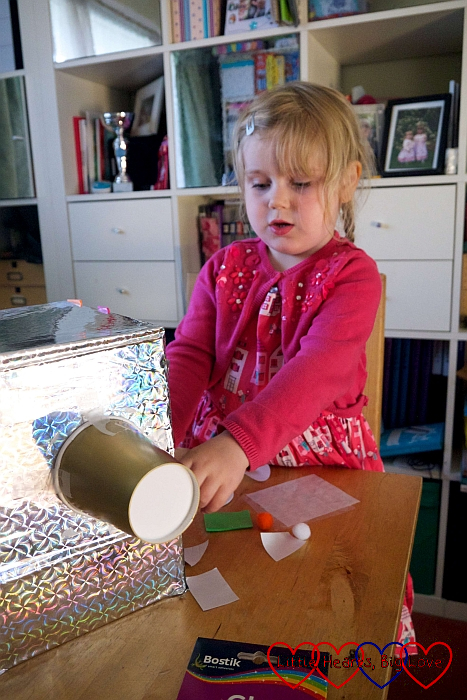
4) Glue a paper cup to each side of the box to make the robot ‘ears’. We used a combination of glue and sticky tape to hold these in place.
5) Decorate the front of the robot helmet with foam shapes and googly eyes. We used Bostik Glu Dots to attach these. Your robot helmet is now ready to wear!
Sophie loved her robot helmet. However, we found our box was a little too big for her head which meant she often needed to hold it in place when playing robots. A cube-shaped box would probably work better for a smaller child.

We were sent a box of Bostik craft materials as part of being a Tots100 #BostikBlogger