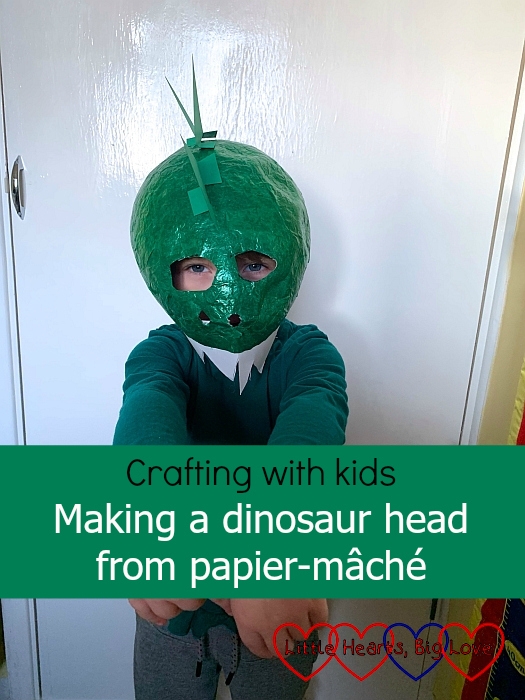
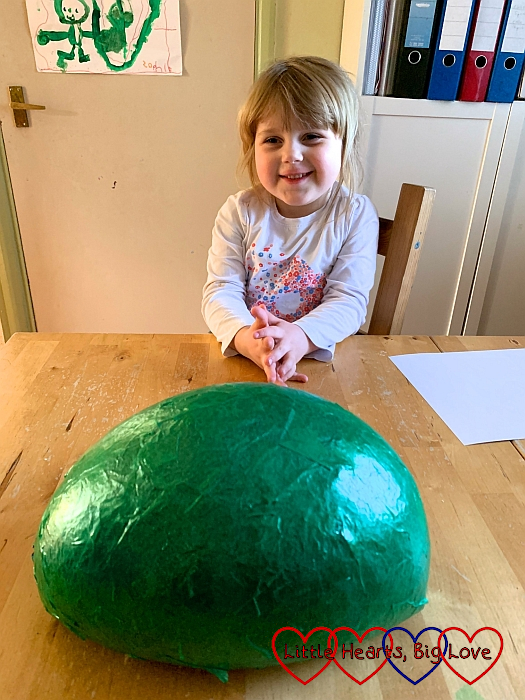
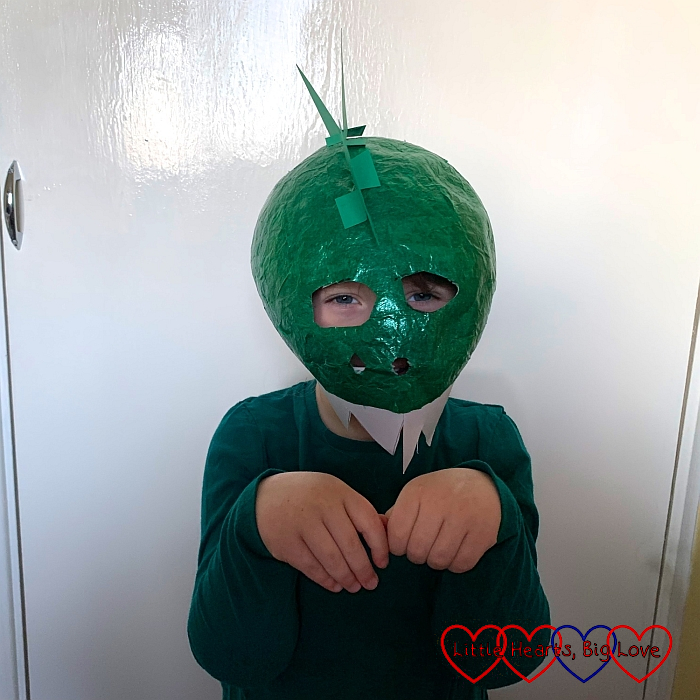
Sophie has been learning about dinosaurs over the last half-term at school. She’s enjoyed hunting for fossils during outdoor learning sessions, drawing pictures of dinosaurs and learning more about different types of dinosaurs, where they lived and what they ate. On the last day before the half-term holidays, Reception had a Dino Day where the children were invited to come to school dressed as a dinosaur or in dinosaur-themed clothes. Sophie wanted to make a dinosaur head to wear so we got busy crafting together to make one out of papier-mâché. Here’s how we did it:
You will need:
- Green tissue paper
- A balloon
- A paper bowl
- Blu tack
- Sticky tape
- Watered-down PVA glue (half PVA glue, half water)
- A paintbrush
- A balloon
- Scissors
- White card
- Green card
- Double-sided sticky tape
1) Tear the tissue paper into small pieces or strips.
2) Blow up the balloon to the size needed for your dinosaur head. Place some blu tack in the bottom of a paper bowl (to help weigh it down) and tape the balloon on top. This will hold the balloon steady while you cover it in glue and tissue paper.
3) Mix equal parts of PVA glue and water together to make a watered-down glue. You could also use equal parts of flour and water to make a watery glue instead.
4) Spread watered down glue over the balloon and cover with small pieces of green tissue paper, spreading another layer of watered glue on top of the tissue paper until the top half of the balloon is covered in a thin layer of tissue paper and glue.
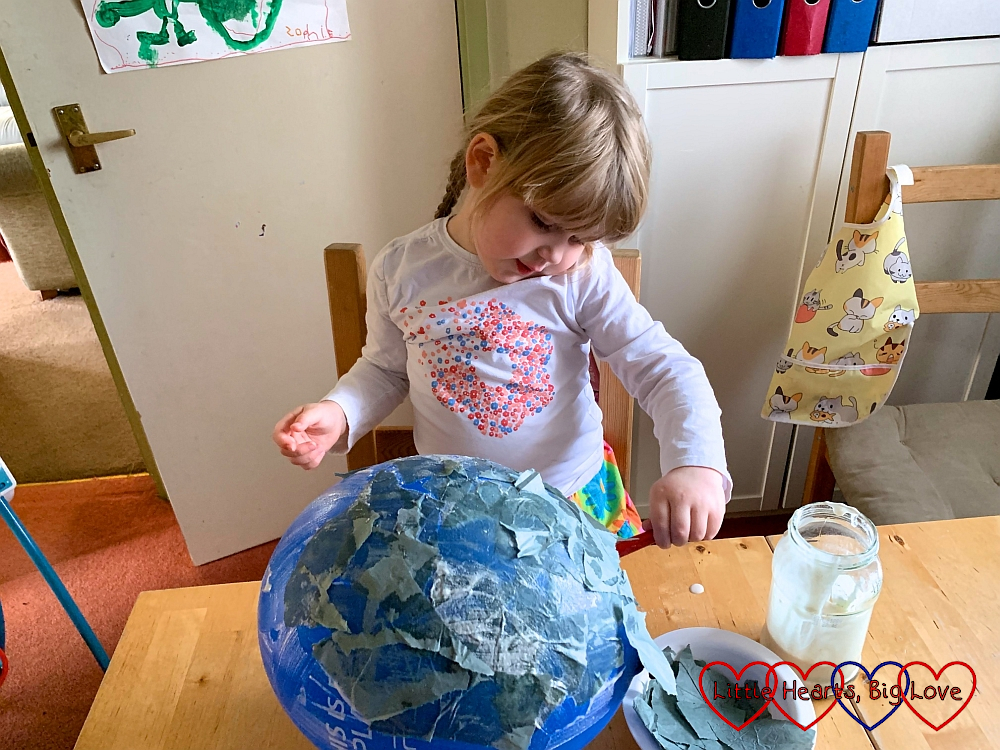
5) Leave to dry completely. It can take 24 hours for each layer to dry.
6) Repeat step 4 and 5 to continue adding layers to the balloon. You will need at least three layers.
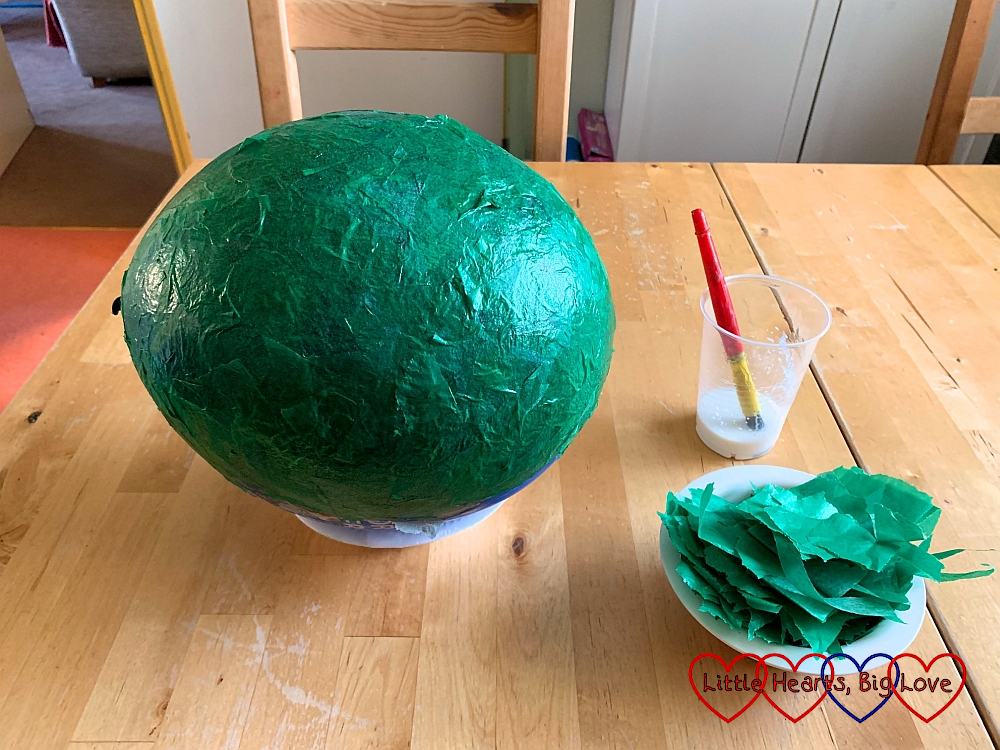
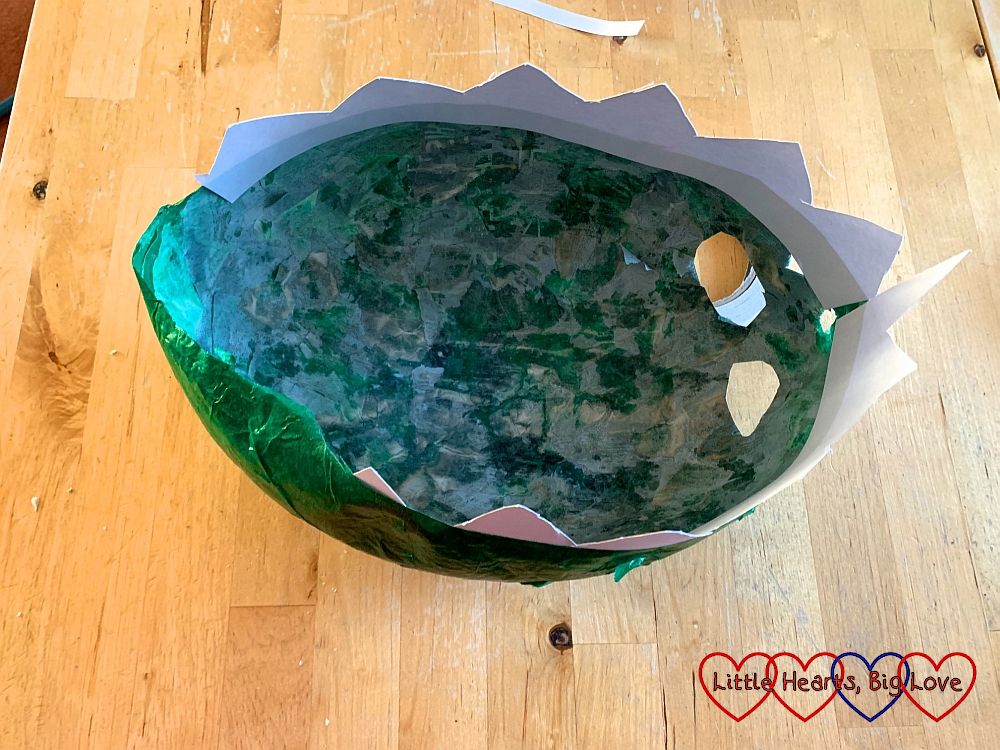
7) Once the final layer is completely dry, pop the balloon and gently peel away from the inside of the papier-mâché. Trim the edges as needed.
8) Cut two small holes for nostrils and two large holes for eyes.
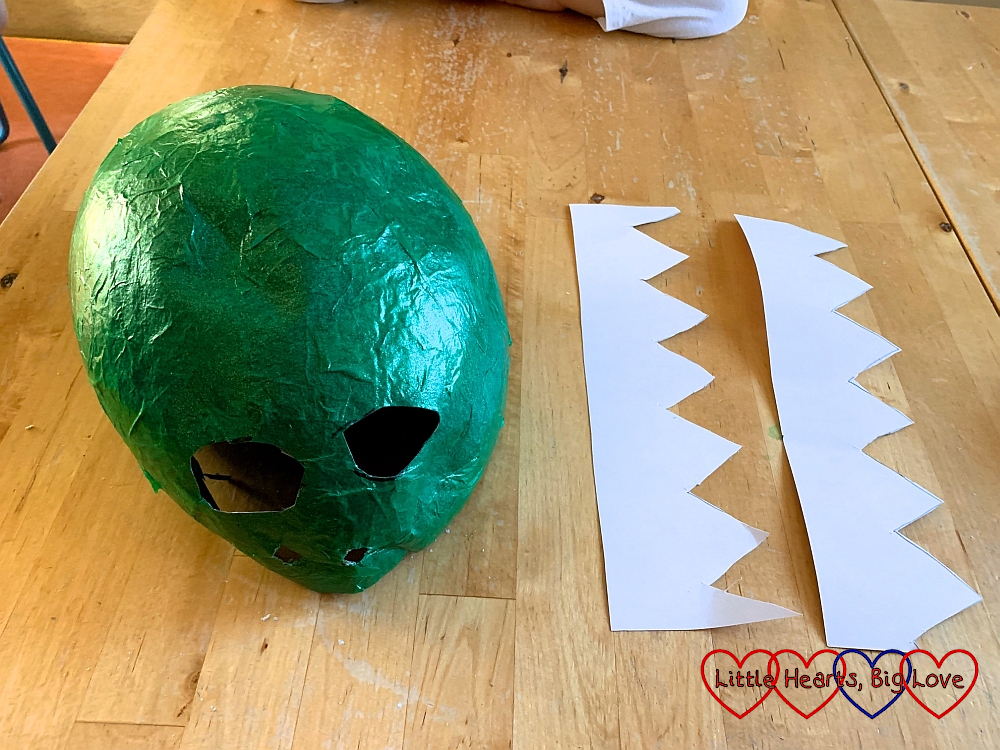
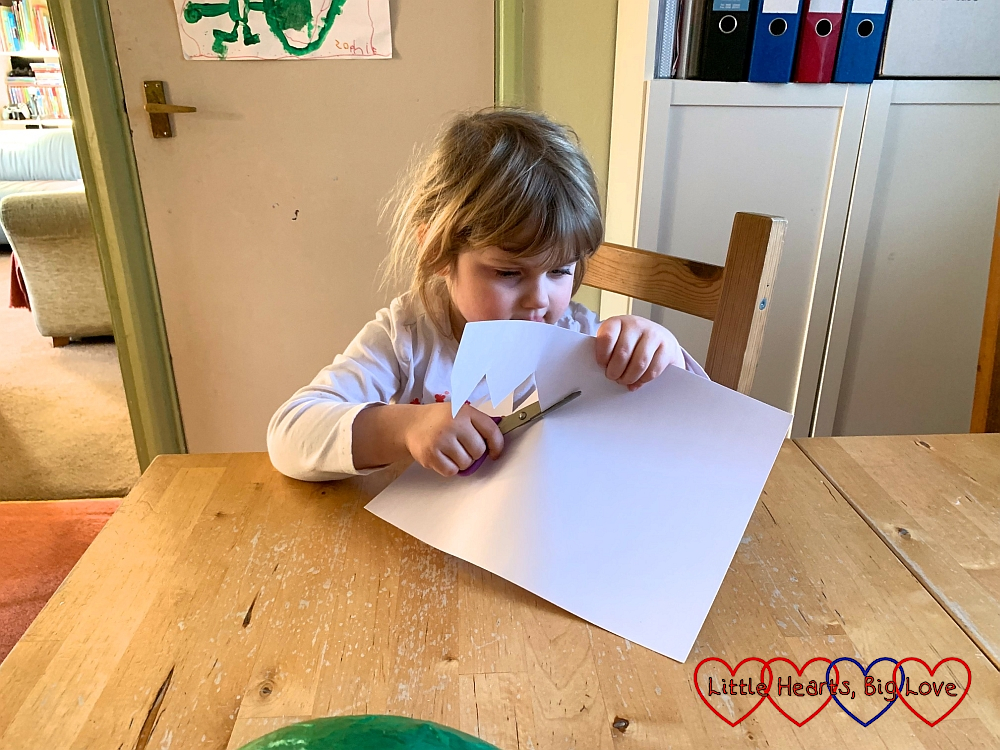
9) Cut zigzag shapes in a long strip of white card. Attach to the bottom edge of the papier-mâché head using double-sided tape to make the dinosaur teeth.
10) Cut three large triangles from green card. Make two small cuts upwards from the bottom edge and fold outwards to make flaps. Stick to the top of the dinosaur head using double-sided tape. Your dinosaur head is now finished.

We were a bit short on time when making our dinosaur head, having only remembered about Dino Day two days before it was due to happen. Using a fan helped speed up the drying process with each layer. We only had time to do three layers which was just about enough although our dinosaur head was a little soft and an extra couple of layers would have been better. Sophie was very happy with the finished result though.
It looks brilliant! I remember doing things like this at school but we’ve not tried them at home. I bet my two would love it!
Thanks Jocelyn. We had fun making it 🙂