
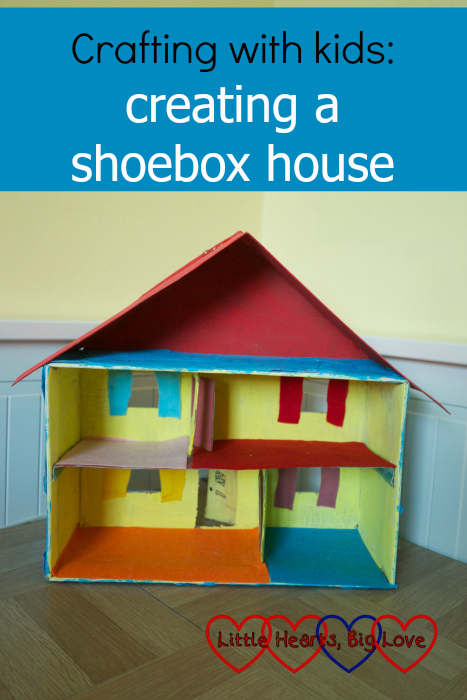
A few weeks ago, Jessica asked if we could do “some making” and make a house. My first thought was to do a simple paper fold house that she could draw rooms in and decorate. Then a friend gave us an old shoebox – the perfect starting point for making a house that the girls could play with. Over the following week or so, we created our house, made some little people to go in and some furniture for them. Here’s how we made our shoebox house:
You will need:
- A shoebox
- Cardboard
- Pencil
- Ruler
- Craft knife
- Paint
- Tissue paper
- PVA glue
- A hot glue gun
- Marker pens
- Several pieces of felt in different colours
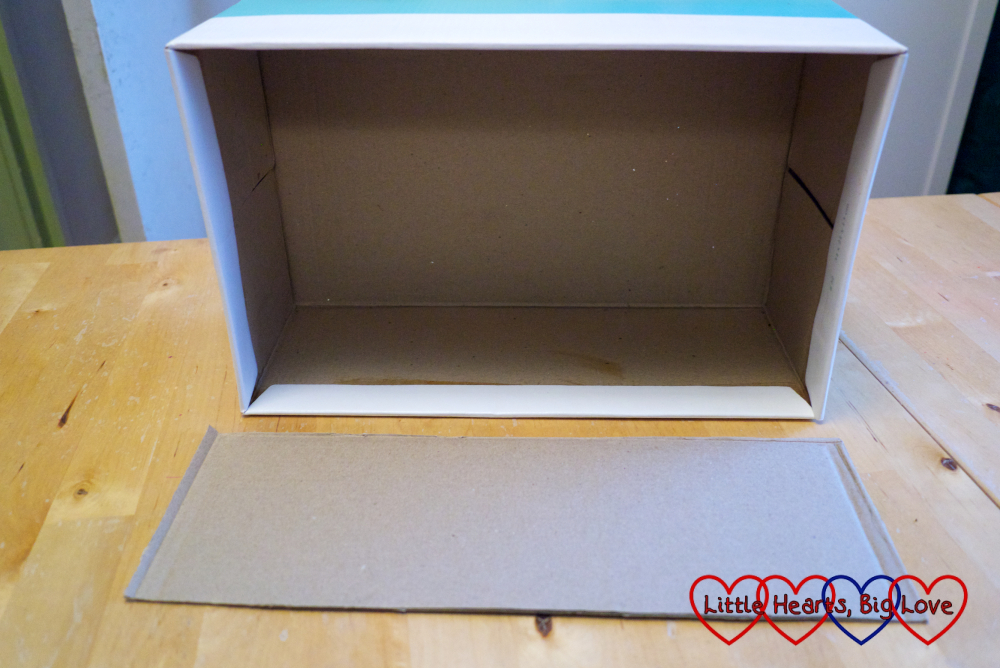
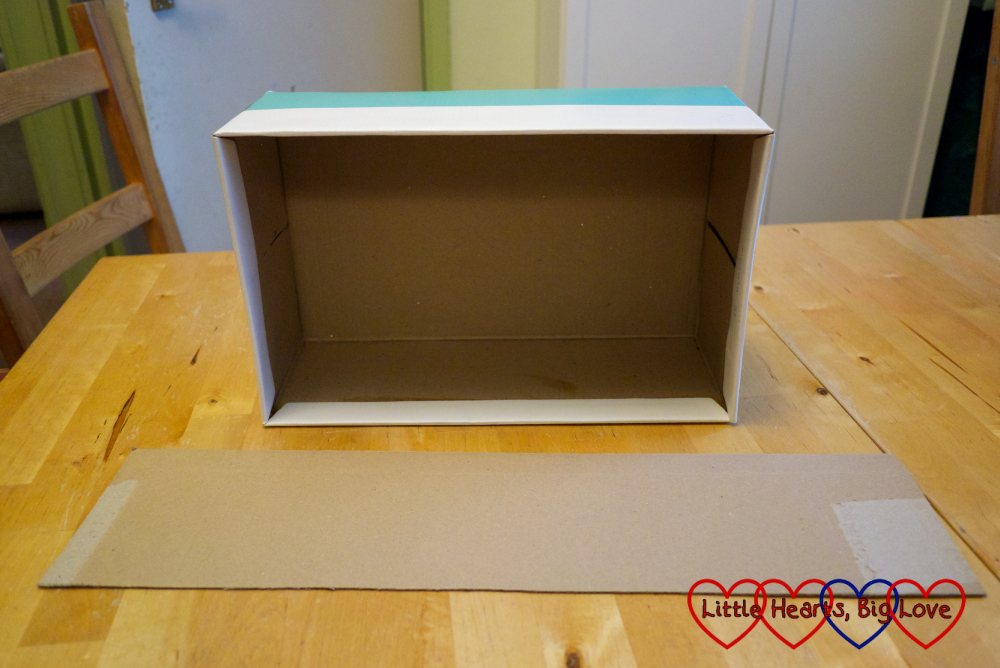
1) Cut a piece of cardboard the same depth as the inside of the shoebox and 4cm wider. Measure 2cm in from each end of the cardboard and draw a line. Score along this line and fold. This will form the floor/ceiling separating the top and bottom floors of the shoebox house.
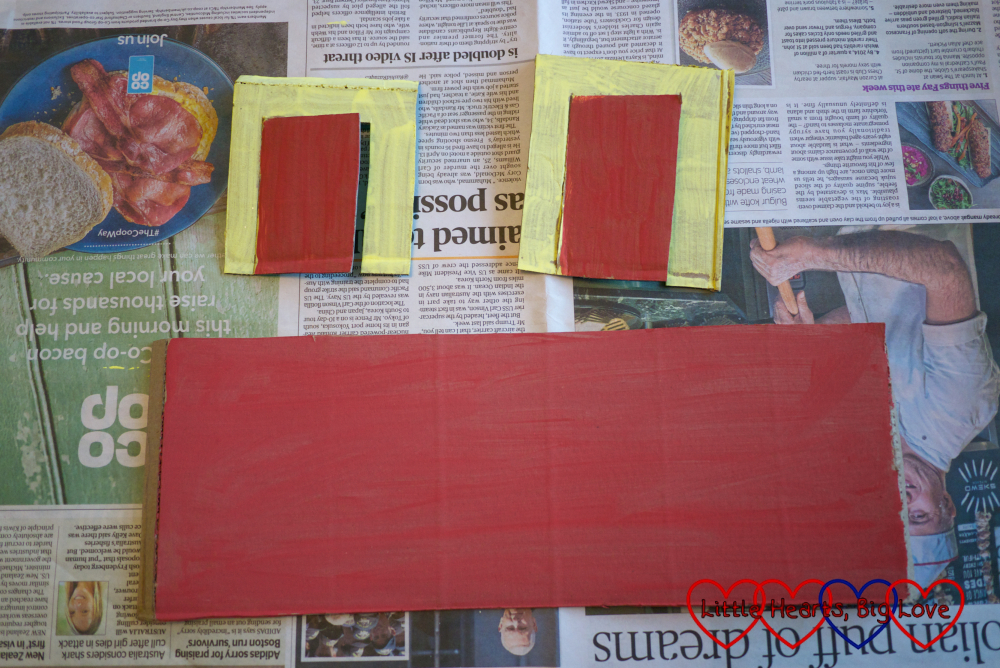
2) Cut two pieces of cardboard that are about two-thirds the depth of the inside of the shoebox and about half the length. Draw a line on the top edge about 1cm from the top and score. Draw a door shape at the other end. Score along one long edge of the door and cut along the other two edges. These will form the inside walls of the shoebox house.
3) Cut a piece of cardboard the depth of your shoebox and about one and a half times as wide. This will form the roof.
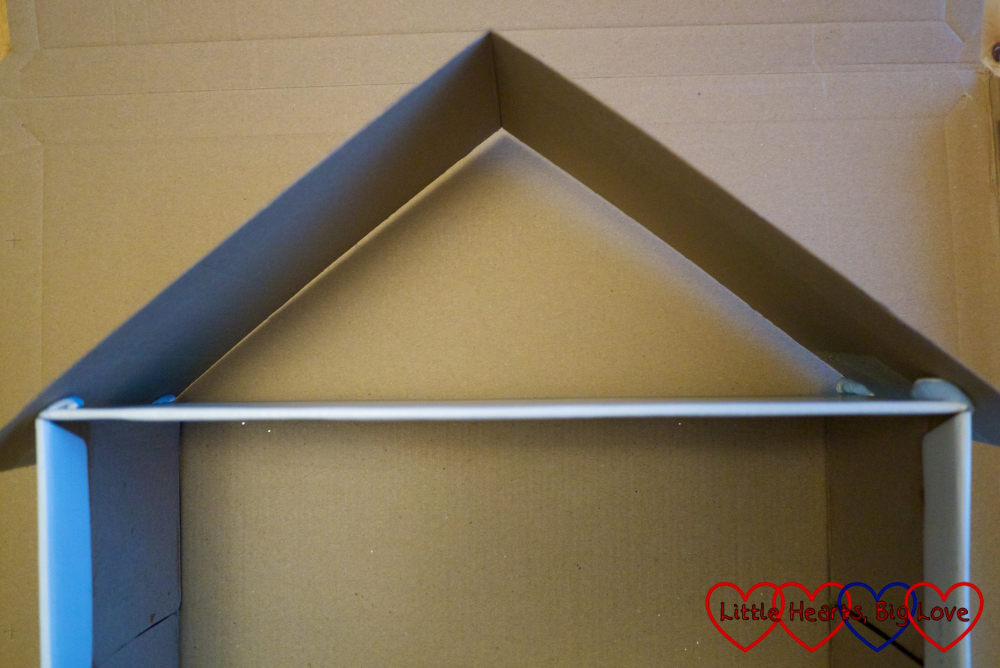
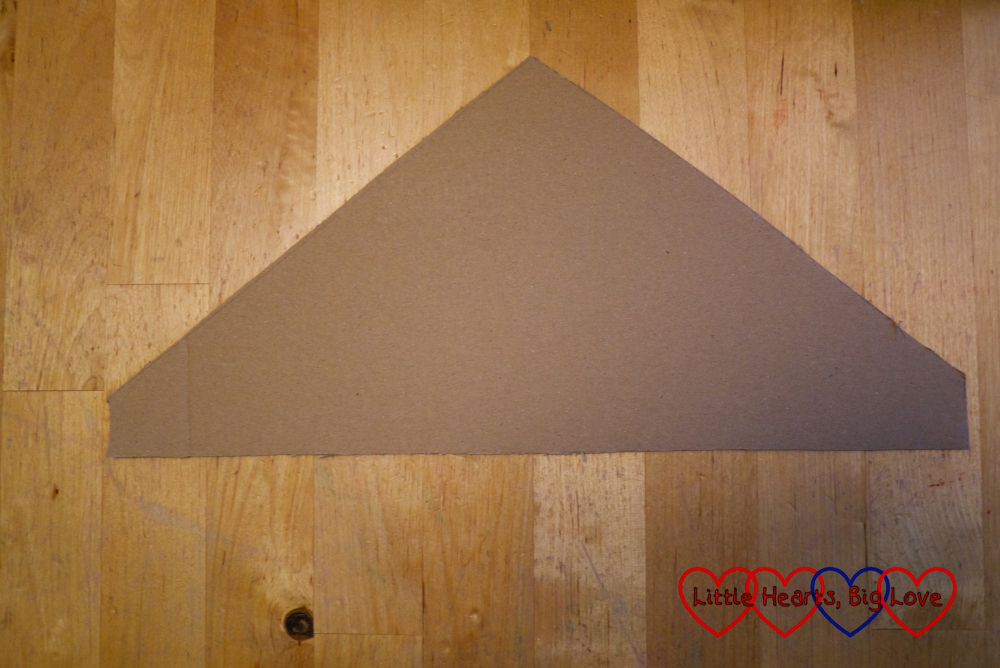
4) Score a line across the centre of the piece of cardboard for the roof and fold into a triangle shape. Place this on top of the shoebox and lay flat on a piece of cardboard. Draw around the triangle and the top edges of the shoebox. Cut out the shape. This will form the back wall of the attic.
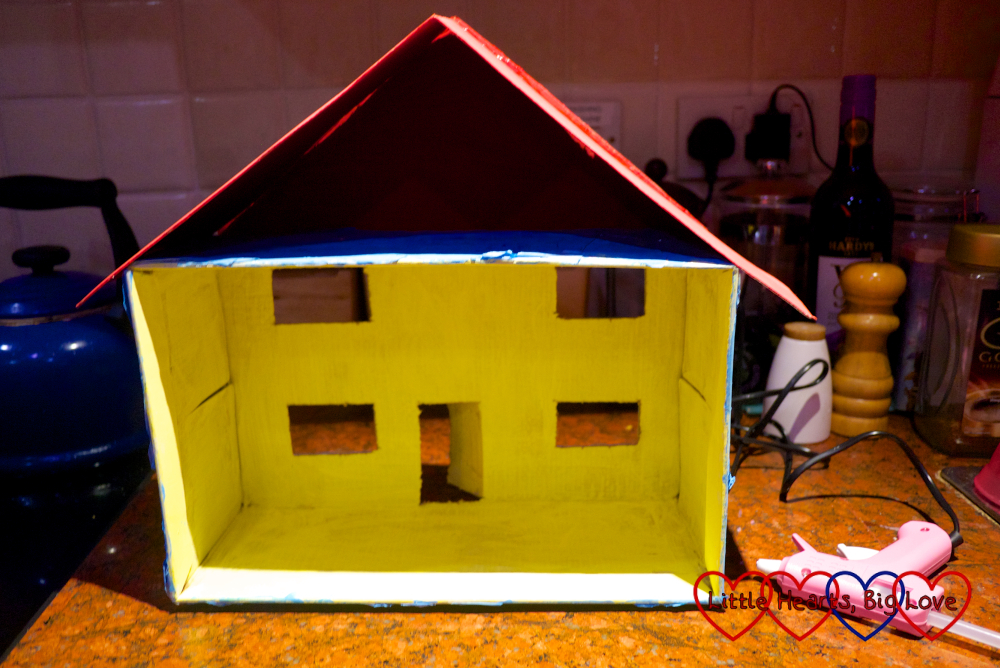
5) Paint the inside of the shoebox, one side of the roof, attic wall, inside walls and floor/ceiling cardboard pieces and leave to dry. Repeat with a second coat if needed.
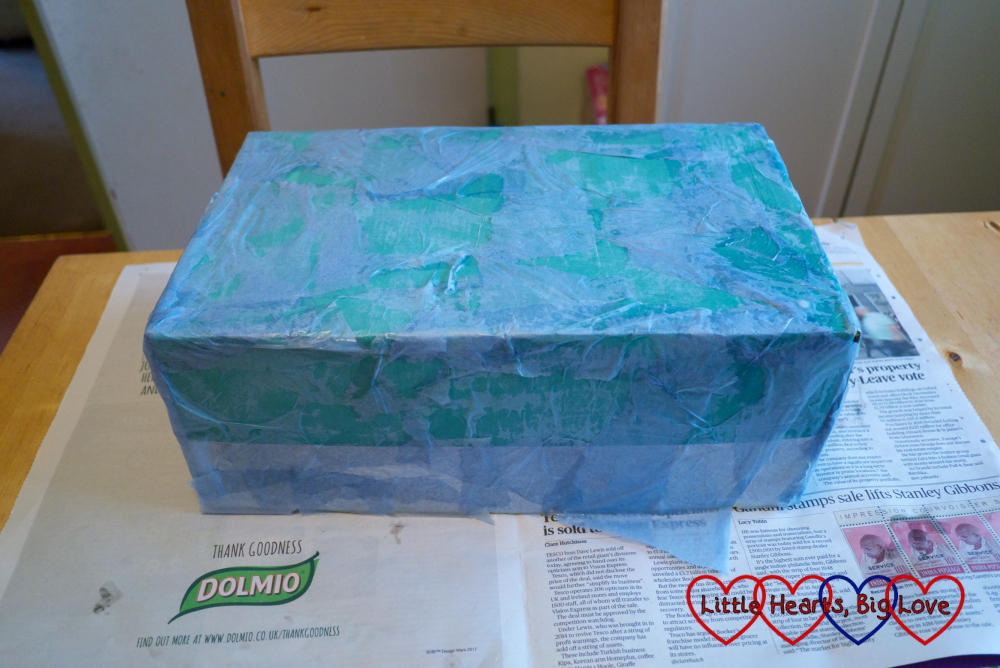
6) Use PVA glue to cover the outside of the shoebox with small pieces of tissue paper and leave to dry. Once this is dry, paint the outside of the shoebox. Repeat with a second coat of paint if needed.
7) Paint the other sides of the roof, attic wall, inside walls and floor/ceiling cardboard pieces and leave to dry. Add a second coat if needed.
8) Draw windows and doors on the outside of the shoebox with a marker pen. Add any details to the door using marker pens. Cut the windows out with a craft knife. Score down one long edge of the door and cut out the other three edges.
9) Attach the roof and attic wall to the top of the shoebox house with hot glue.
10) Apply hot glue to the flaps at the top end of one of the inside wall pieces and attach to the ceiling piece.
11) Apply hot glue to the flaps at the end of the floor/ceiling piece and fix inside the shoebox.
12) Fix the remaining inside wall piece to the upper floor of the shoebox house with hot glue. Secure the two inside wall pieces with hot glue at the bottom if needed.
13) Cut out pieces of felt to fit the floors of each room and glue in place with either PVA glue or hot glue to make carpets.
14) Cut out two small rectangles of felt for each window and glue in place with either PVA glue or hot glue to make curtains. The shoebox house is now finished!
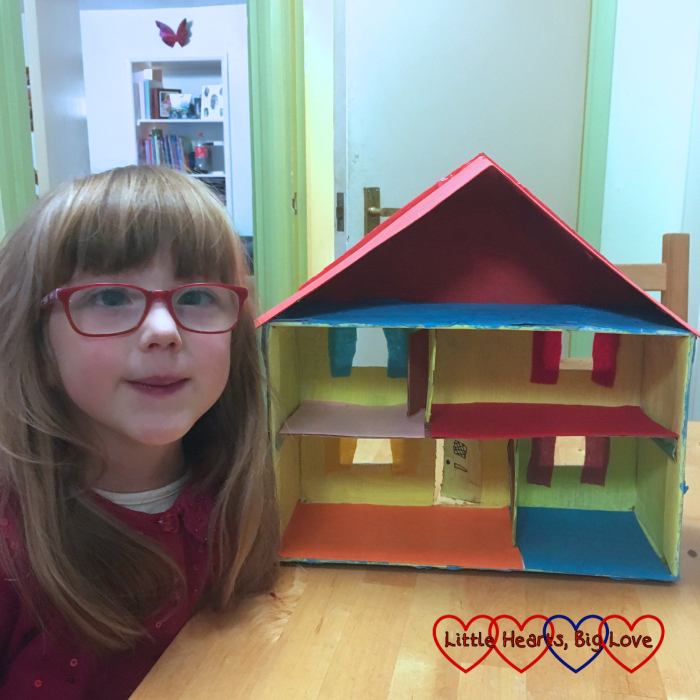
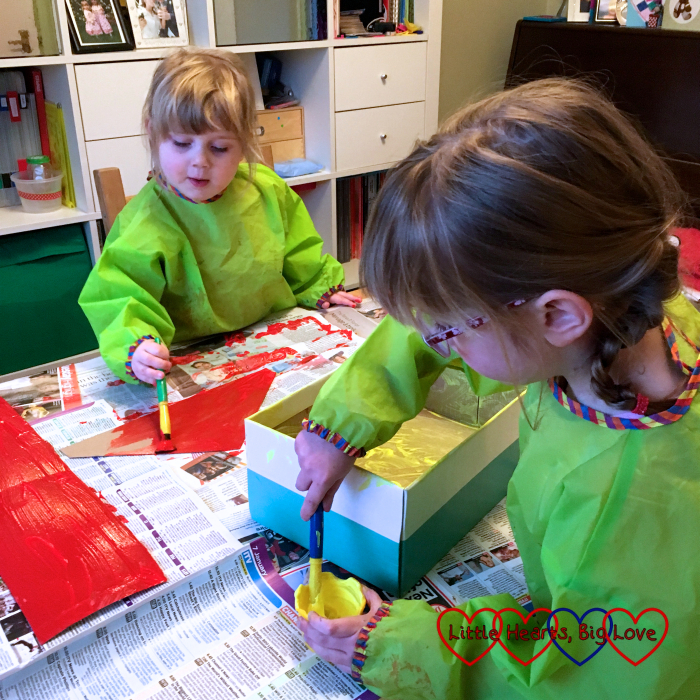
It took us a few days to make our shoebox house and it was very much a team effort between myself and the girls. I did all the cutting out and hot glueing and the girls did most of the painting. We decided to use PVA glue to fix the carpets and curtains in place so the girls could help with this.
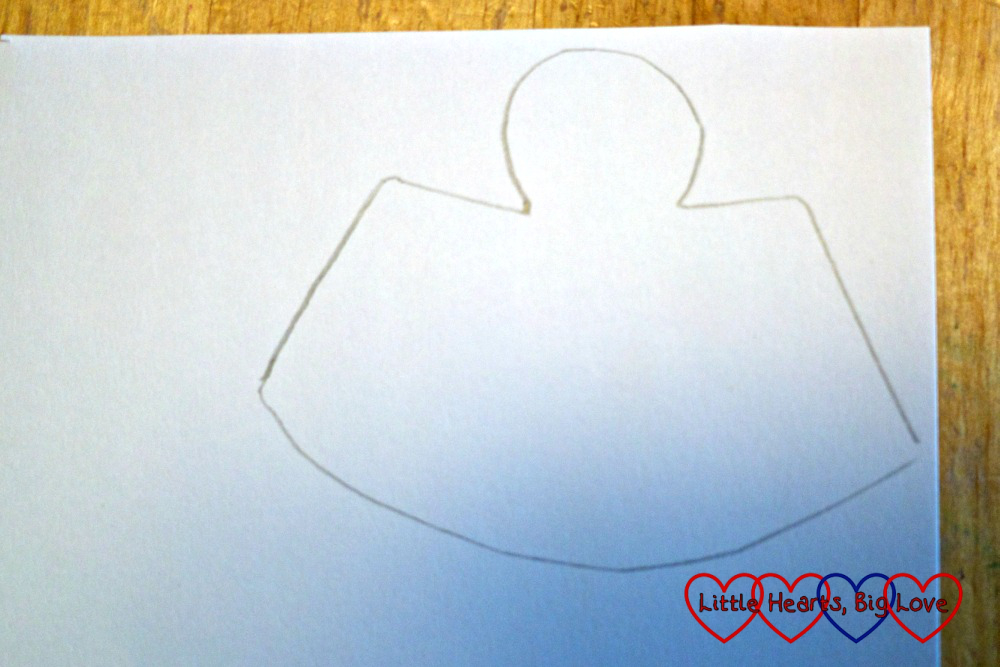
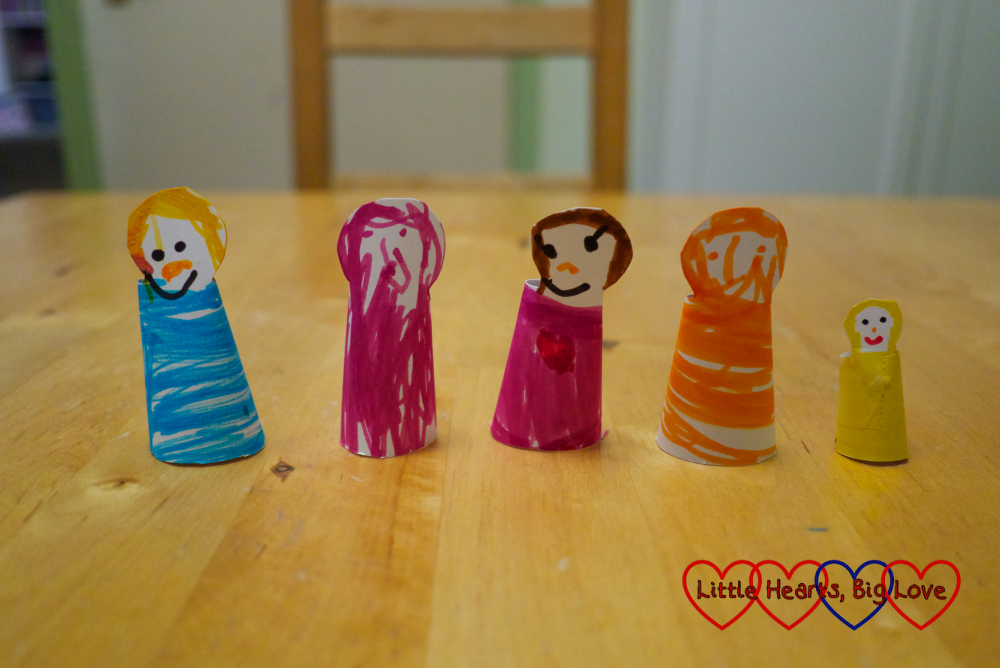
The people for our shoebox house were made from simple paper cut-outs using the shape in the image below. We stuck the edges together with glue and then the girls added details with colouring pens. They decided to recreate our family – with the addition of a baby Peanut!
Once our shoebox house and people were finished, naturally the next step was to make some furniture! Pop back next week to find out how we made our shoebox house furniture.

This is so cute! I remember doing things like this as a child. Can’t wait to do things like this with Baby Lighty!
Thank you, we had fun making it 🙂
Ah, I loved the pictures on instagram and am so pleased you shared a how to tutorial! I was telling the girls about it and they are up for it – a half term project?
Thanks for sharing Louise…hope you are keeping well and taking care of yourself and that beautiful family x
This looks like lots of fun to me. #coolmumclub
This looks so much better than all the houses I used to make for my toys as a child! I’ll see if Anya wants to make one for her dolls #coolmumclub